Author Archives for Sadie

About Sadie

Working mom of two little girls with a deep love for baking and all things delicious. Join me as I share recipes, tips and all-things-foodie related reviews!

The Perfect Chocolate Chip Cookies

I know…once again it’s been quite a while…

With juggling work, kids, etc., etc. posting recipes has unfortunately fallen at the bottom of the never-ending to-do-list.

Inspiring me to continue however, is Voice of the Cape AKA VOCFM whom have kindly asked me to share recipes with their listeners each week.

Last week on the show, I shared my go-to chocolate chip cookie and oh does everyone need a go to chocolate chip cookie! I love this recipe because, if followed perfectly, you will have a buttery, chewy, chocolate chip cookie, with a chocolate chip in every bite 🙂 The great thing is, it takes just 10min to whip together!  Continue reading

Double Choc & Macadamia Cookies

Happy 2017!!!

Most who I’ve spoken have said that 2016 was a brutal year. With all that is and has happened – the heartbreaking tragedy that is Aleppo, the disgust that is Trump, etc. We are living in quite an…interesting time… Anyway let me not get into politics, 2016 wasn’t all that bad for me, I was blessed with another daughter who is the sweetest, most chilled and content baby ever! Becoming a family of four has also been quite….interesting (chaotic, completely insane and absolutely beautiful all at the same time).

Continue reading

Pepper Steak, Creamy Mushroom Sauce and Salsa Mash Potato

It’s that time of the year when dinner parties, casual get-togethers and all forms of quality time with friends and family keep our schedules jam-packed. A fun time indeed! For a lovely quiet Sunday lunch with my little family, I decided to try out this recipe which consists of a flavourful garlic salsa mash potato, tasty and succulent pepper steak, topped with a creamy mushroom sauce. My husband declared this his favourite dish so guess that’s enough said…it’s a winner!  Continue reading

White Chocolate Mousse Eton Mess with Fresh Summer Berries

Exactly a month to go before I moonwalk into holiday mode. I seriously cannot wait for this break, I know so many are feeling precisely the same – in desperate need to just have a break and switch off for a while.  Continue reading

Chocolate Brownie Squares

Happy Friday everyone! It’s been one of those crazy weeks, leaving me terribly excited for the weekend. The thought of just sitting down and staring at a blank wall for unexplainable amount of time has got me excited 🙂

One of my first posts was the Chocolate Brownie, which you can view here. As you can see it’s more of a cake/pudding type of chocolate brownie, served with chocolate sauce and preferably some generous scoops of ice-cream. Whenever I go to really good bakeries, I see these really divine chocolate brownie squares, my new-found addiction is the Lindt double chunk chocolate brownies which are sold at the Thursday Earth Fair Market in St Georges Mall…oh my they are heavenly! To combat my constant craving for these delicious blocks of love and goodness, I decided to attempt some sort of version myself.

To make things a tad bit more interesting for this classic brownie recipe, I added a generous handful of roughly chopped milky bar, taking the chocolatey-ness (yes that’s a word in my dictionary) to the next level.

I wish I could have taken some gorgeous pictures of them, but I promise you, before I knew it they were all swiped up….which is always a good thing!

Wishing you all a great weekend and even better Heritage/Braai Day on Tuesday!


Ingredients:

– 250g chocolate (I used Lindt milk chocolate)

– 60g flour

– 60g cocoa powder

– 1/2 tsp baking powder

– pinch of salt

– 300g caster sugar

– 250g softened butter

– 4 eggs – 3 whole eggs plain and 1 egg yolk


Method:

1. Preheat the oven to 180 degrees. Line a 23cm square baking tin with paper.

2. Melt 200g of the chocolate and set aside to cool slightly. Roughly chop the remaining chocolate.

3. Sift the flour, cocoa powder, baking powder and salt in a medium bowl.

4. Beat the sugar and butter together until it is pale and fluffy. Add the eggs one at a time, together with a tablespoon of the dry ingredients. Beat in the melted chocolate, and then fold in the remaining dry ingredients and the chopped chocolate pieces. This is the opportunity to get creative and add nuts, more chocolate, etc.

IMG_0628


Now isn't that just fluffy!

Now isn’t that just fluffy!

IMG_0634


5. Pour the mixture into the baking tin and bake for about 30-35 minutes.

IMG_0637


IMG_0641

6. Cake tester inserted in the middle of the cake should come out sticky but not with raw cake mixture attached to it. The cake will also continue to cook as it cools.


IMG_0645


IMG_0648


Chocolate and Strawberry Tart

I’ve really chosen the worst time to attempt making raspberry desserts. Well basically it’s impossible because it’s out of season. First it was the white chocolate and meant to be raspberry tarts and now it’s the milk chocolate and raspberry tart that was substituted with strawberries. I will definitely be trying this recipe again when raspberries are actually in season. It was such a quick and easy dessert to put together and I was particularly impressed with the pastry which is basically a shortbread pastry – divine!

If you into dark chocolate, I would definitely recommend using dark chocolate for a bitter chocolate tart, the strawberries provide the perfect balance 🙂

Have a lovely weekend all and happy baking! xxx

Ingredients:

– 1 cup flour

– 1/3 cup icing sugar

– Pinch salt

– 100g cold butter

1 egg yolk


For the filling:

– 1 cup thick cream

– 1/3 cup castor sugar

– 100g broken chocolate (dark or milk depending on your preference)

– 2 egg yolks

– 1 punnet of strawberries / raspberries


Method:

1. Process flour, icing sugar, salt, butter and the egg yolk. Roll out thinly to line a 20cm loose-bottom tart tin, prick and freeze.

2.Bake at 190 degrees celsius for 10 minutes or until set. Cool.

3. For the filling: Heat cream  with castor sugar and broken chocolate until the chocolate melts. Allow to cool slightly, then beat in the egg yolks.

4. Pour into pastry shell. Press in a punnet of strawberries / raspberries and bake at 150 degrees celsius for 30-40 minutes or until set.

IMG_0170

Bake baby bake!

5. Decorate with melted chocolate and refrigerate until ready to serve 🙂

IMG_0178


Hazelnut and a bit of everything cheesecake

Whenever I need to make a dessert, cheesecake always seems to pop in my head, it’s just one of those obvious choices and oh boy can I indulge in a good couple of slices myself.

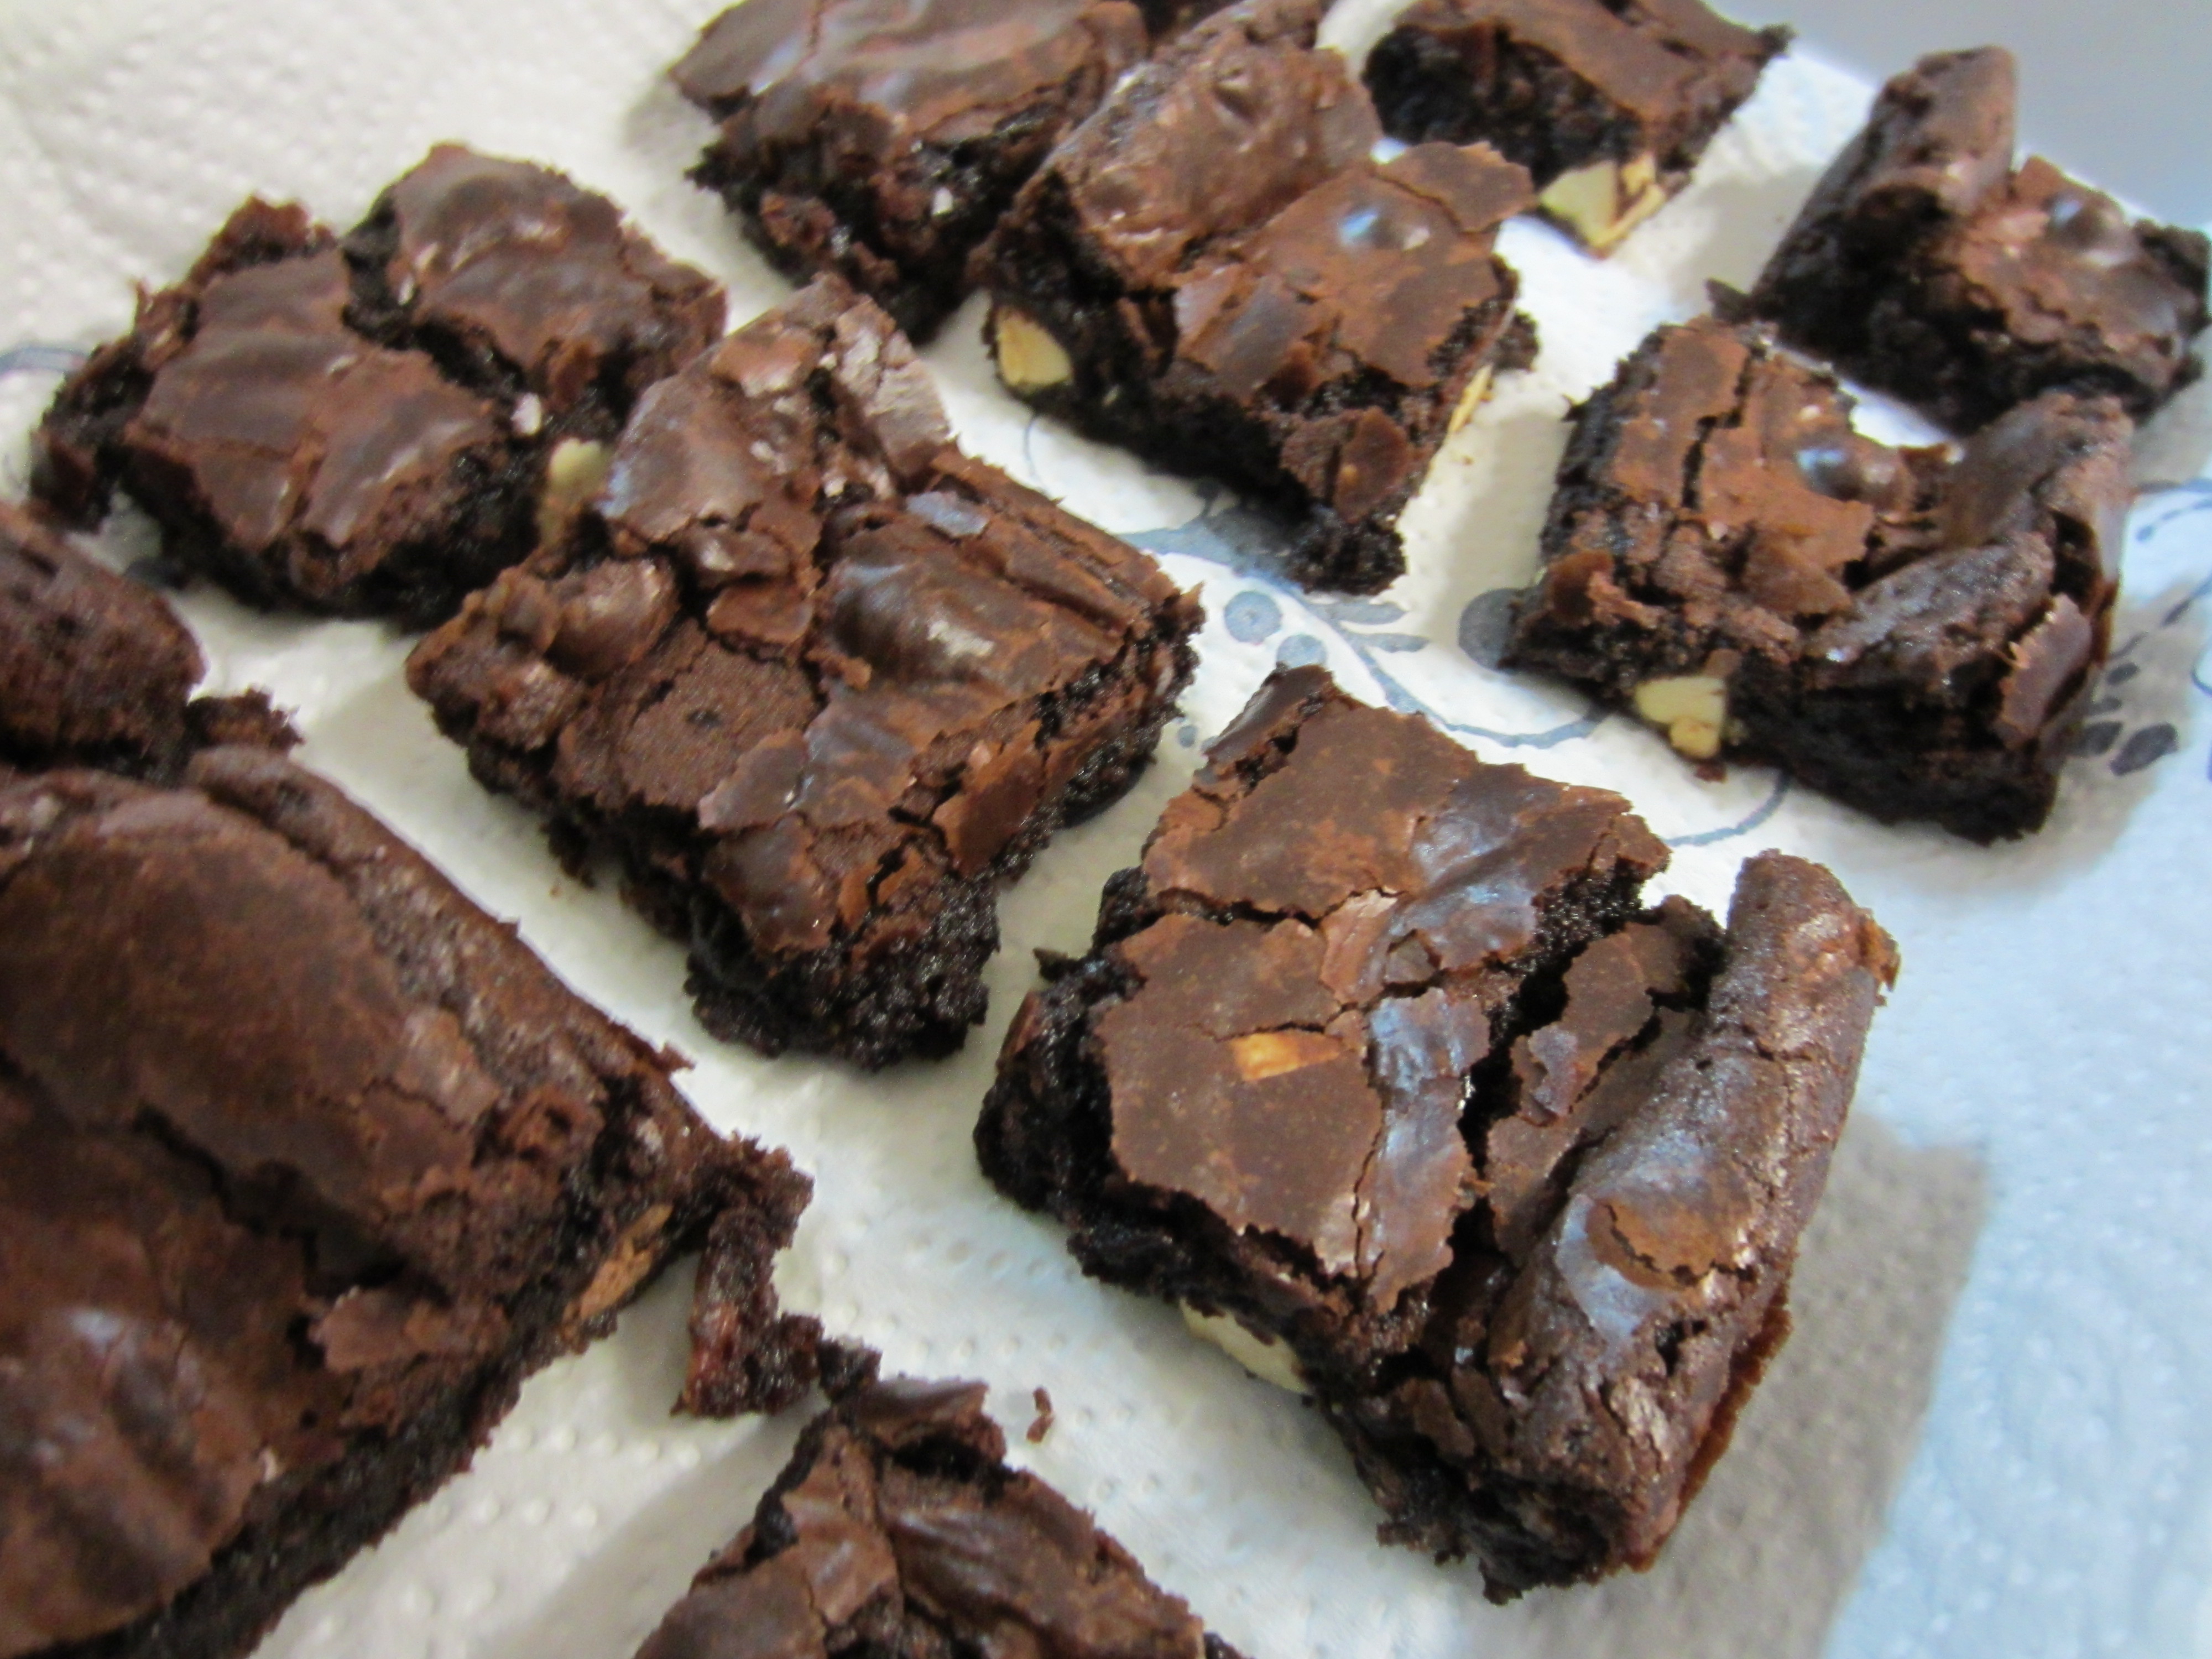
For Eid (which was a few weeks ago) I decided to be really nice, I mean REALLY nice and make a hazelnut cheesecake. Anyone who know’s me will know that I can’t stand, very closely bordering hate nuts! With my family being huge nutty fans and me depriving them of nuts in chocolate brownies, trifle and every dessert involving nuts, I thought I’d do a good lil deed and spoil them with the hazelnut cheesecake.

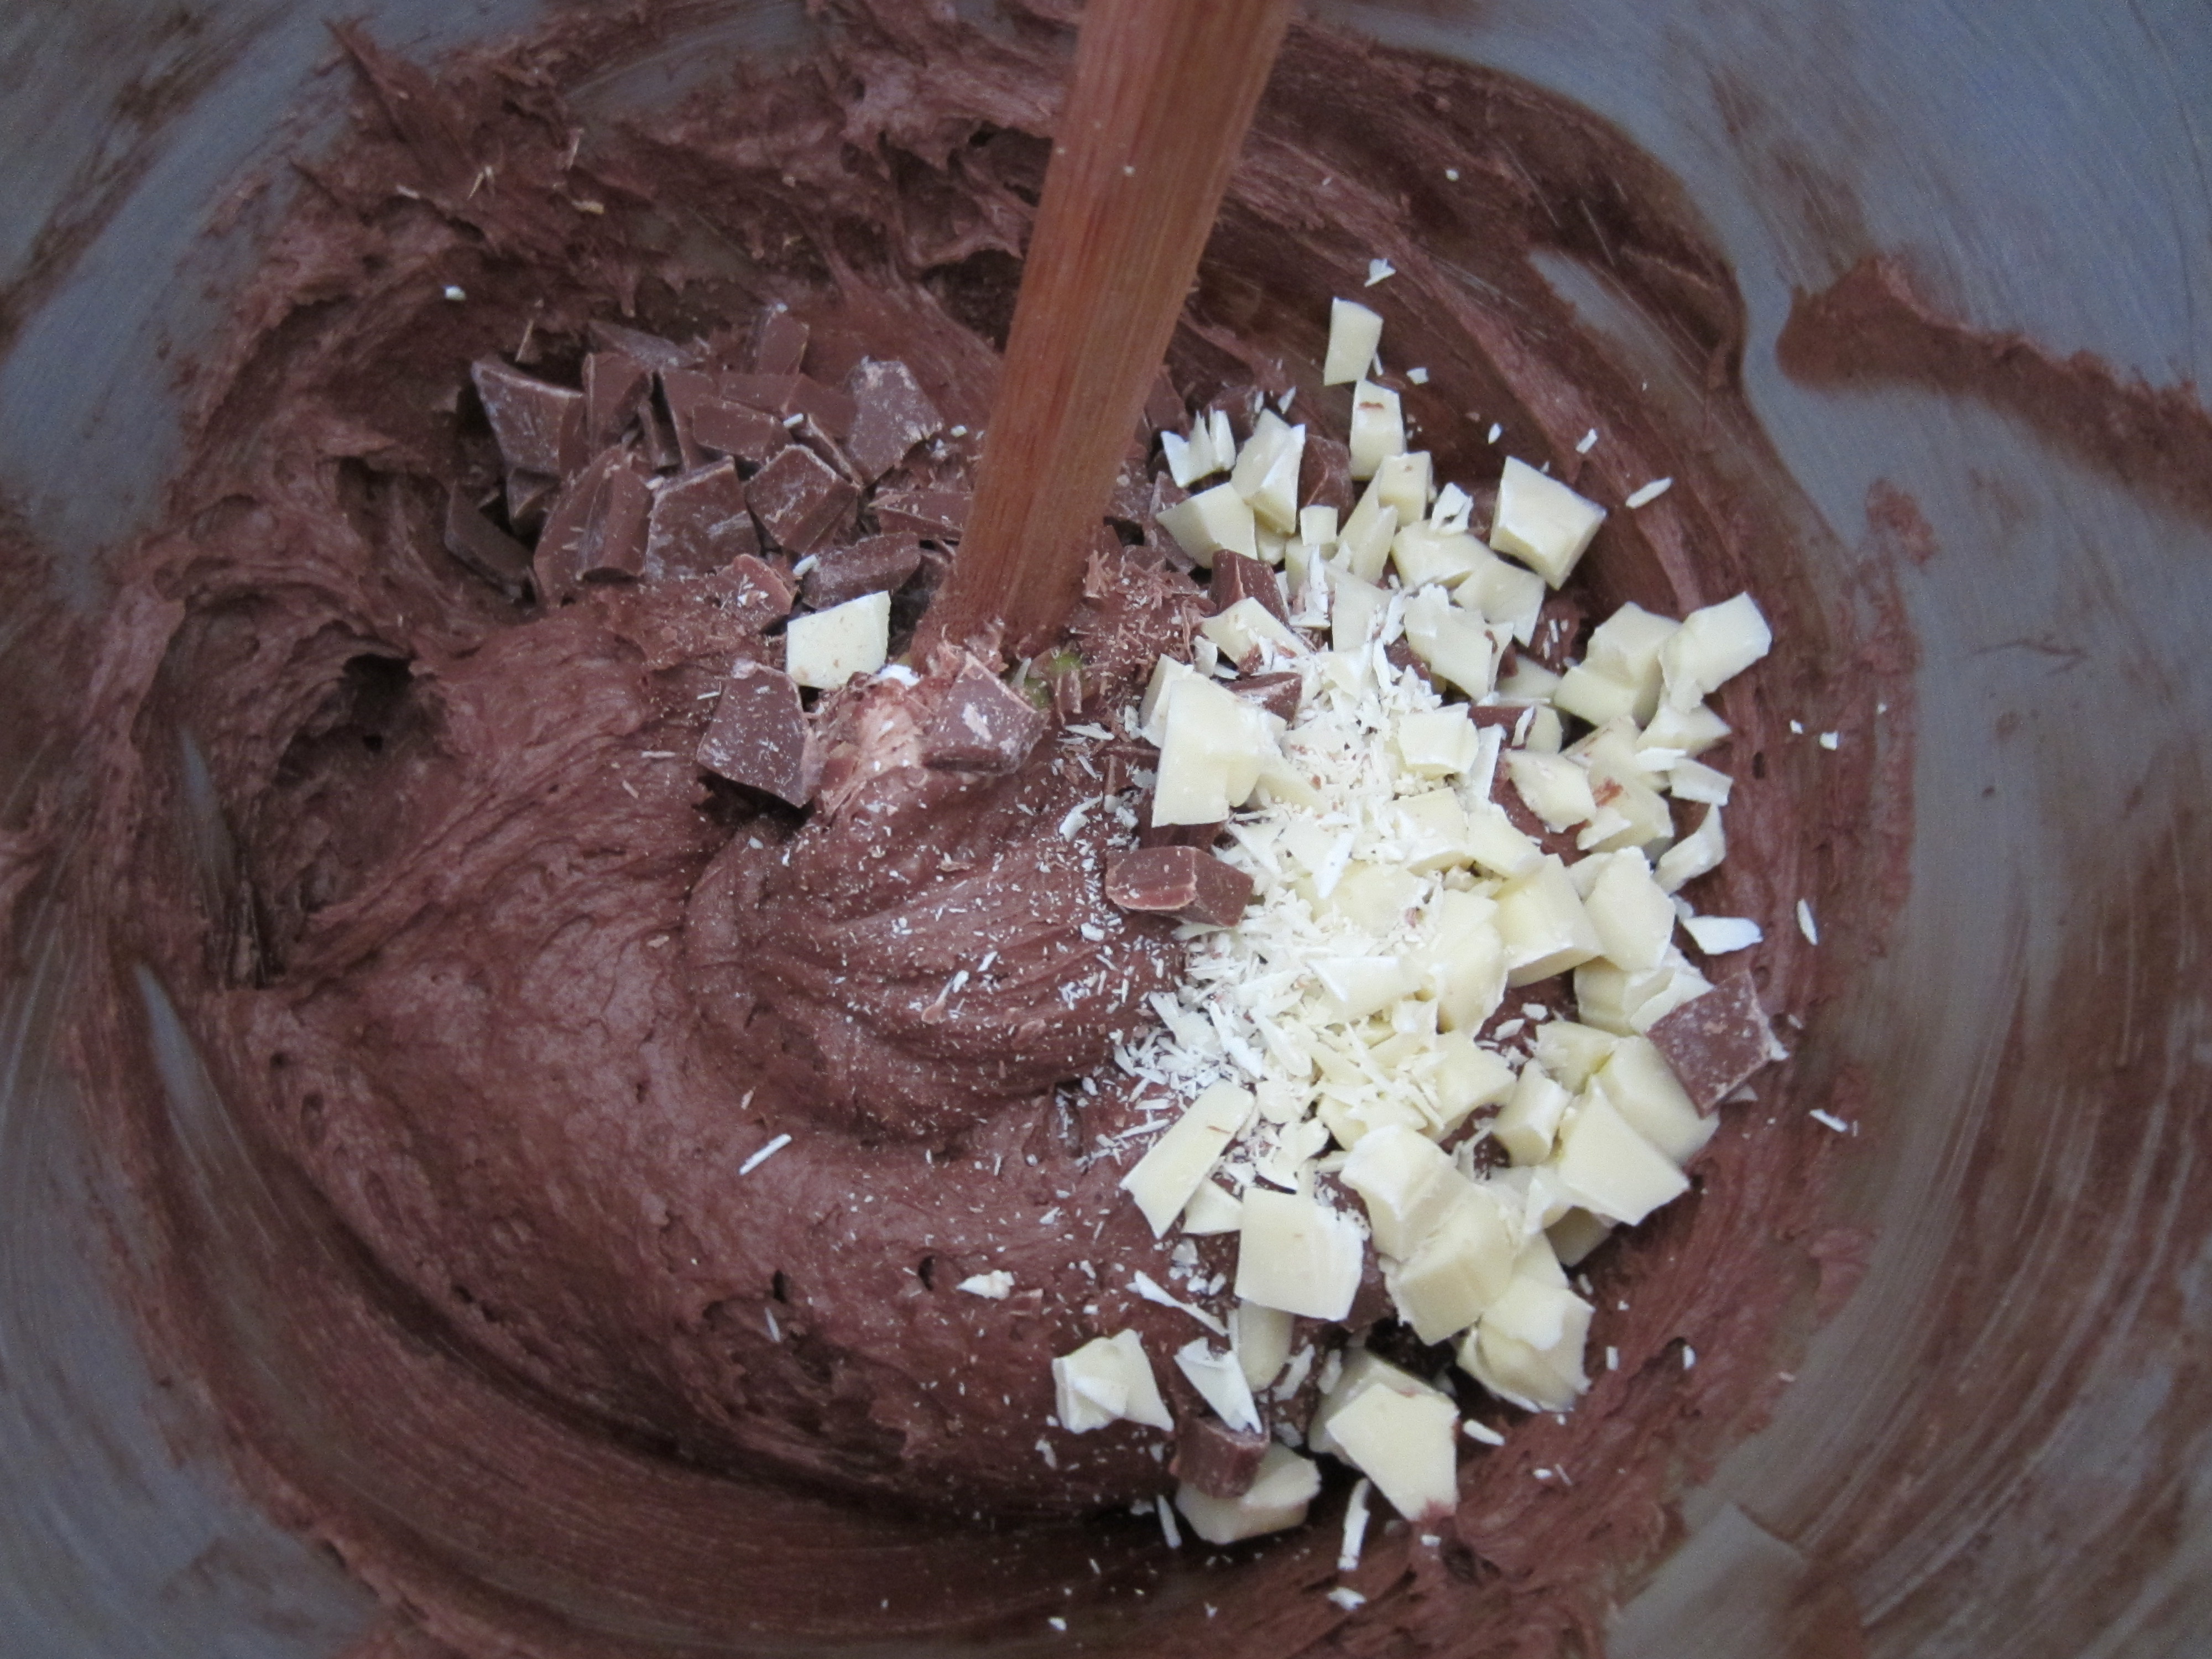
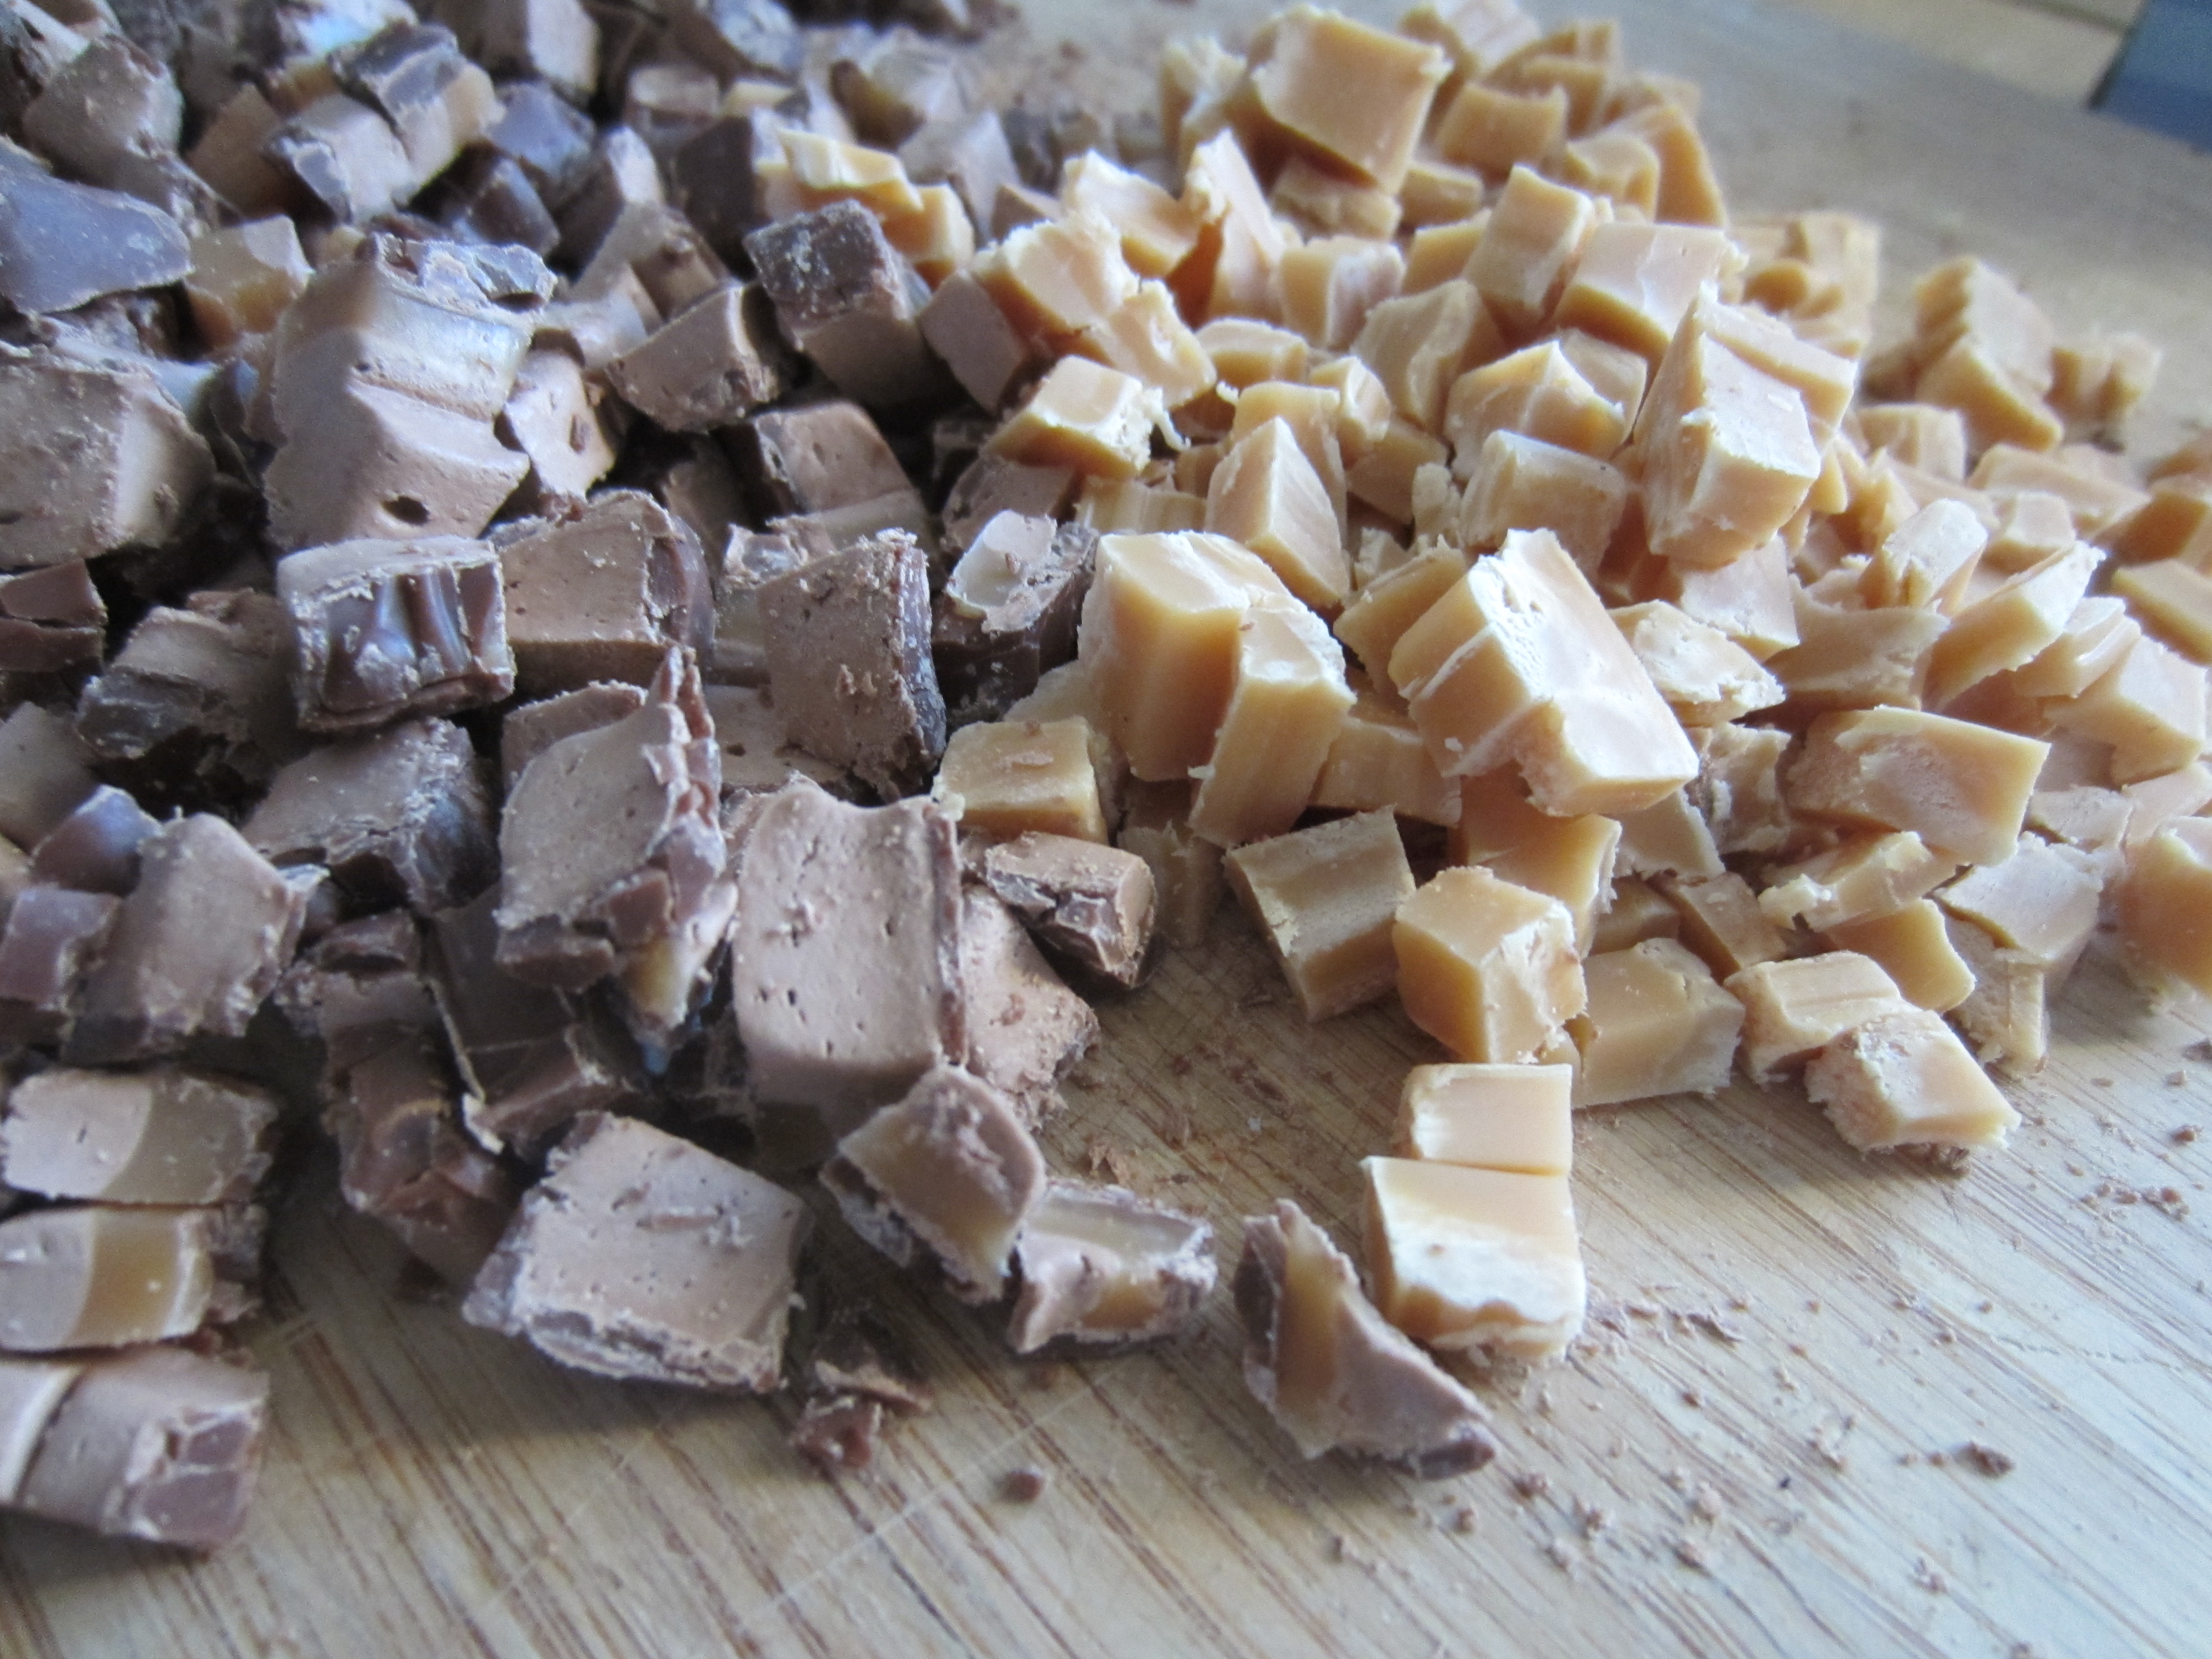
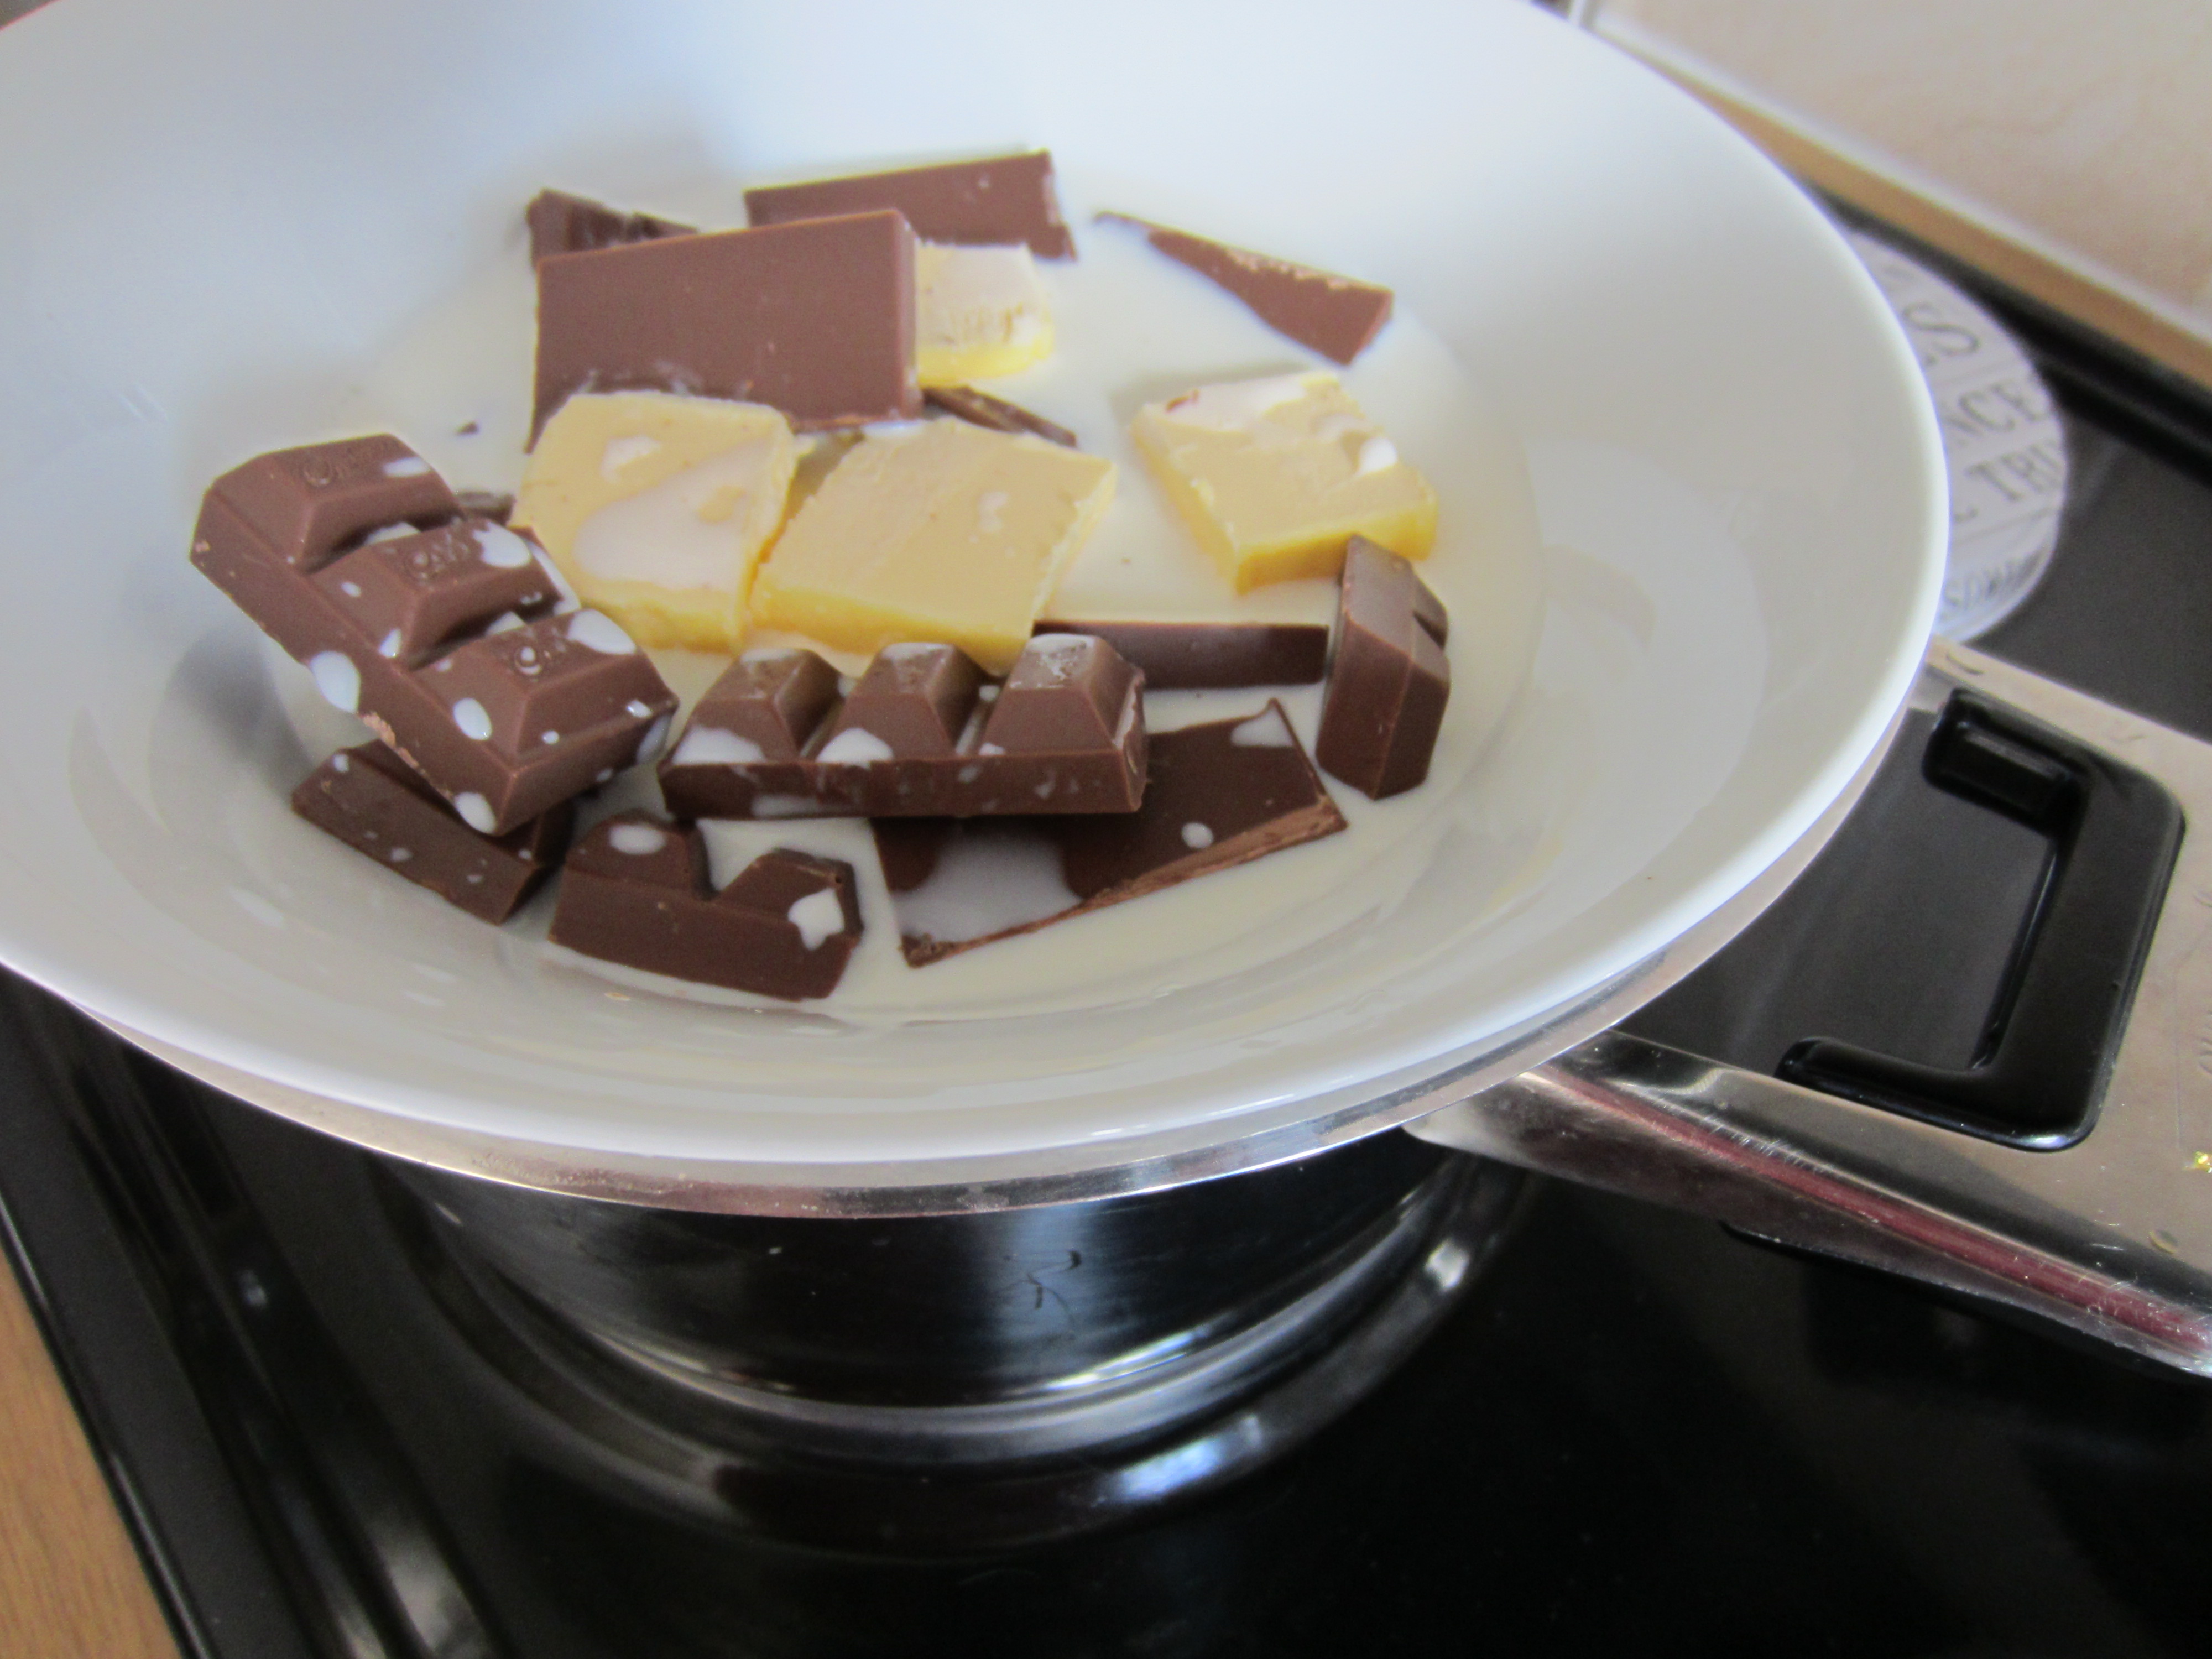
You might be asking what this “…and a bit of everything…” means in the title of this post. Basically, the recipe requires hazelnut liquor, which obviously is not halaal, so I had to opt for an alternative. I could not for the life of me find a hazelnut syrup/extract and therefore decided to just chop up some bar one and caramel squares, I think it had to do with the fact that I was craving the bar-one cheesecake and caramel is just awesome 🙂 This clearly indicates that you can have complete fun with cheesecake, adding in whatever your heart desires – honeycomb, any type of chocolate, even some more…dare I say it…nuts 🙂

What makes this recipe unique is the flavour the vanilla pods bring to this classic recipe. On that note, here comes the recipe….

Ingredients:

For the base:

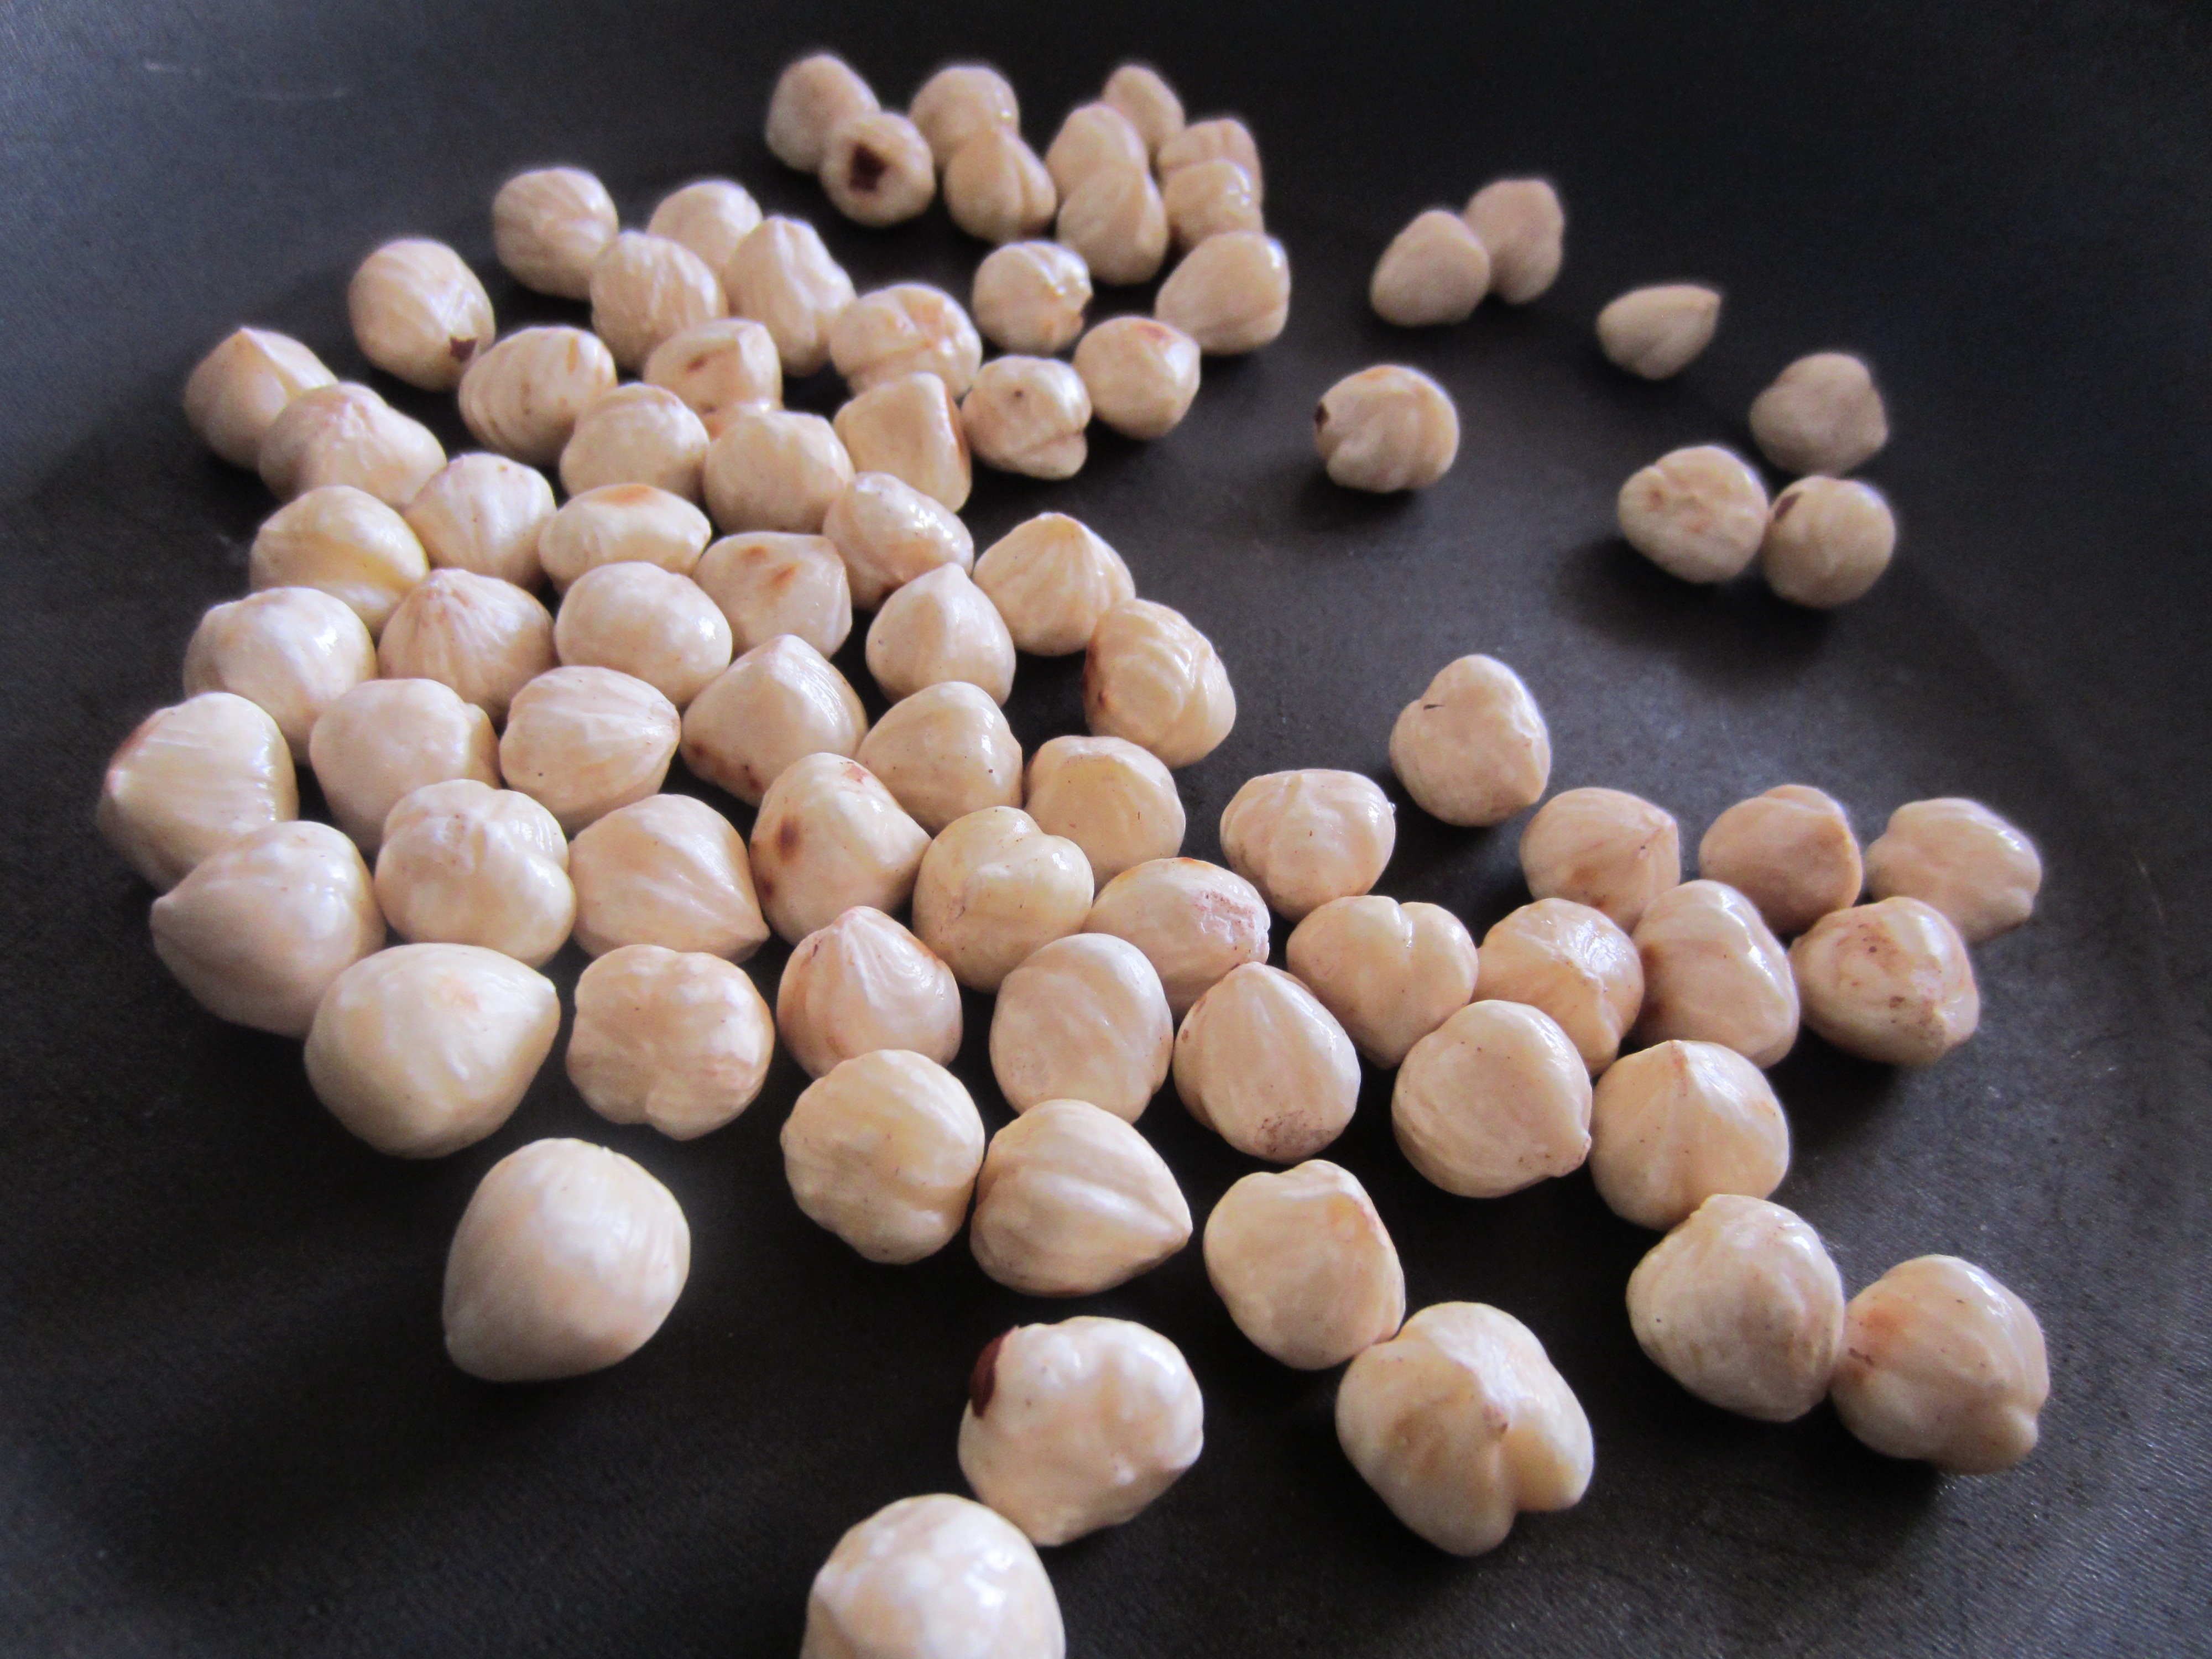
– 70ml whole hazelnuts

– 200g chocolate digestive biscuits

– 100g soft butter

For the cheesecake:

– 125ml water

– 20 ml powdered gelatin

– 500g cream cheese

– 250ml castor  sugar

– 2 Tablespoons Hazelnut syrup or anything your heart desires really

– 1 vanilla pod

– 250ml cream

For the topping:

– 8 blocks of chocolate (dark or milk depending on your preference)

Method:

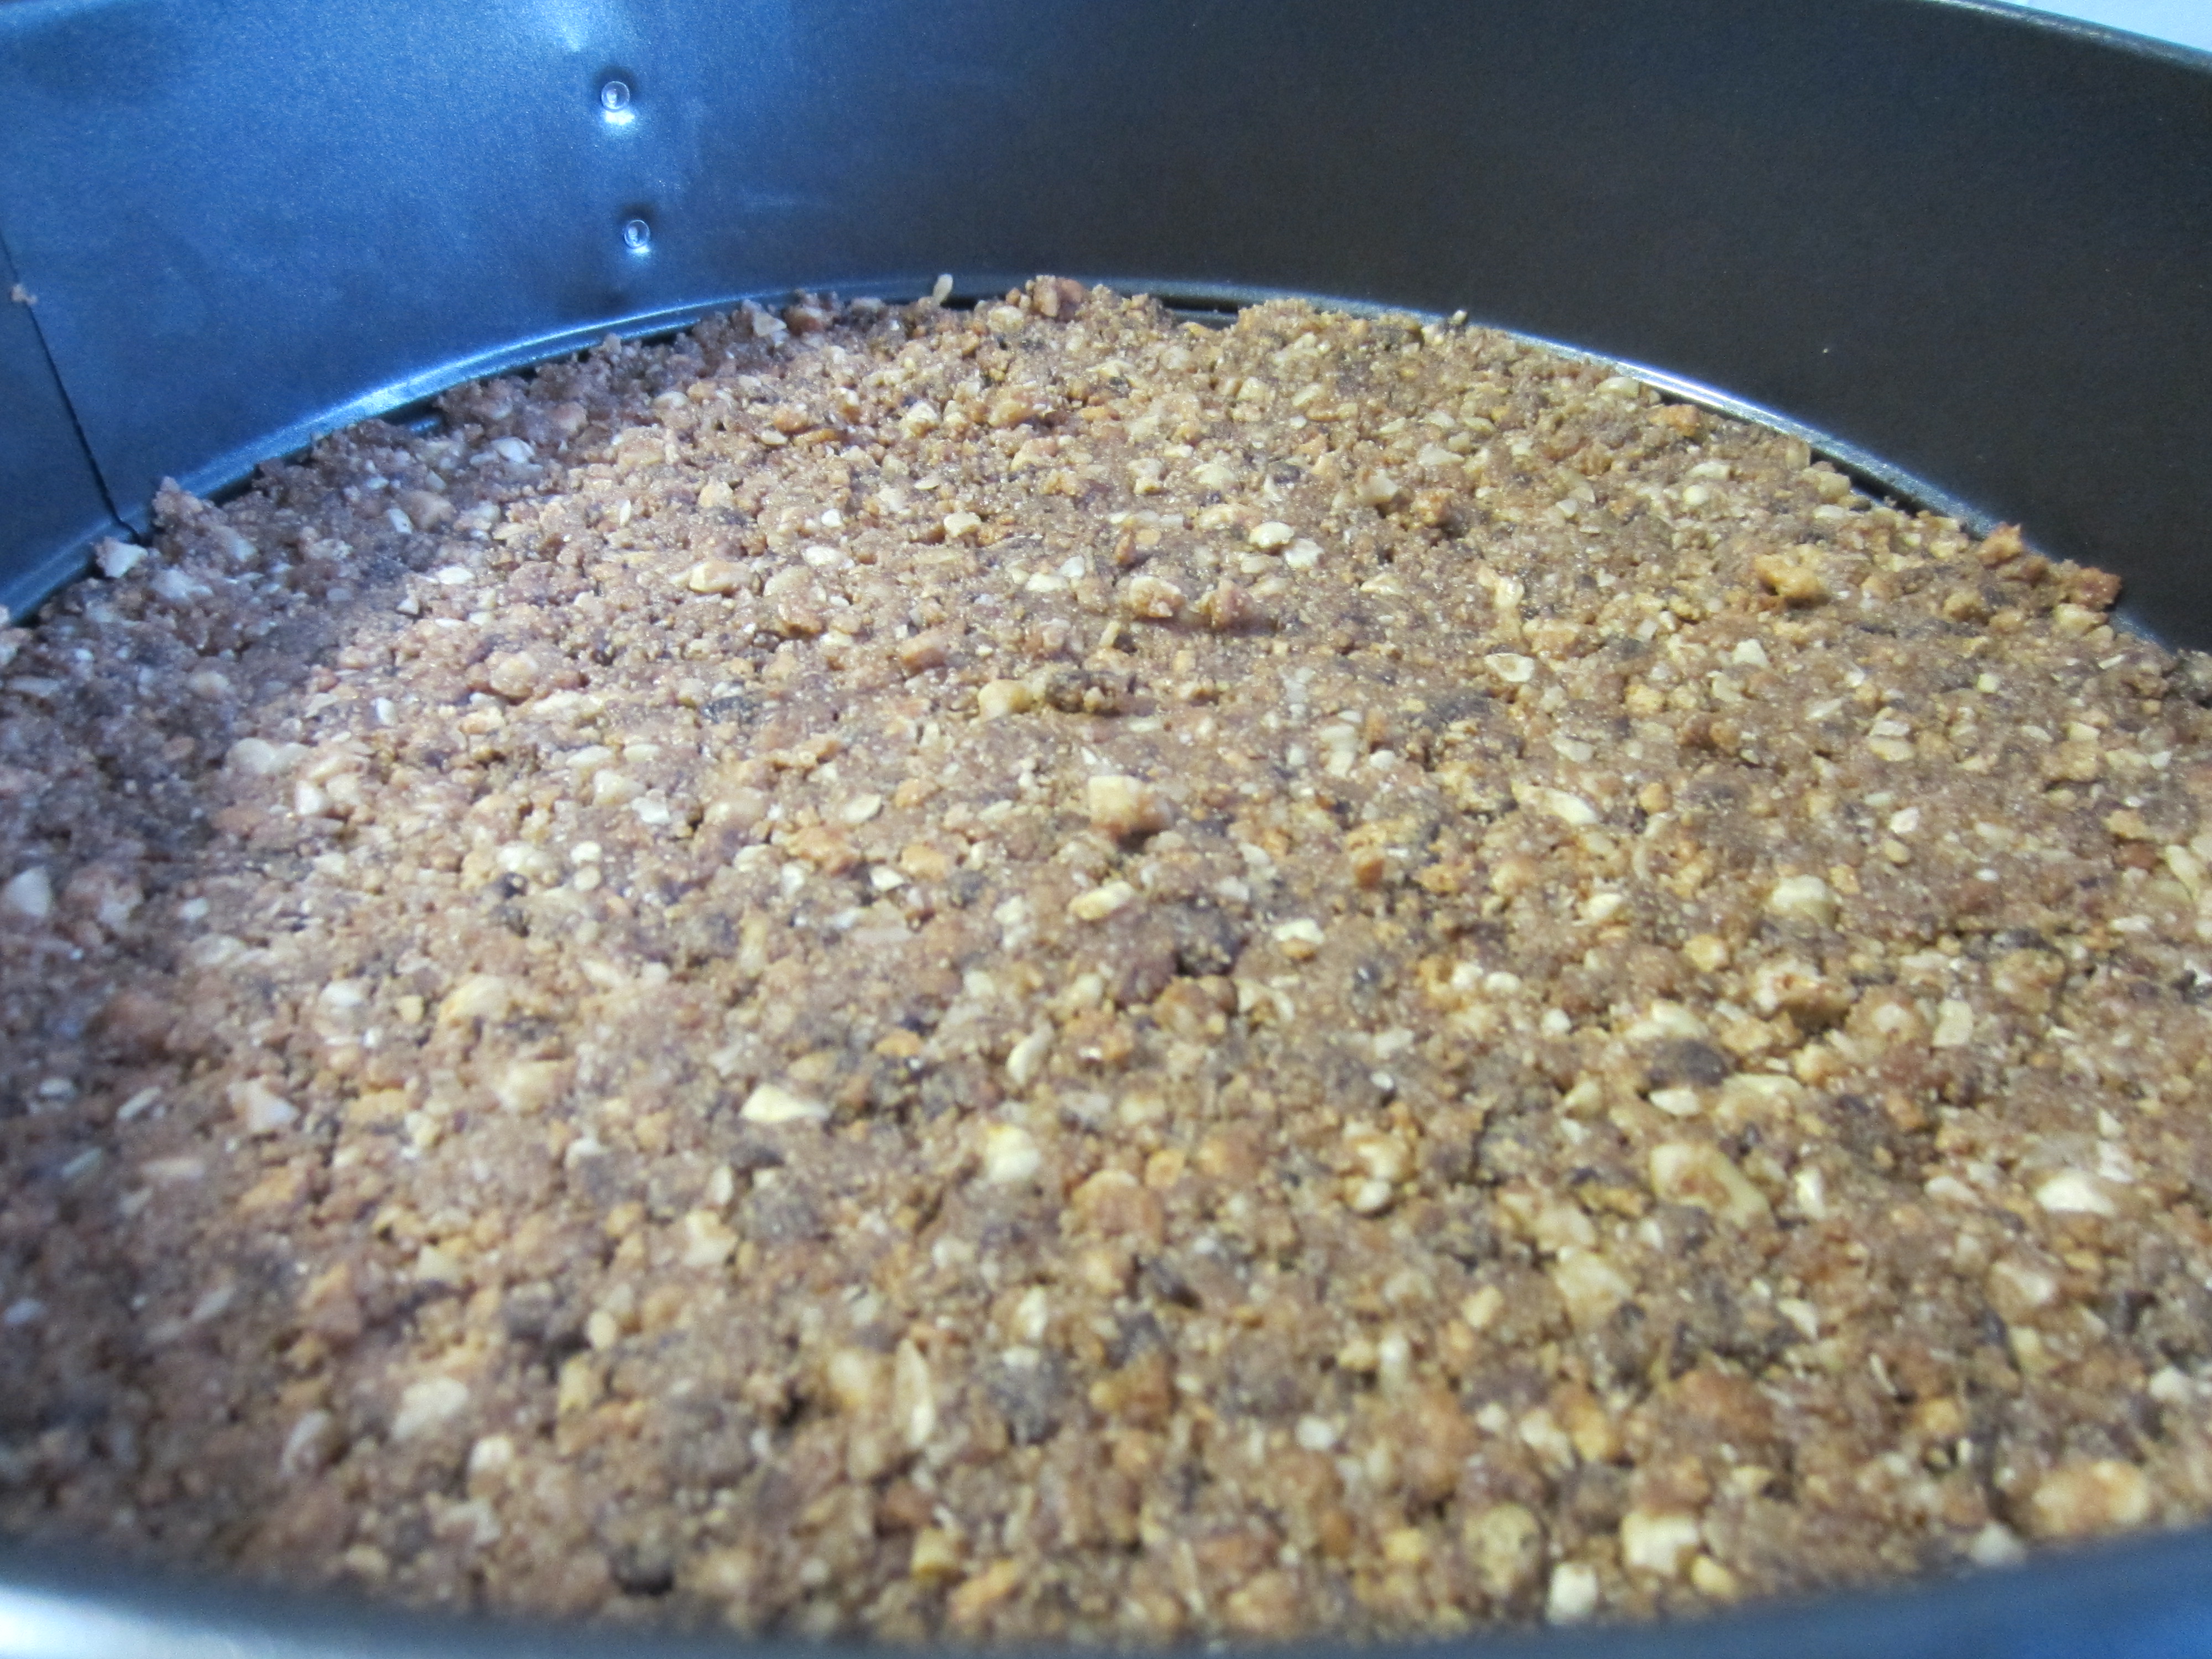
1. Place the hazelnuts in a dry frying pan and toss for a minute or two over a medium flame, or until lightly toasted. Wrap the nuts in a clean tea towel and rub them between your palms to remove some of the skins. Or like me just get the fabulous Woolies hazelnuts which are skinless and beautiful 🙂

IMG_0156

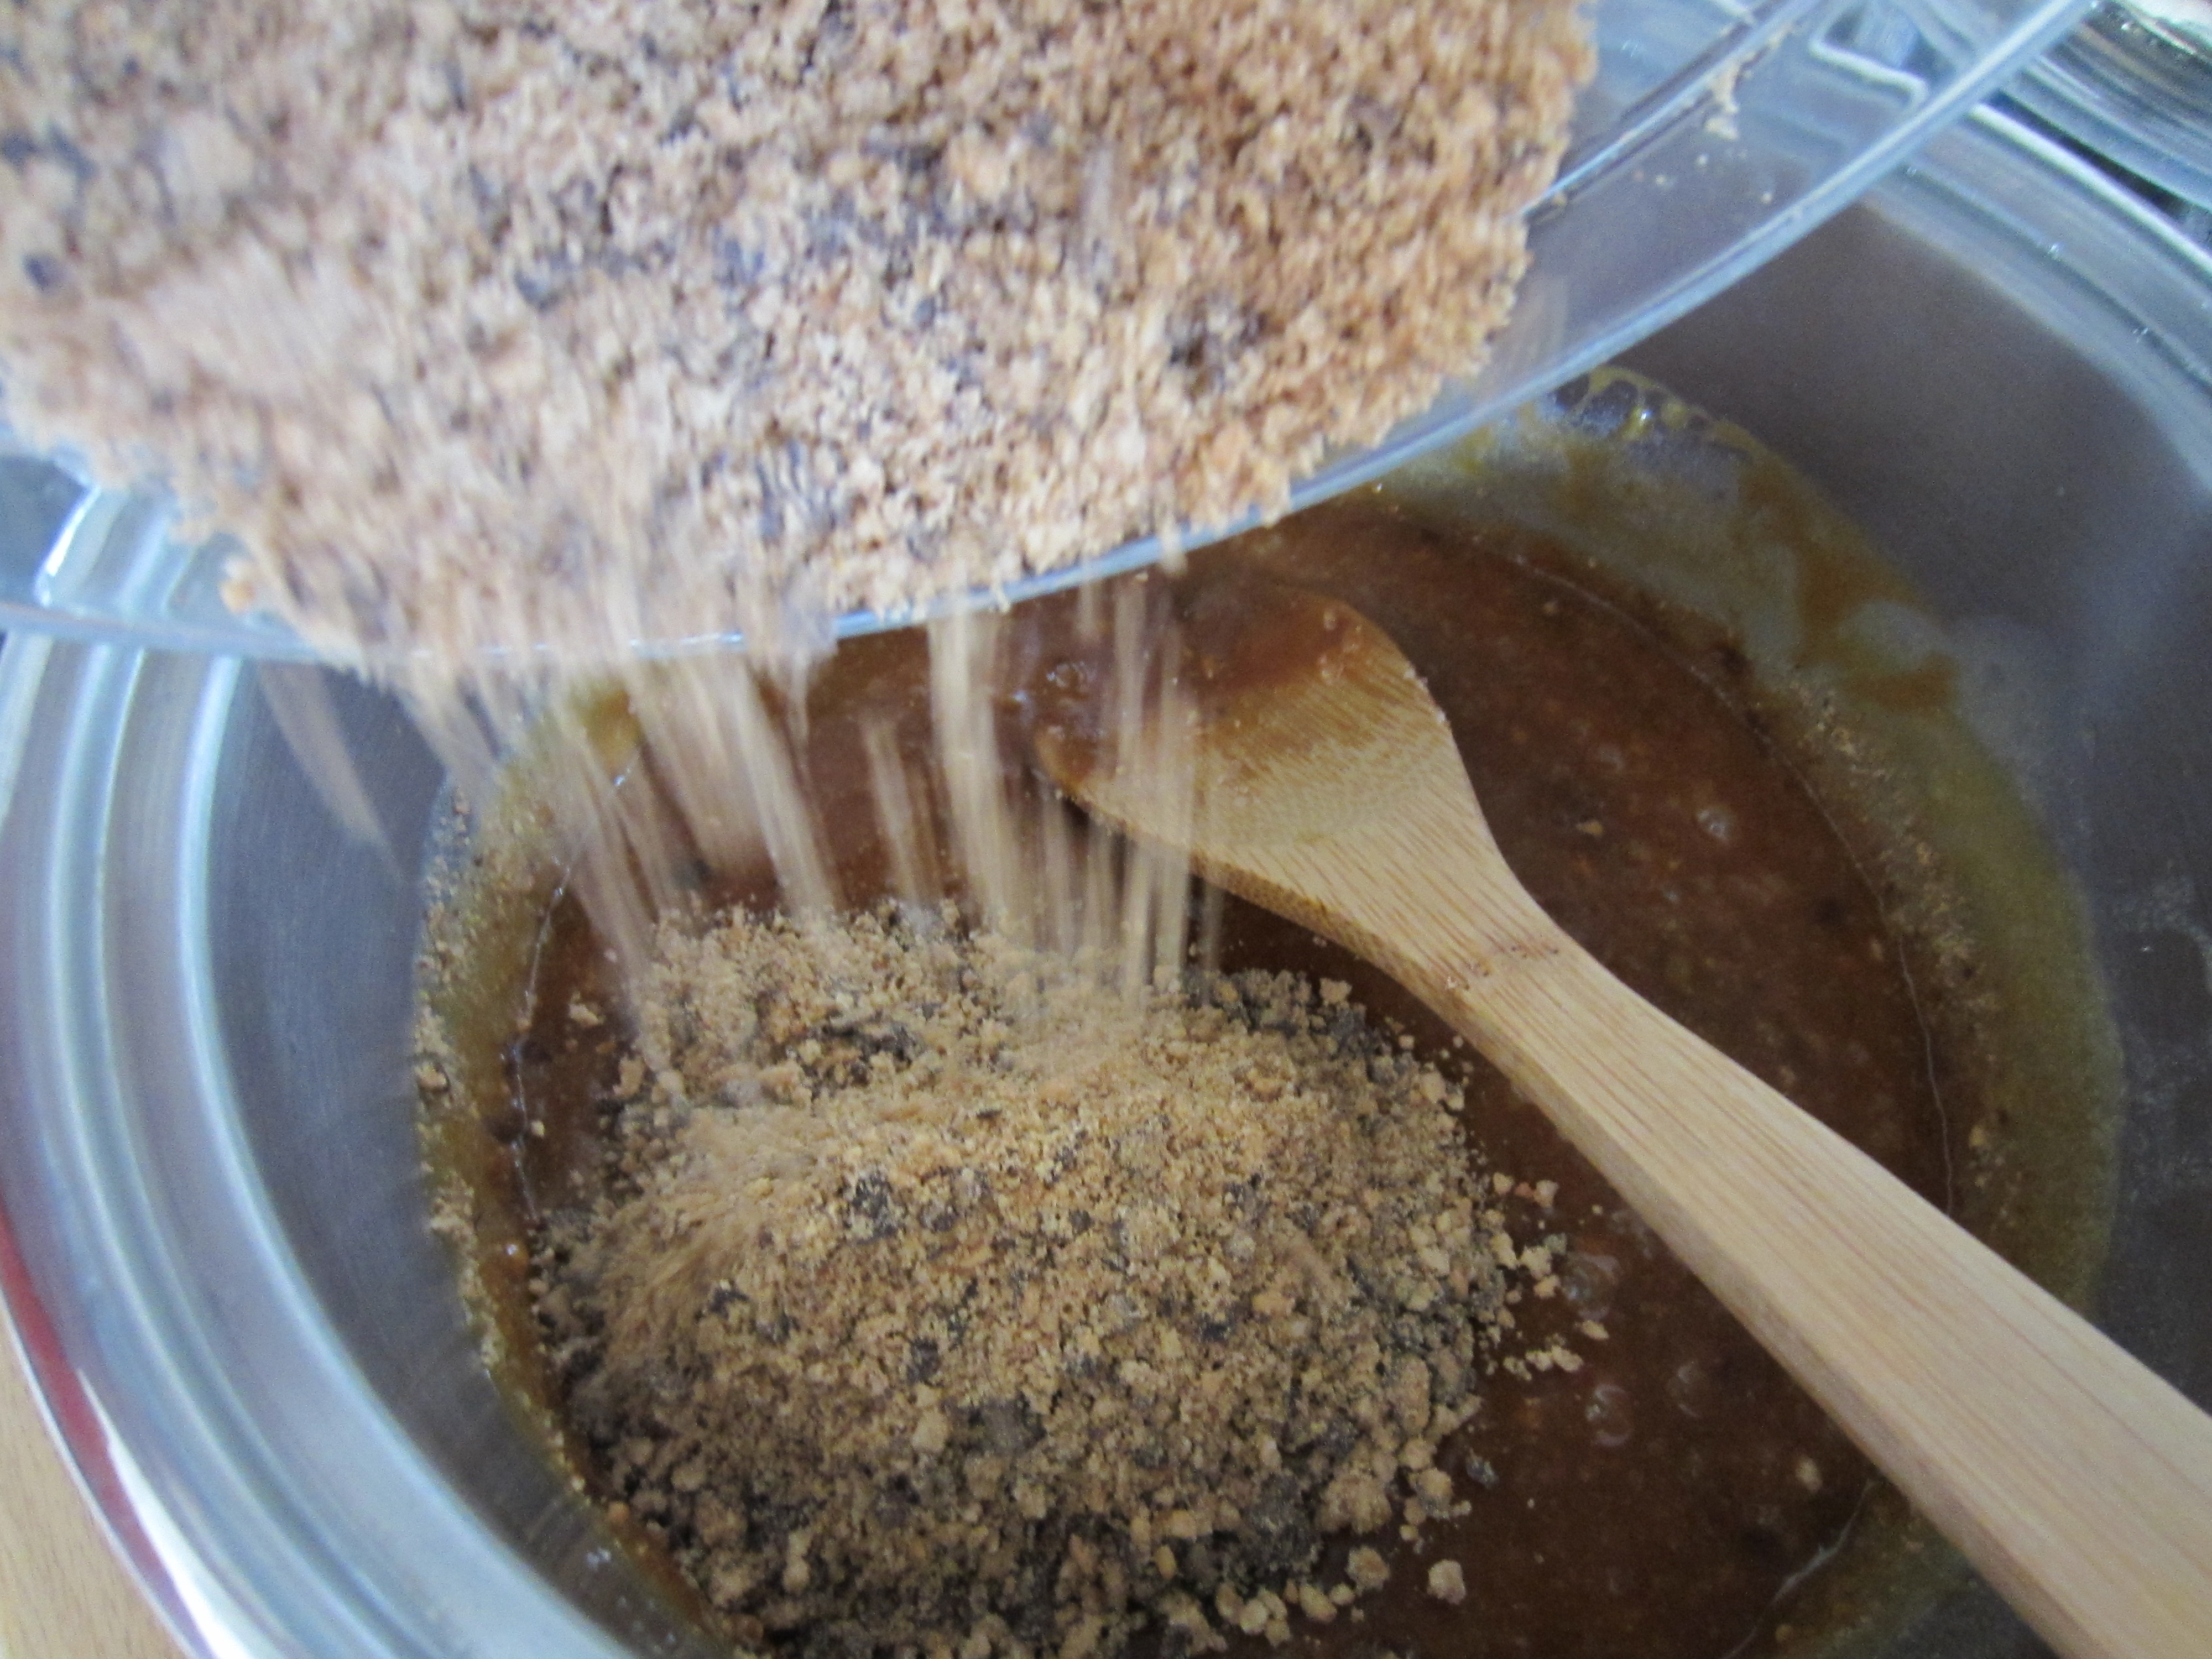
2. Break up the digestive biscuits and place them, with the hazelnuts, in a food processor fitted with a metal blade, or a liquidiser. Process to coarse crumbs, but don’t over-process, which will make the chocolate sticky. Place in a bowl, add the soft butter and stir well to combine. Press the mixture evenly onto the base of a non-stick 24-cm springform cake tin. Place in the fridge while you make the topping.

IMG_0164

3. Put the water in a little heat-proof bowl or ramekin and sprinkle the gelatine on top. Set aside for a few minutes, or until the gelatine has sponged. Put the bowl in a pot of simmering water (the water should come half-way up the sides) and stir occasionally as the gelatine melts. When the liquid is clear, remove the bowl from the hot water and set aside to cool for a few minutes.

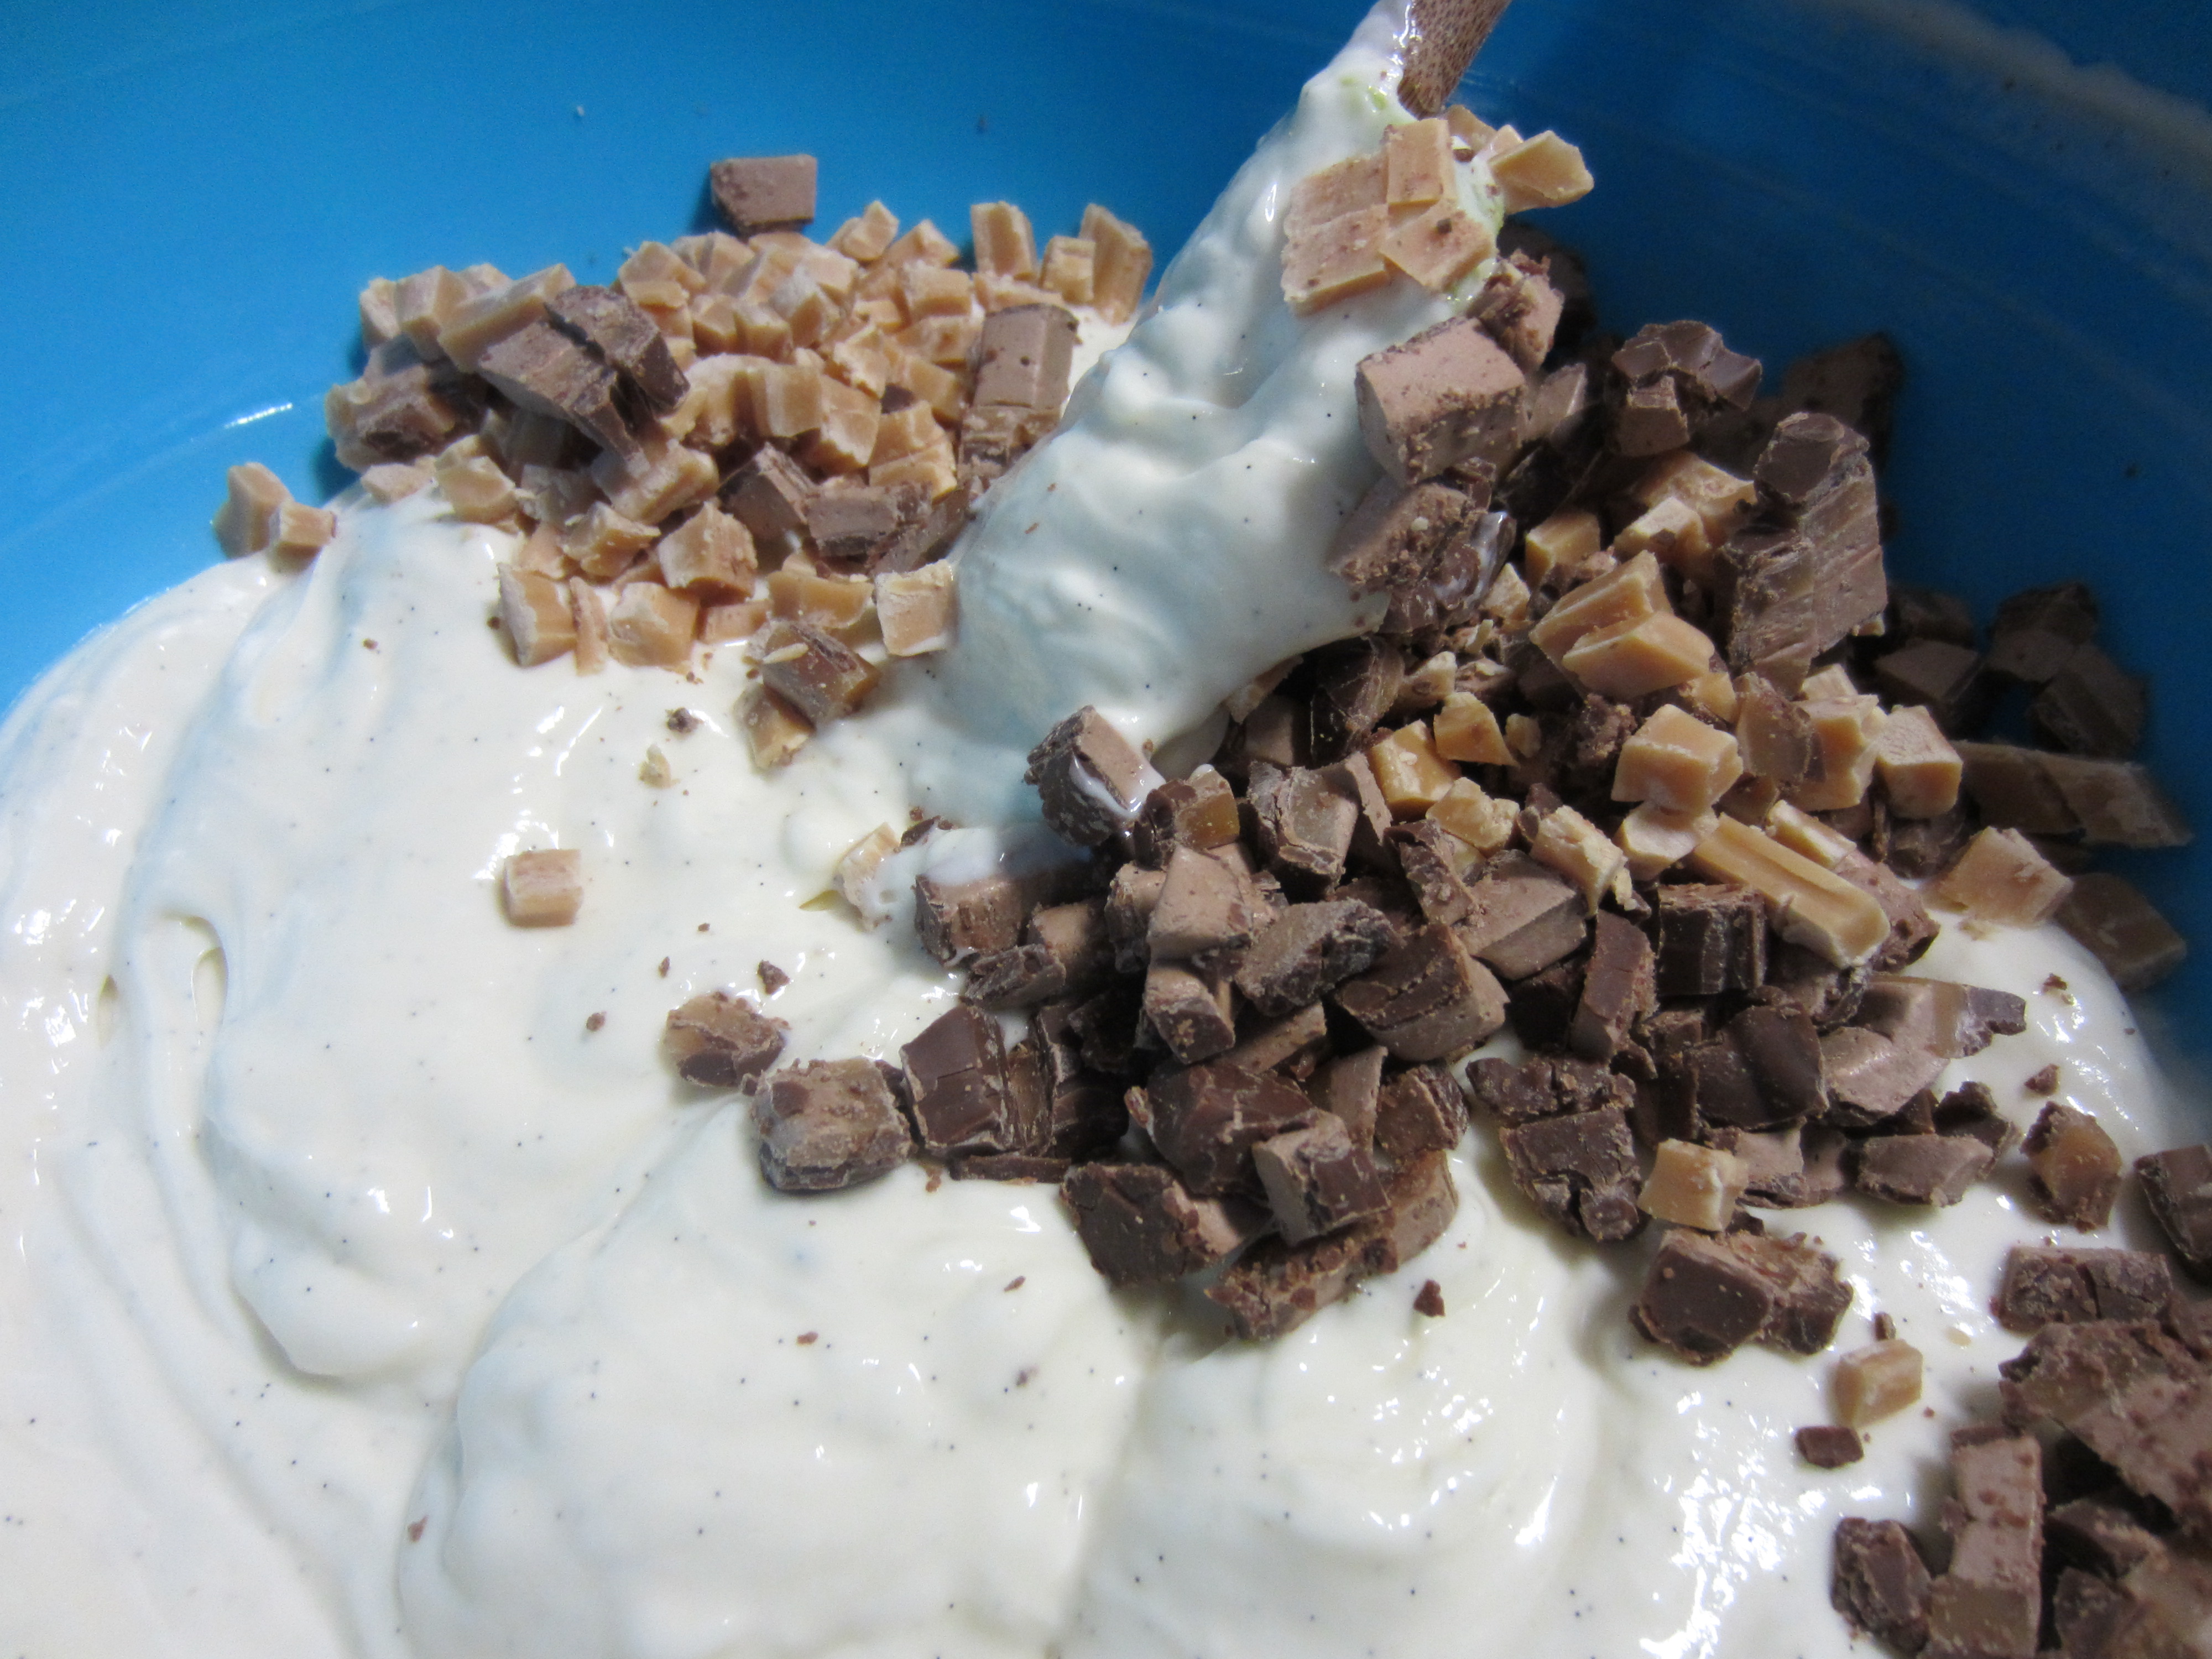
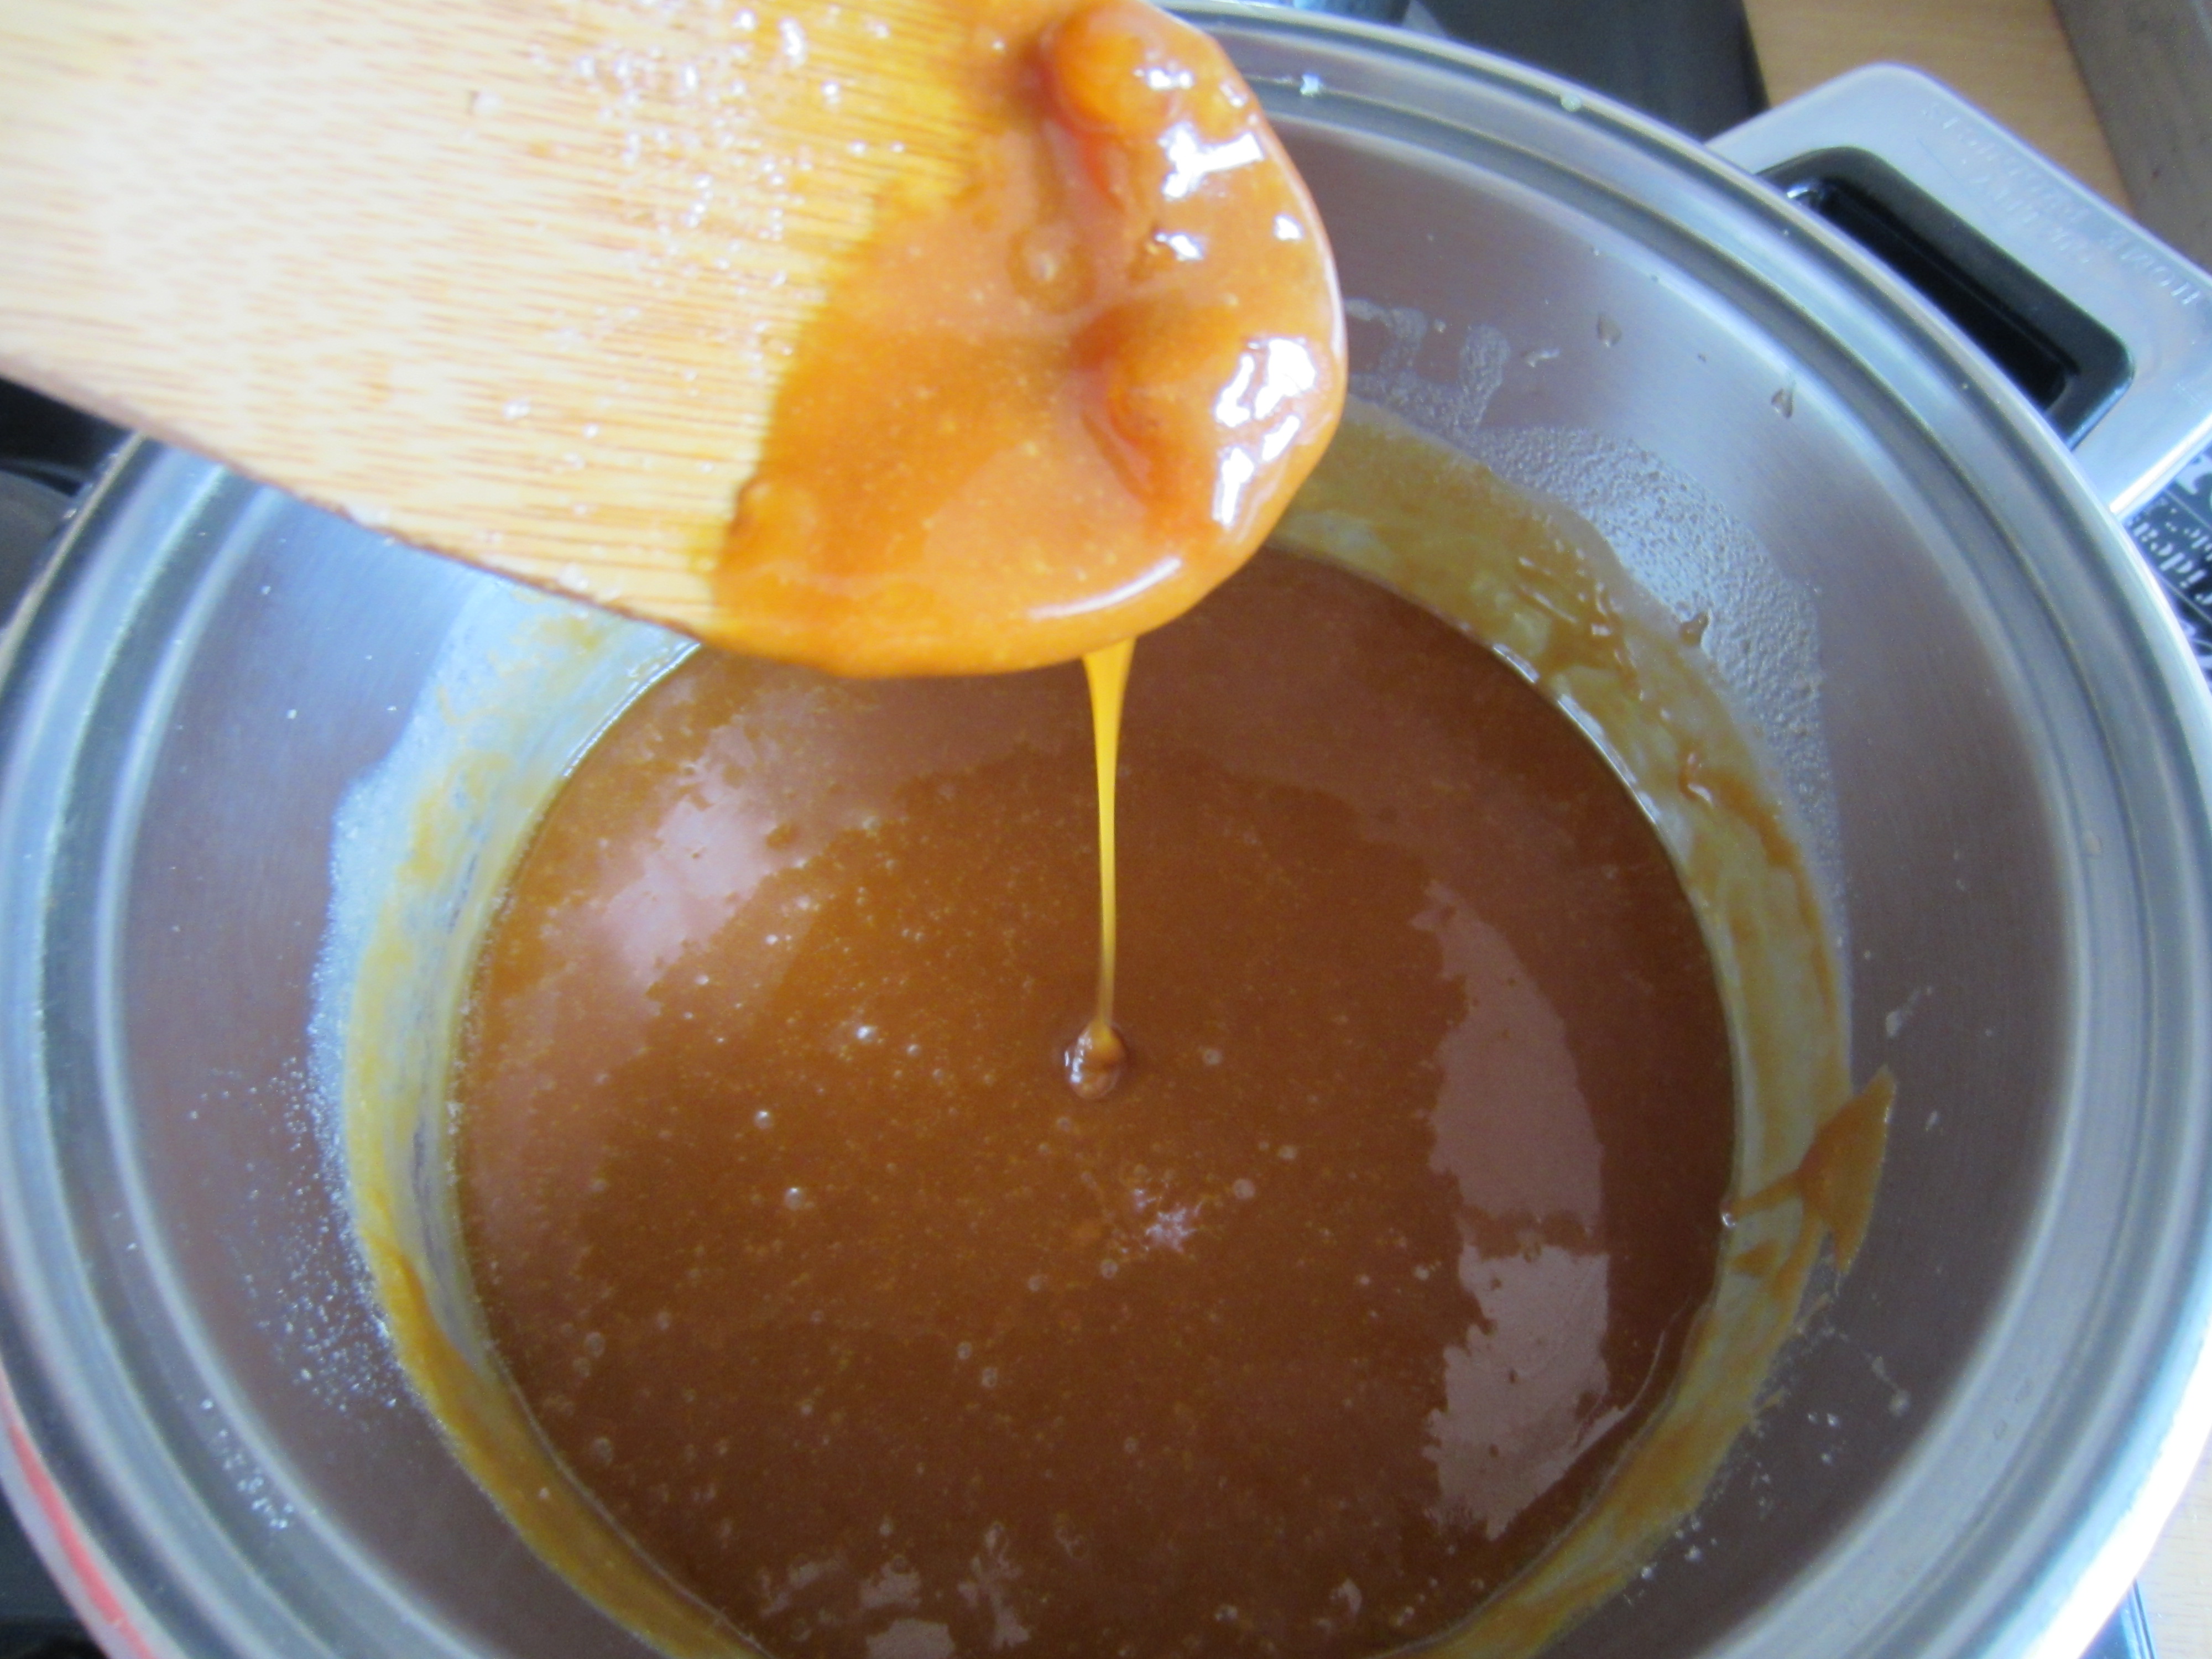
4. Combine the cream cheese, castor sugar and hazelnut syrup or extract (or whatever you choose to include, this is where I added the chopped up bar-one and caramel squares)  in a large bowl, using a whisk or hand beater.

IMG_0159

IMG_0161

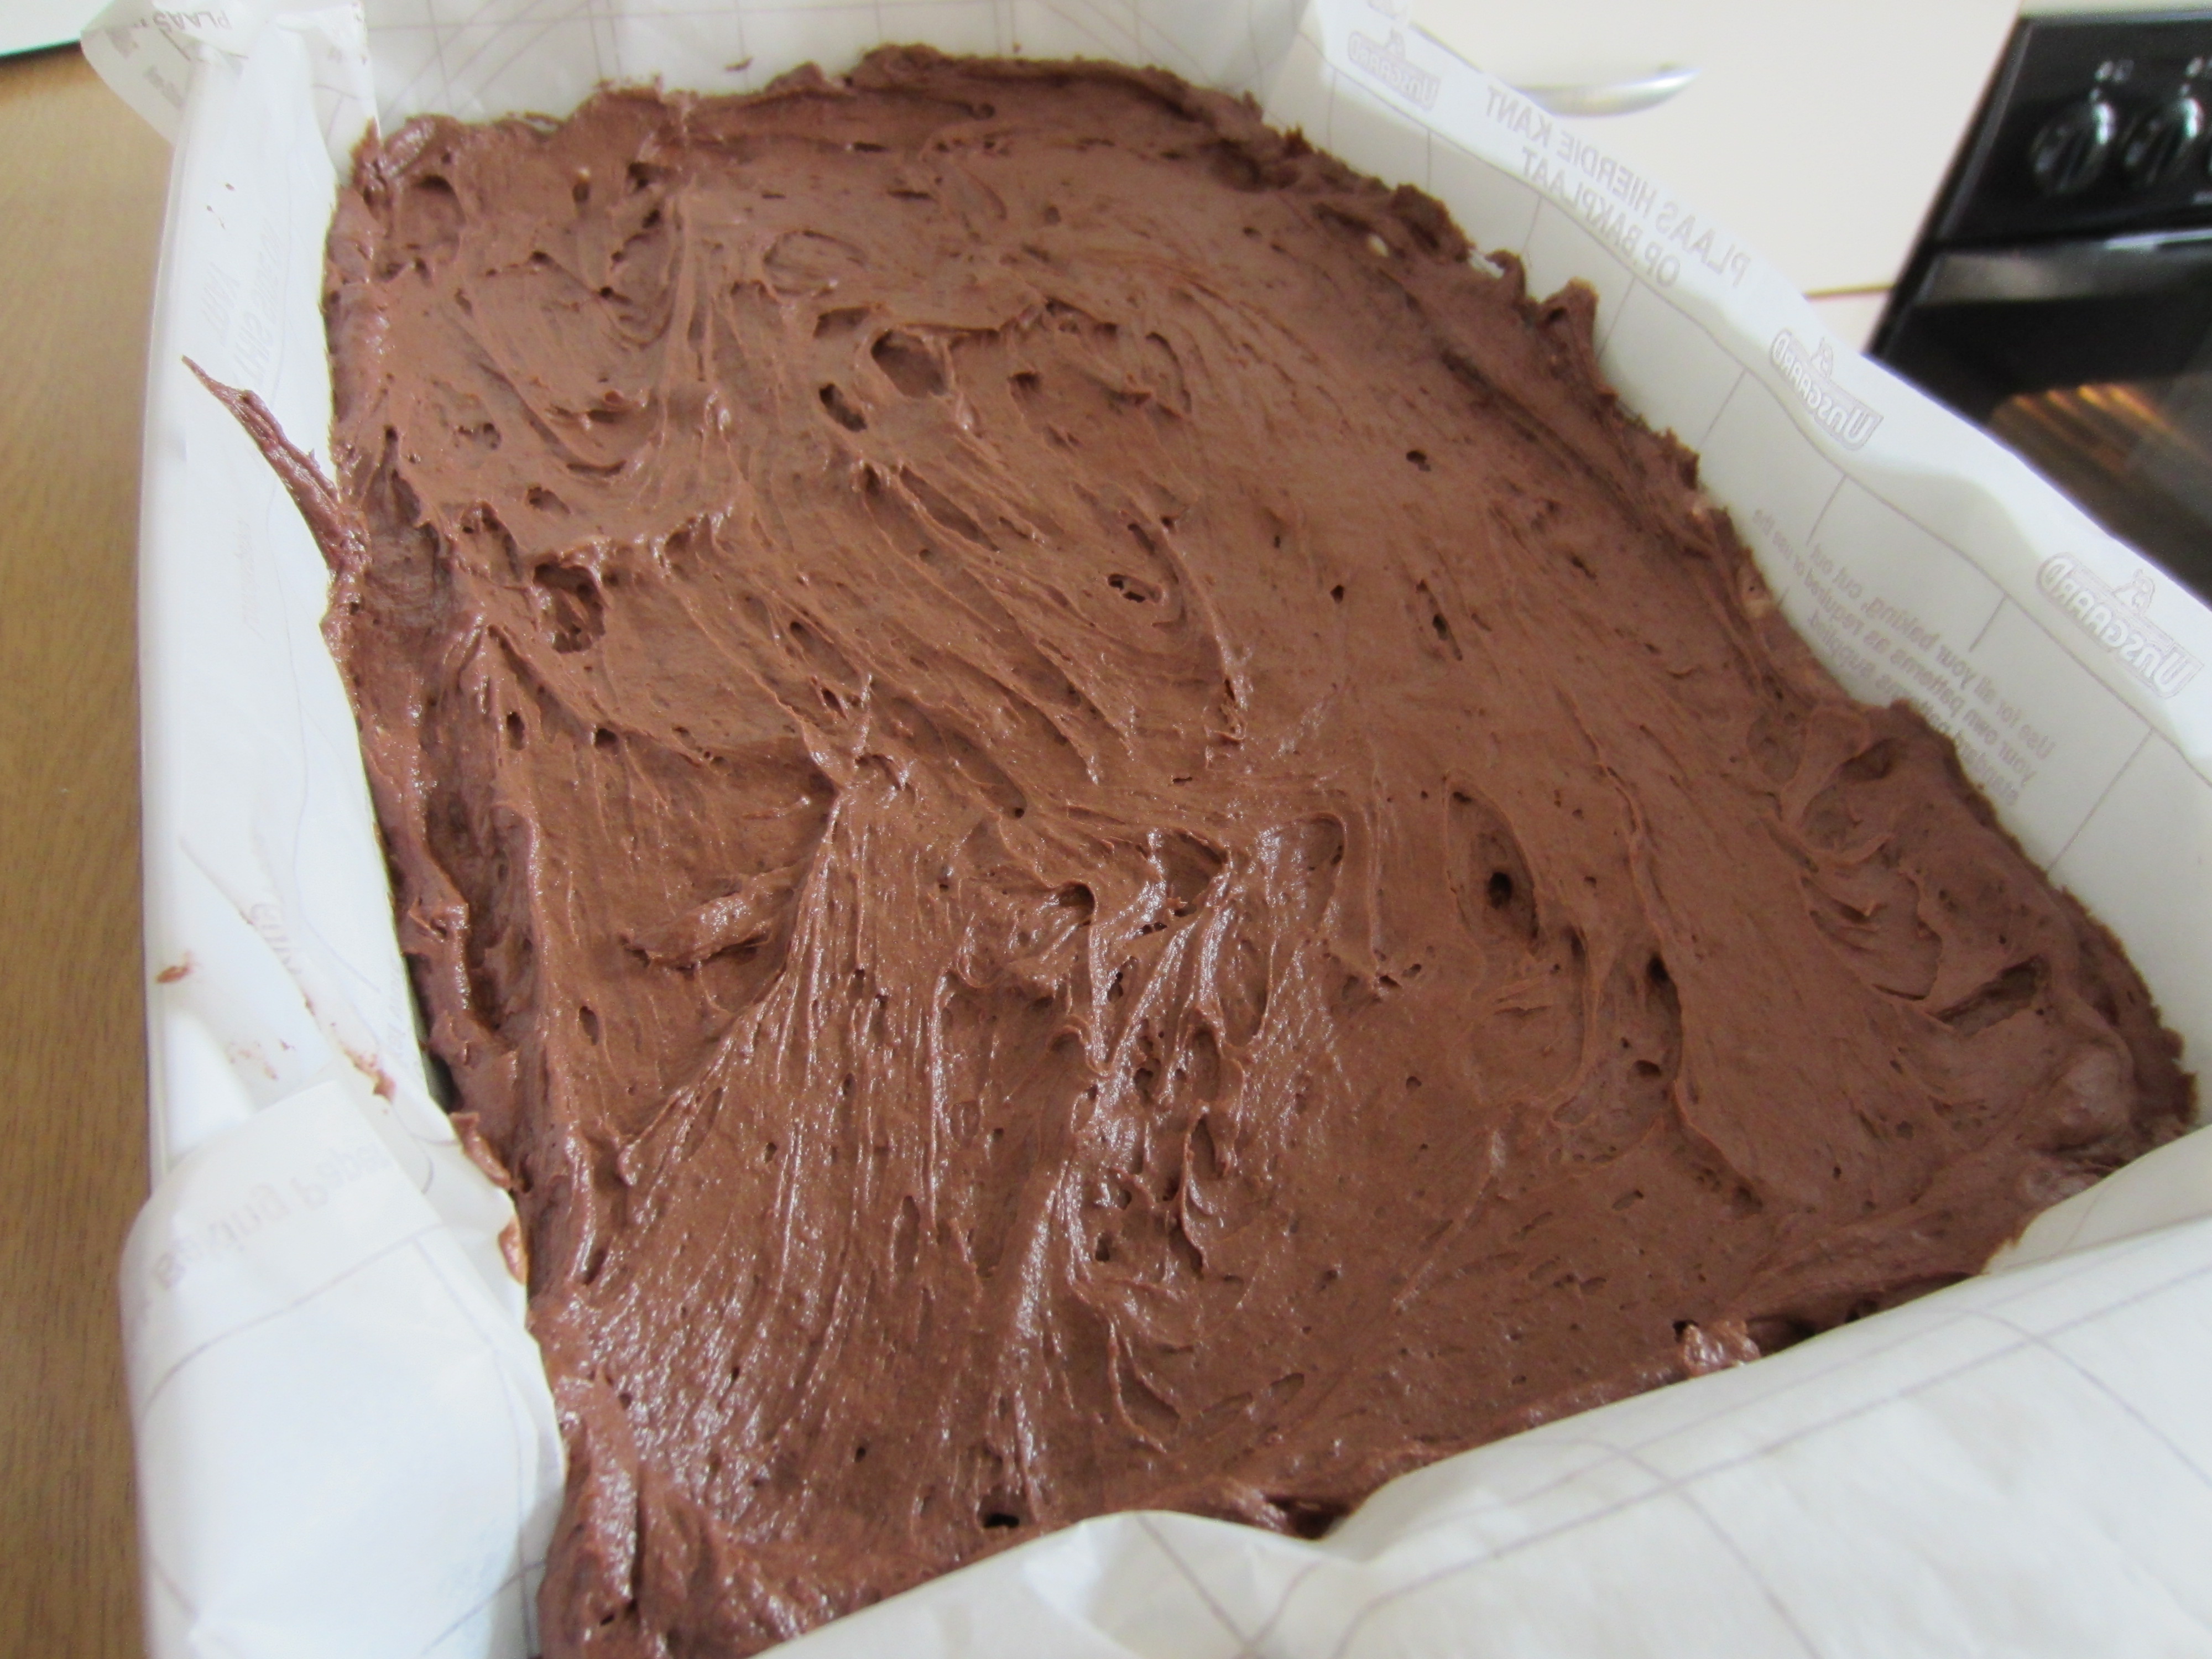
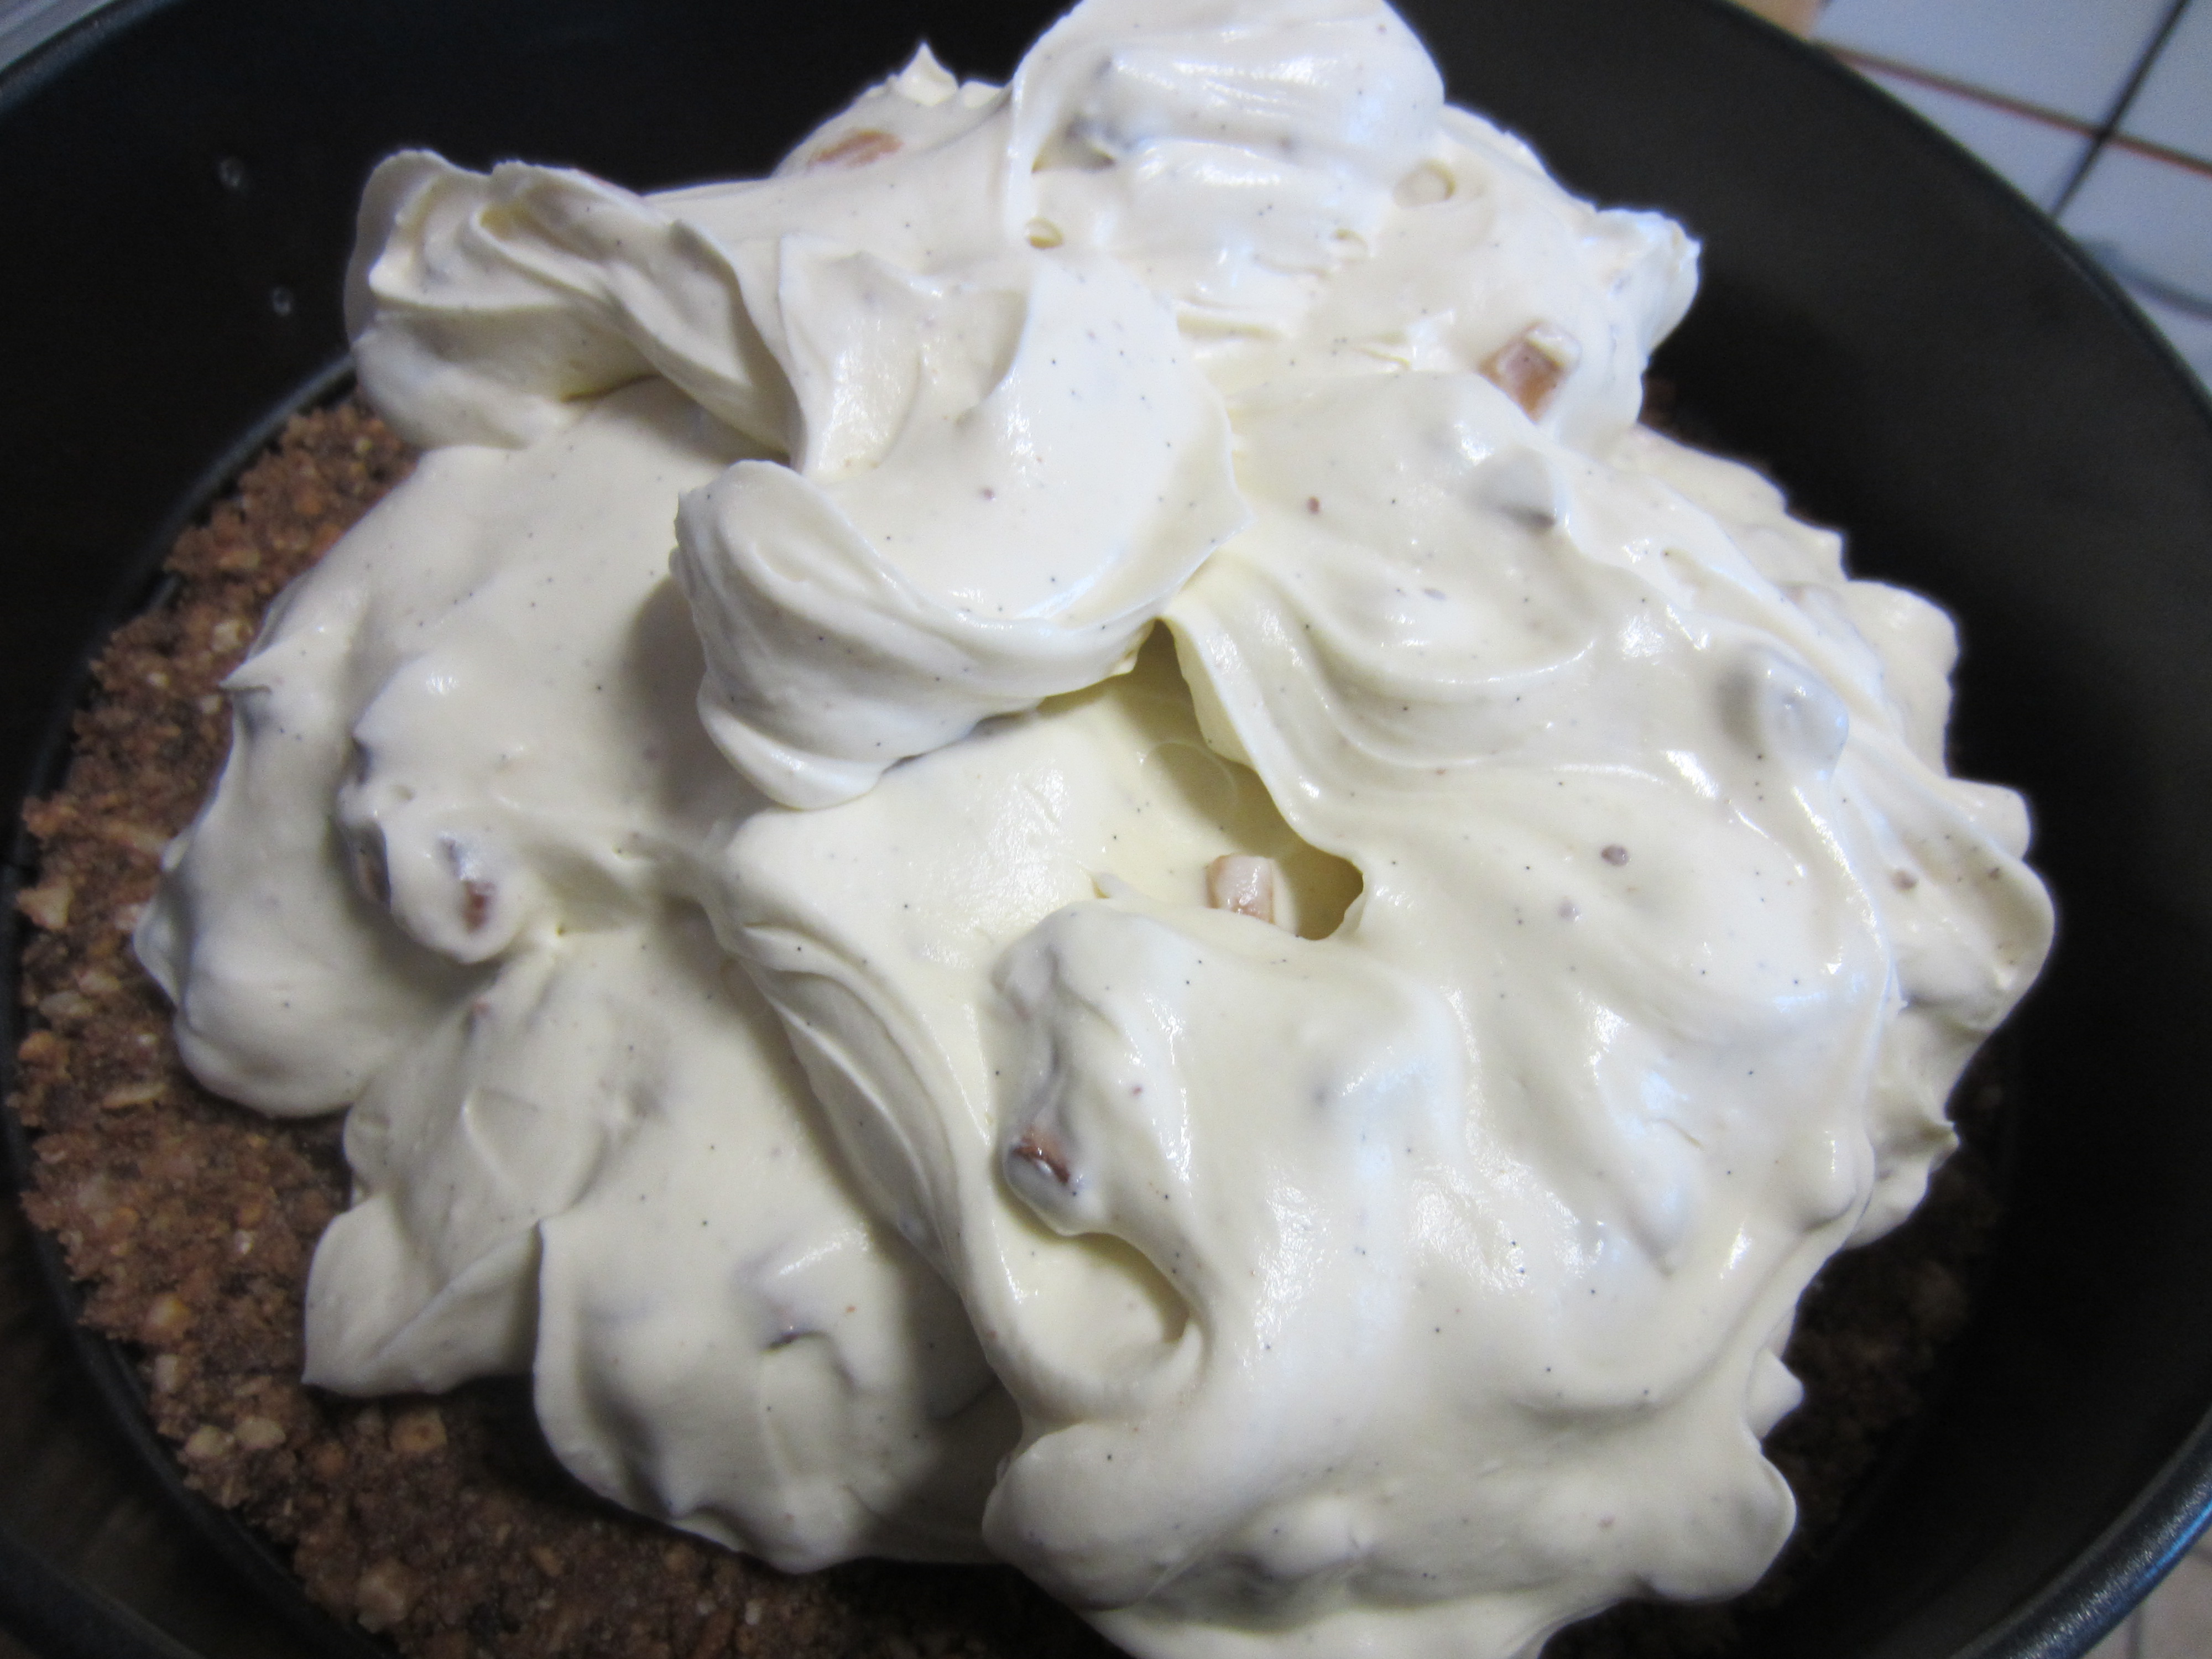
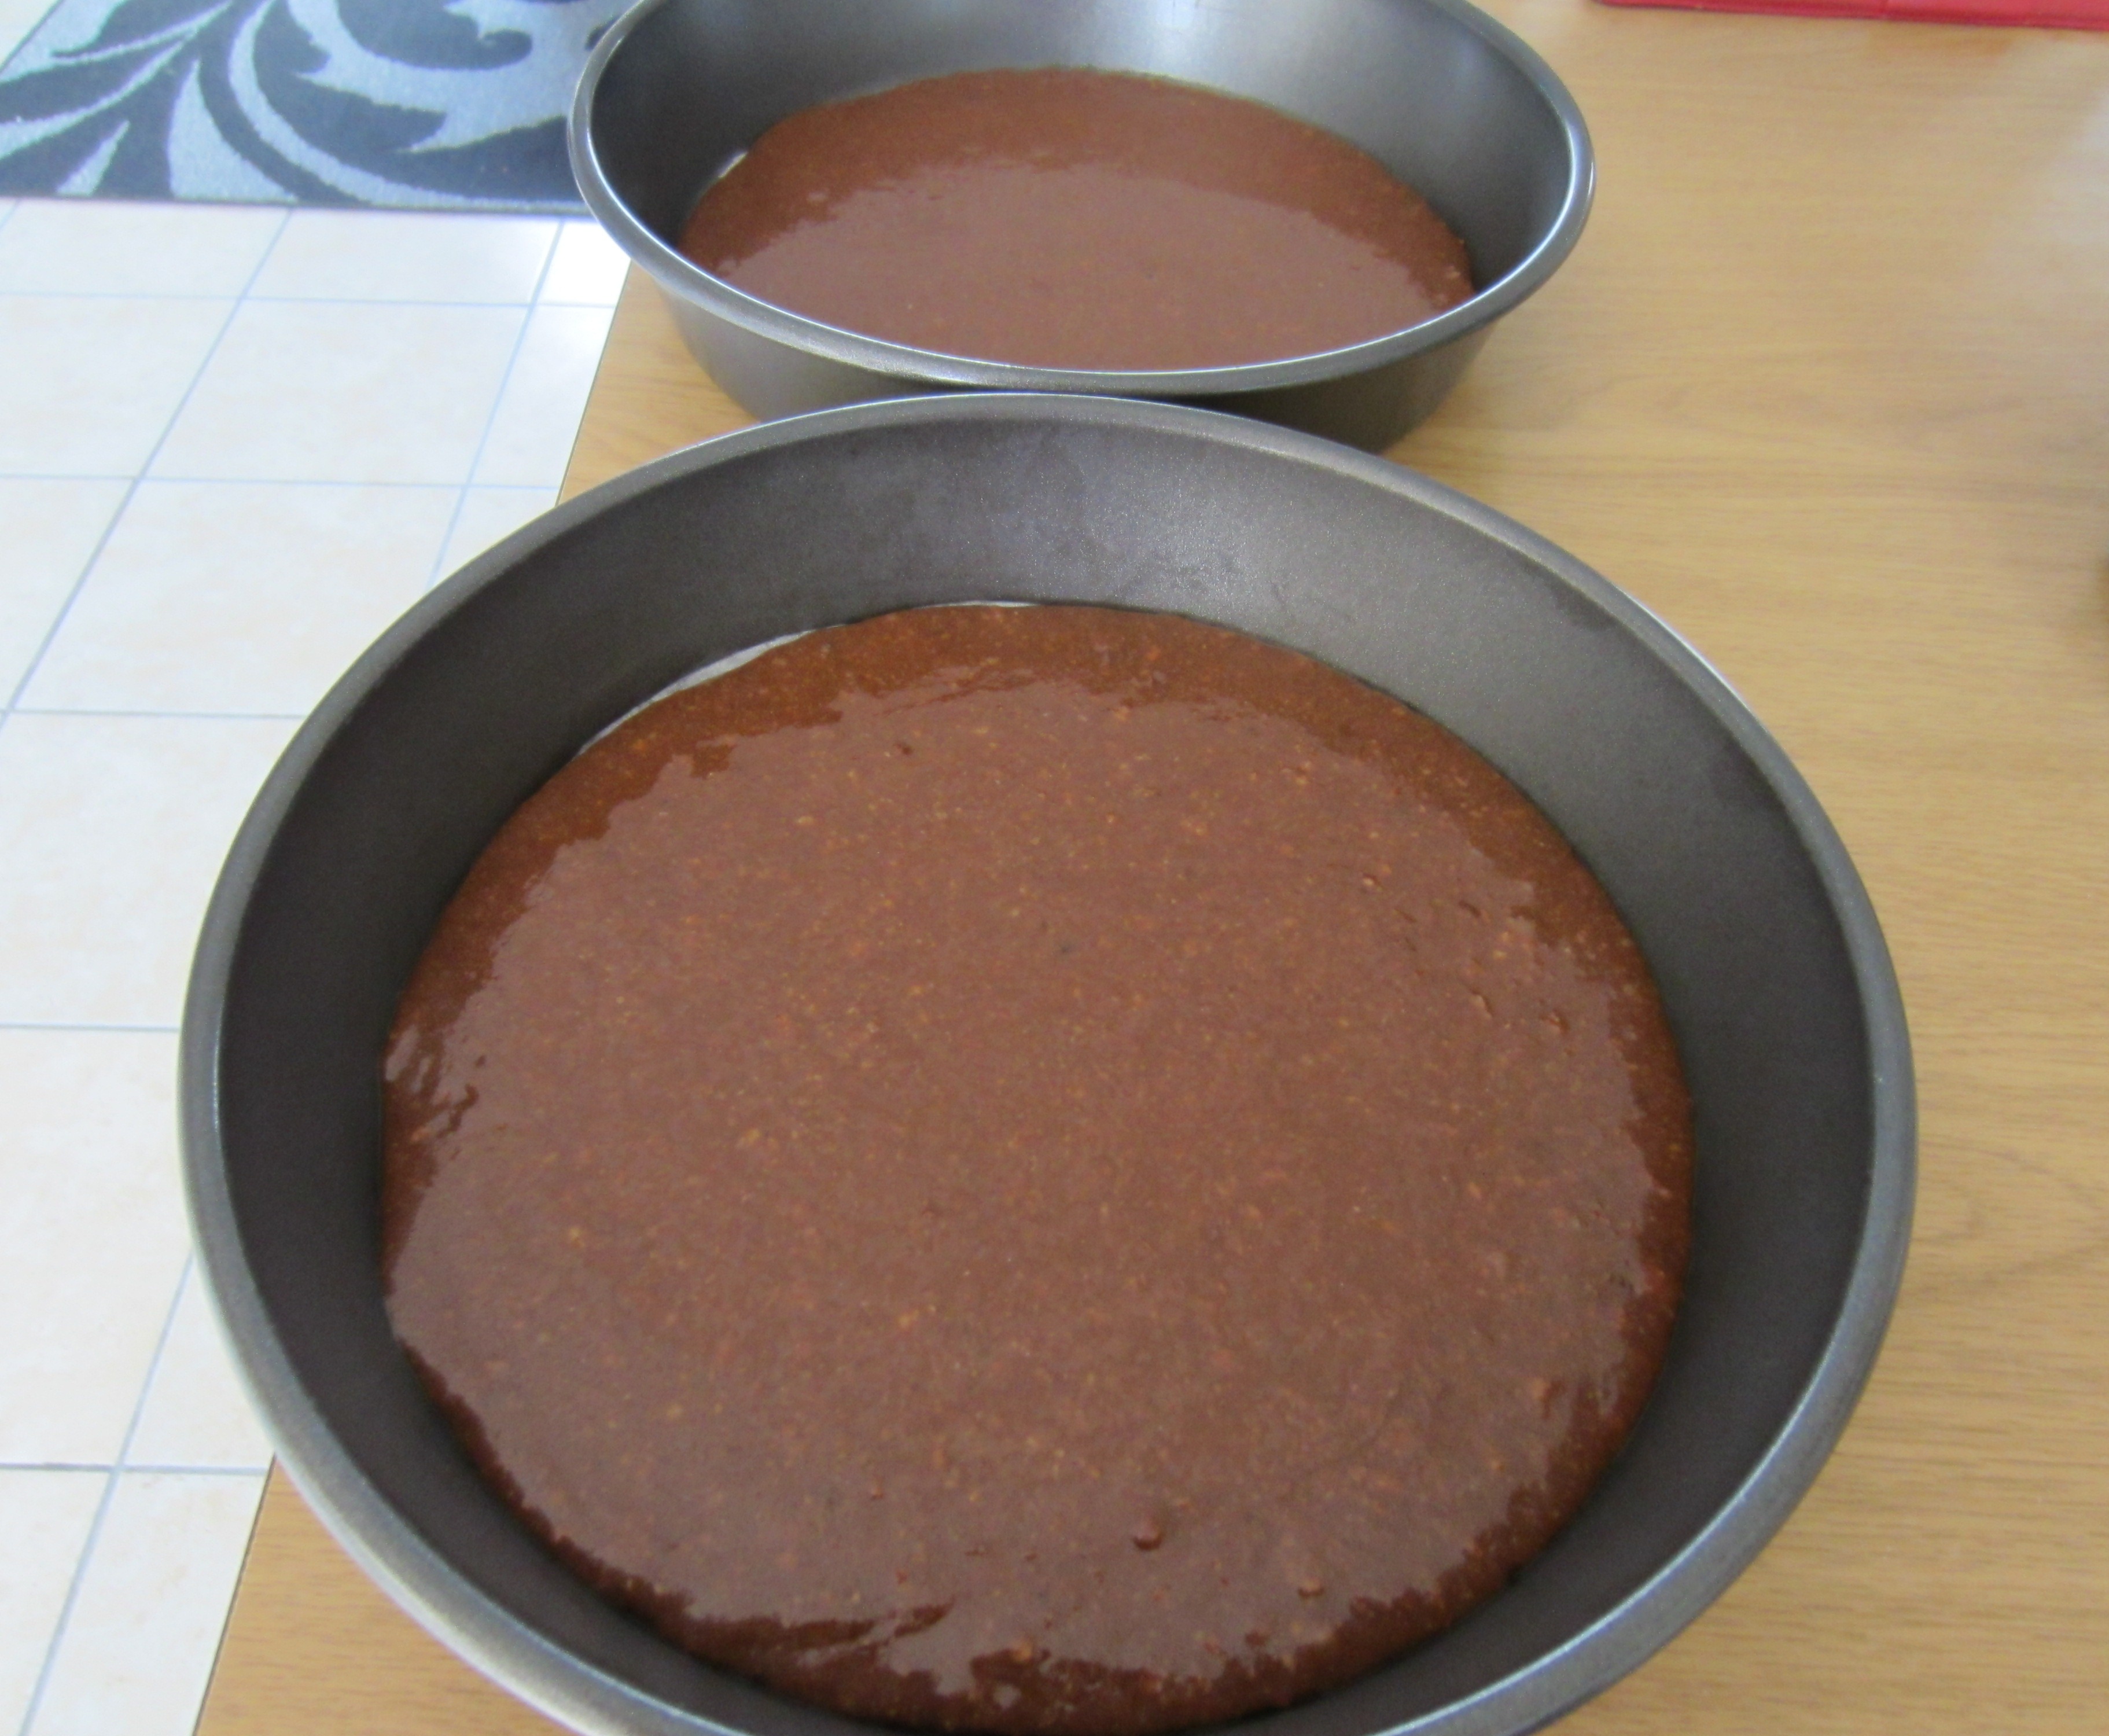
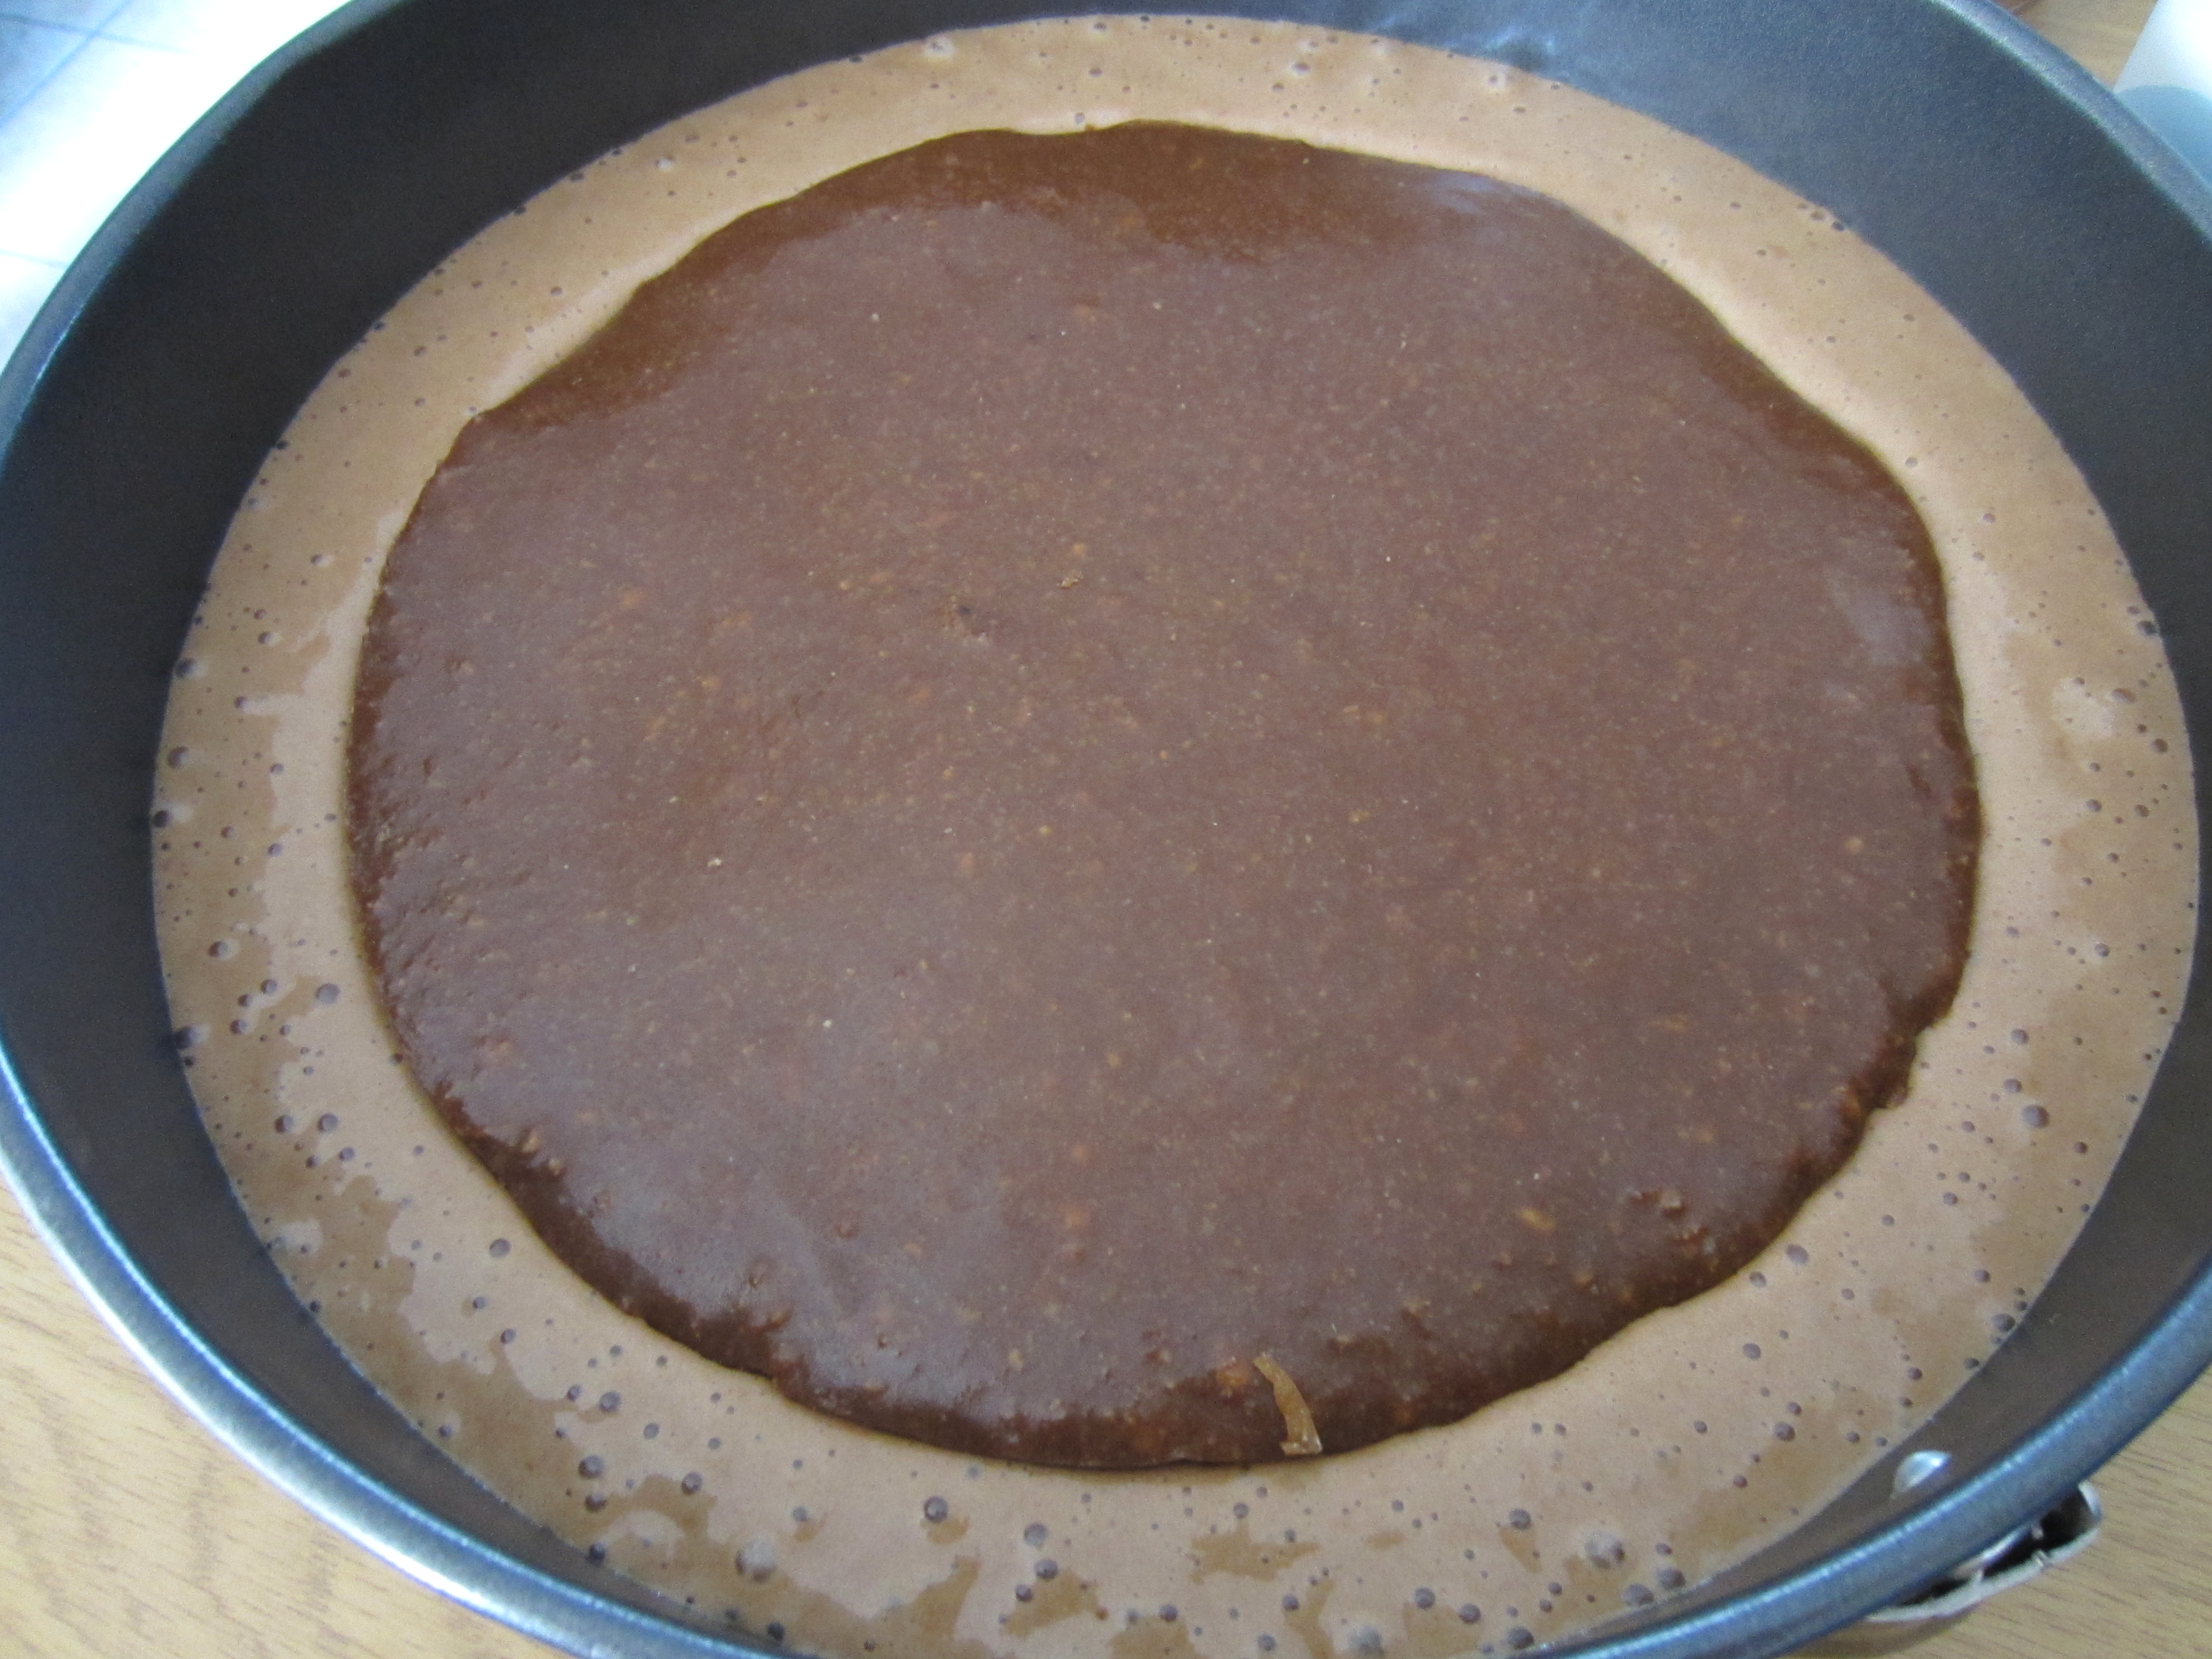
5. Cut the vanilla pod in half, scrape out the black seeds with the blade of a knife, and add to the mixture. Add the warm gelatine mixture and stir well to combine. Whip the cream in a separate bowl until it forms soft peaks. Fold half the cream into the cream cheese mixture, and then fold in the other half. Pour the mixture into the cake tin and tap the tin gently on the countertop to release any bubbles. Place in the fridge for four hours to set.

IMG_0166

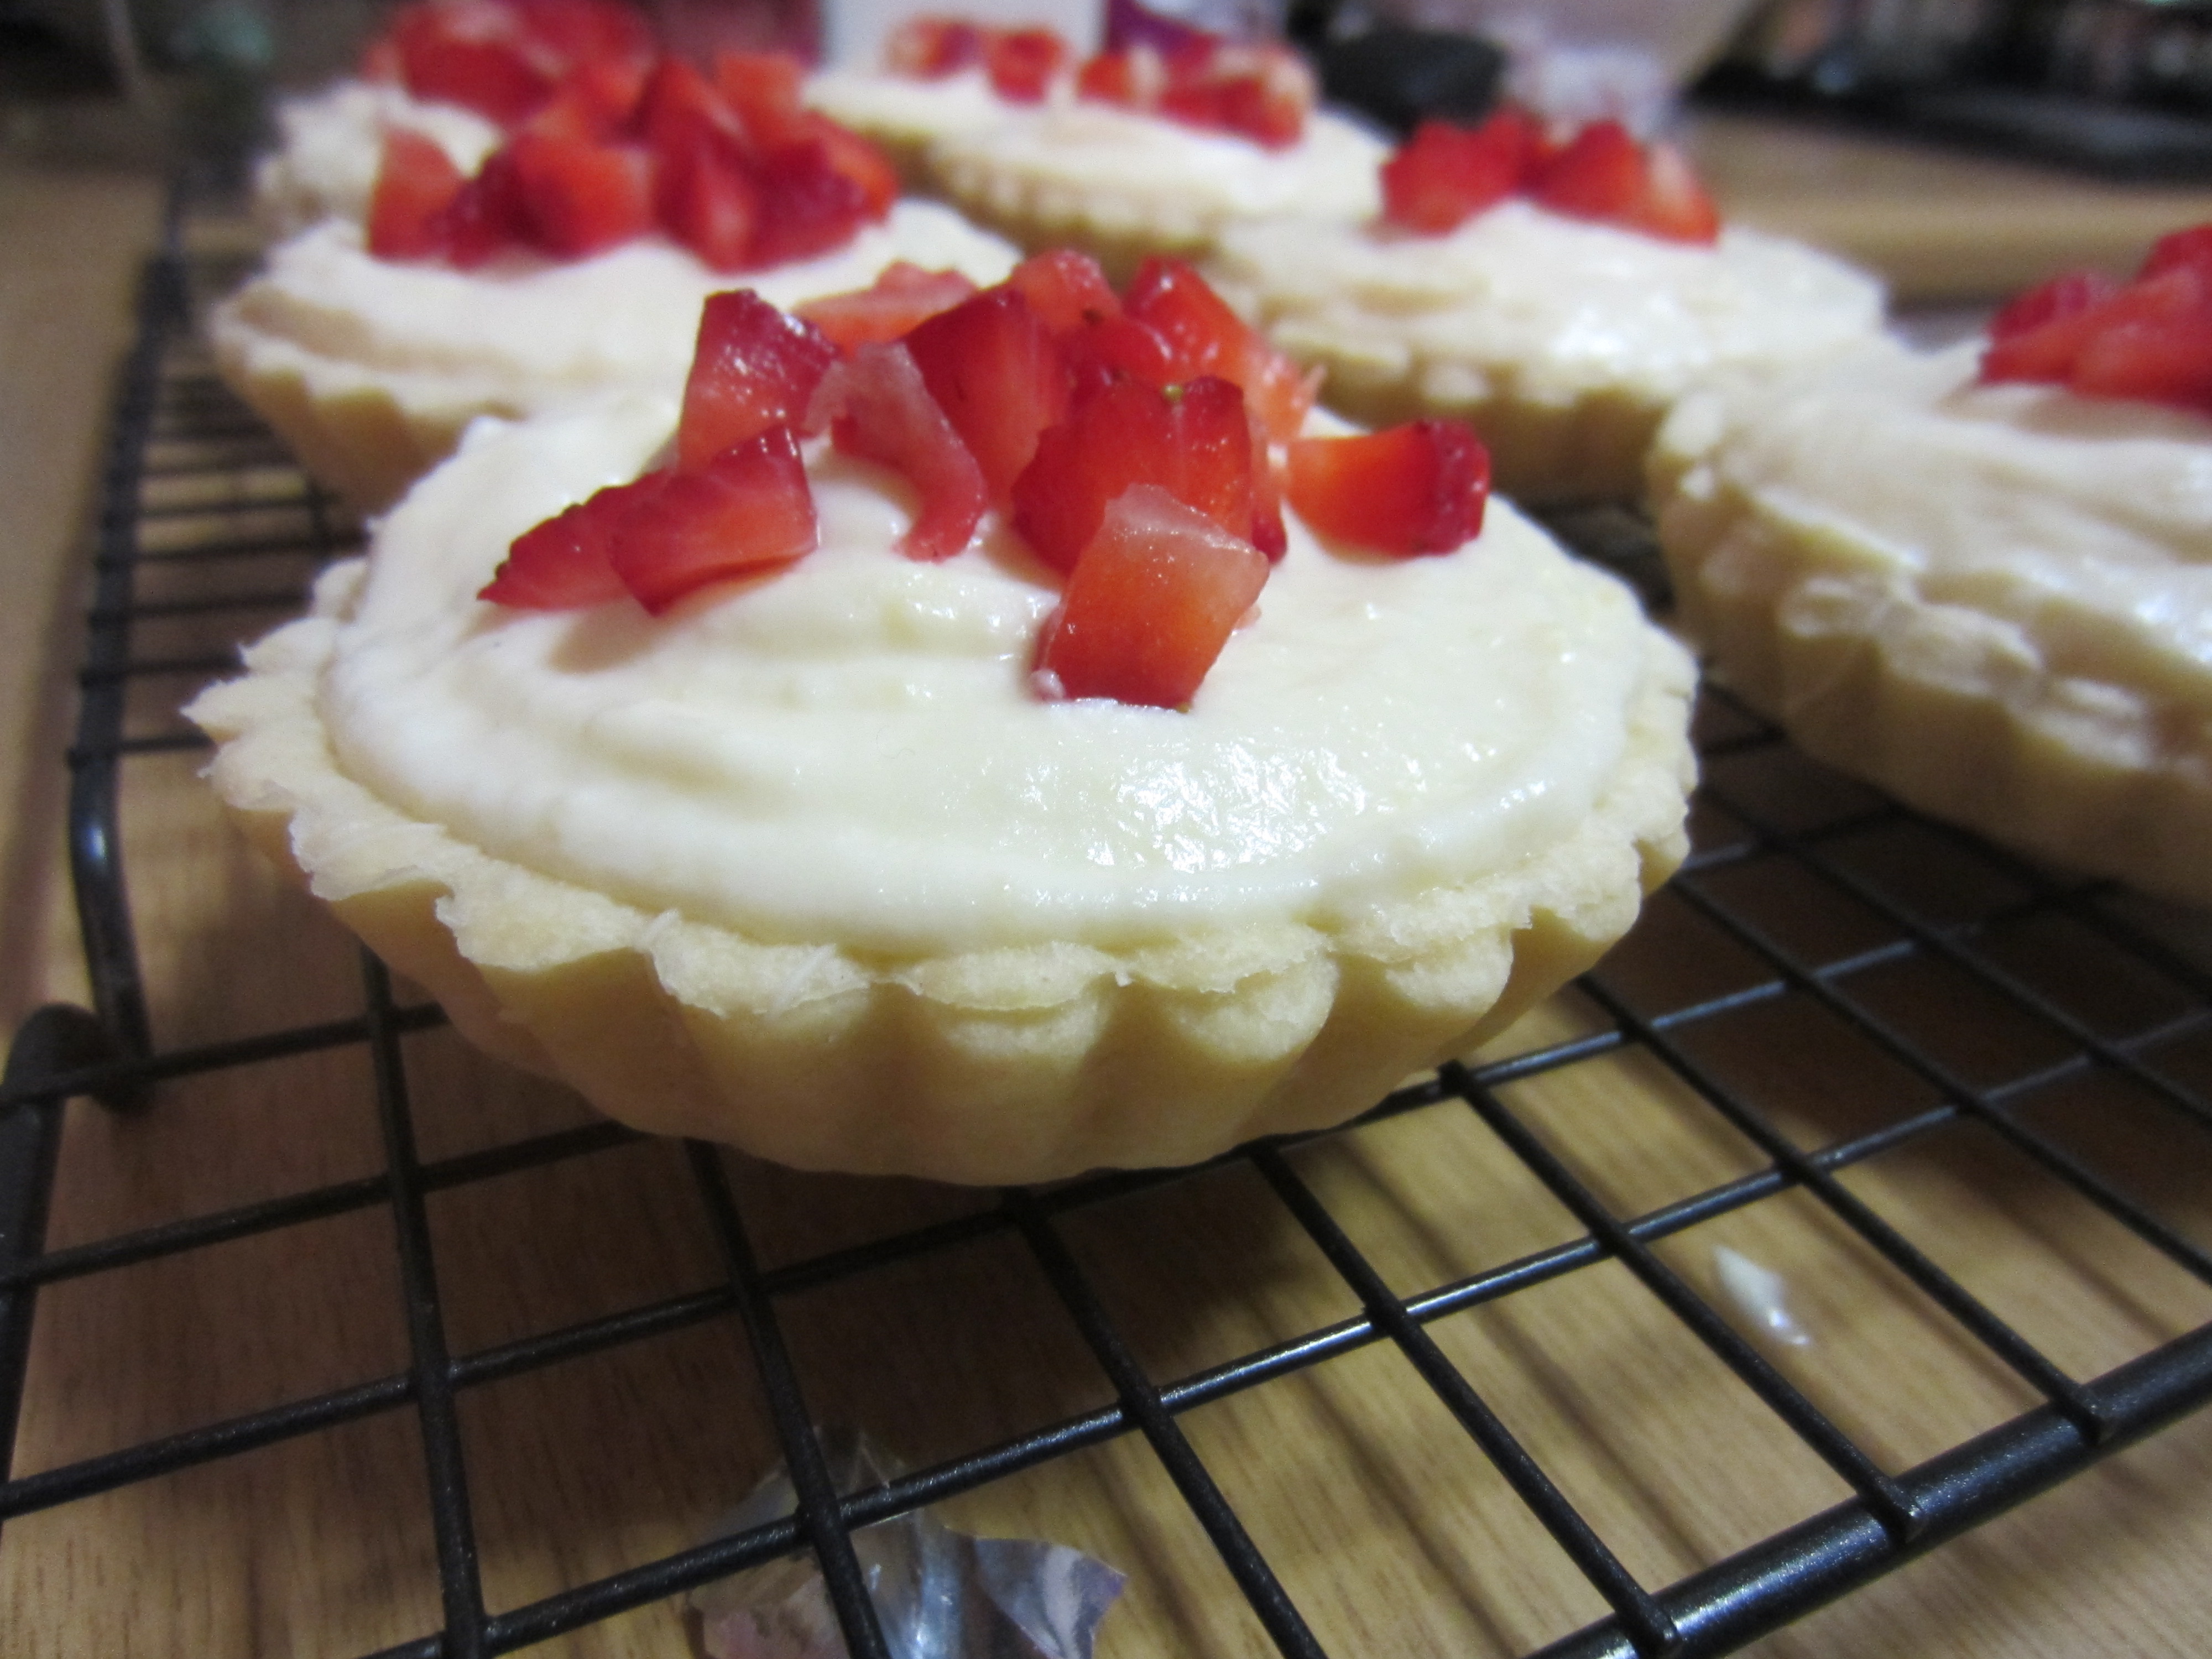
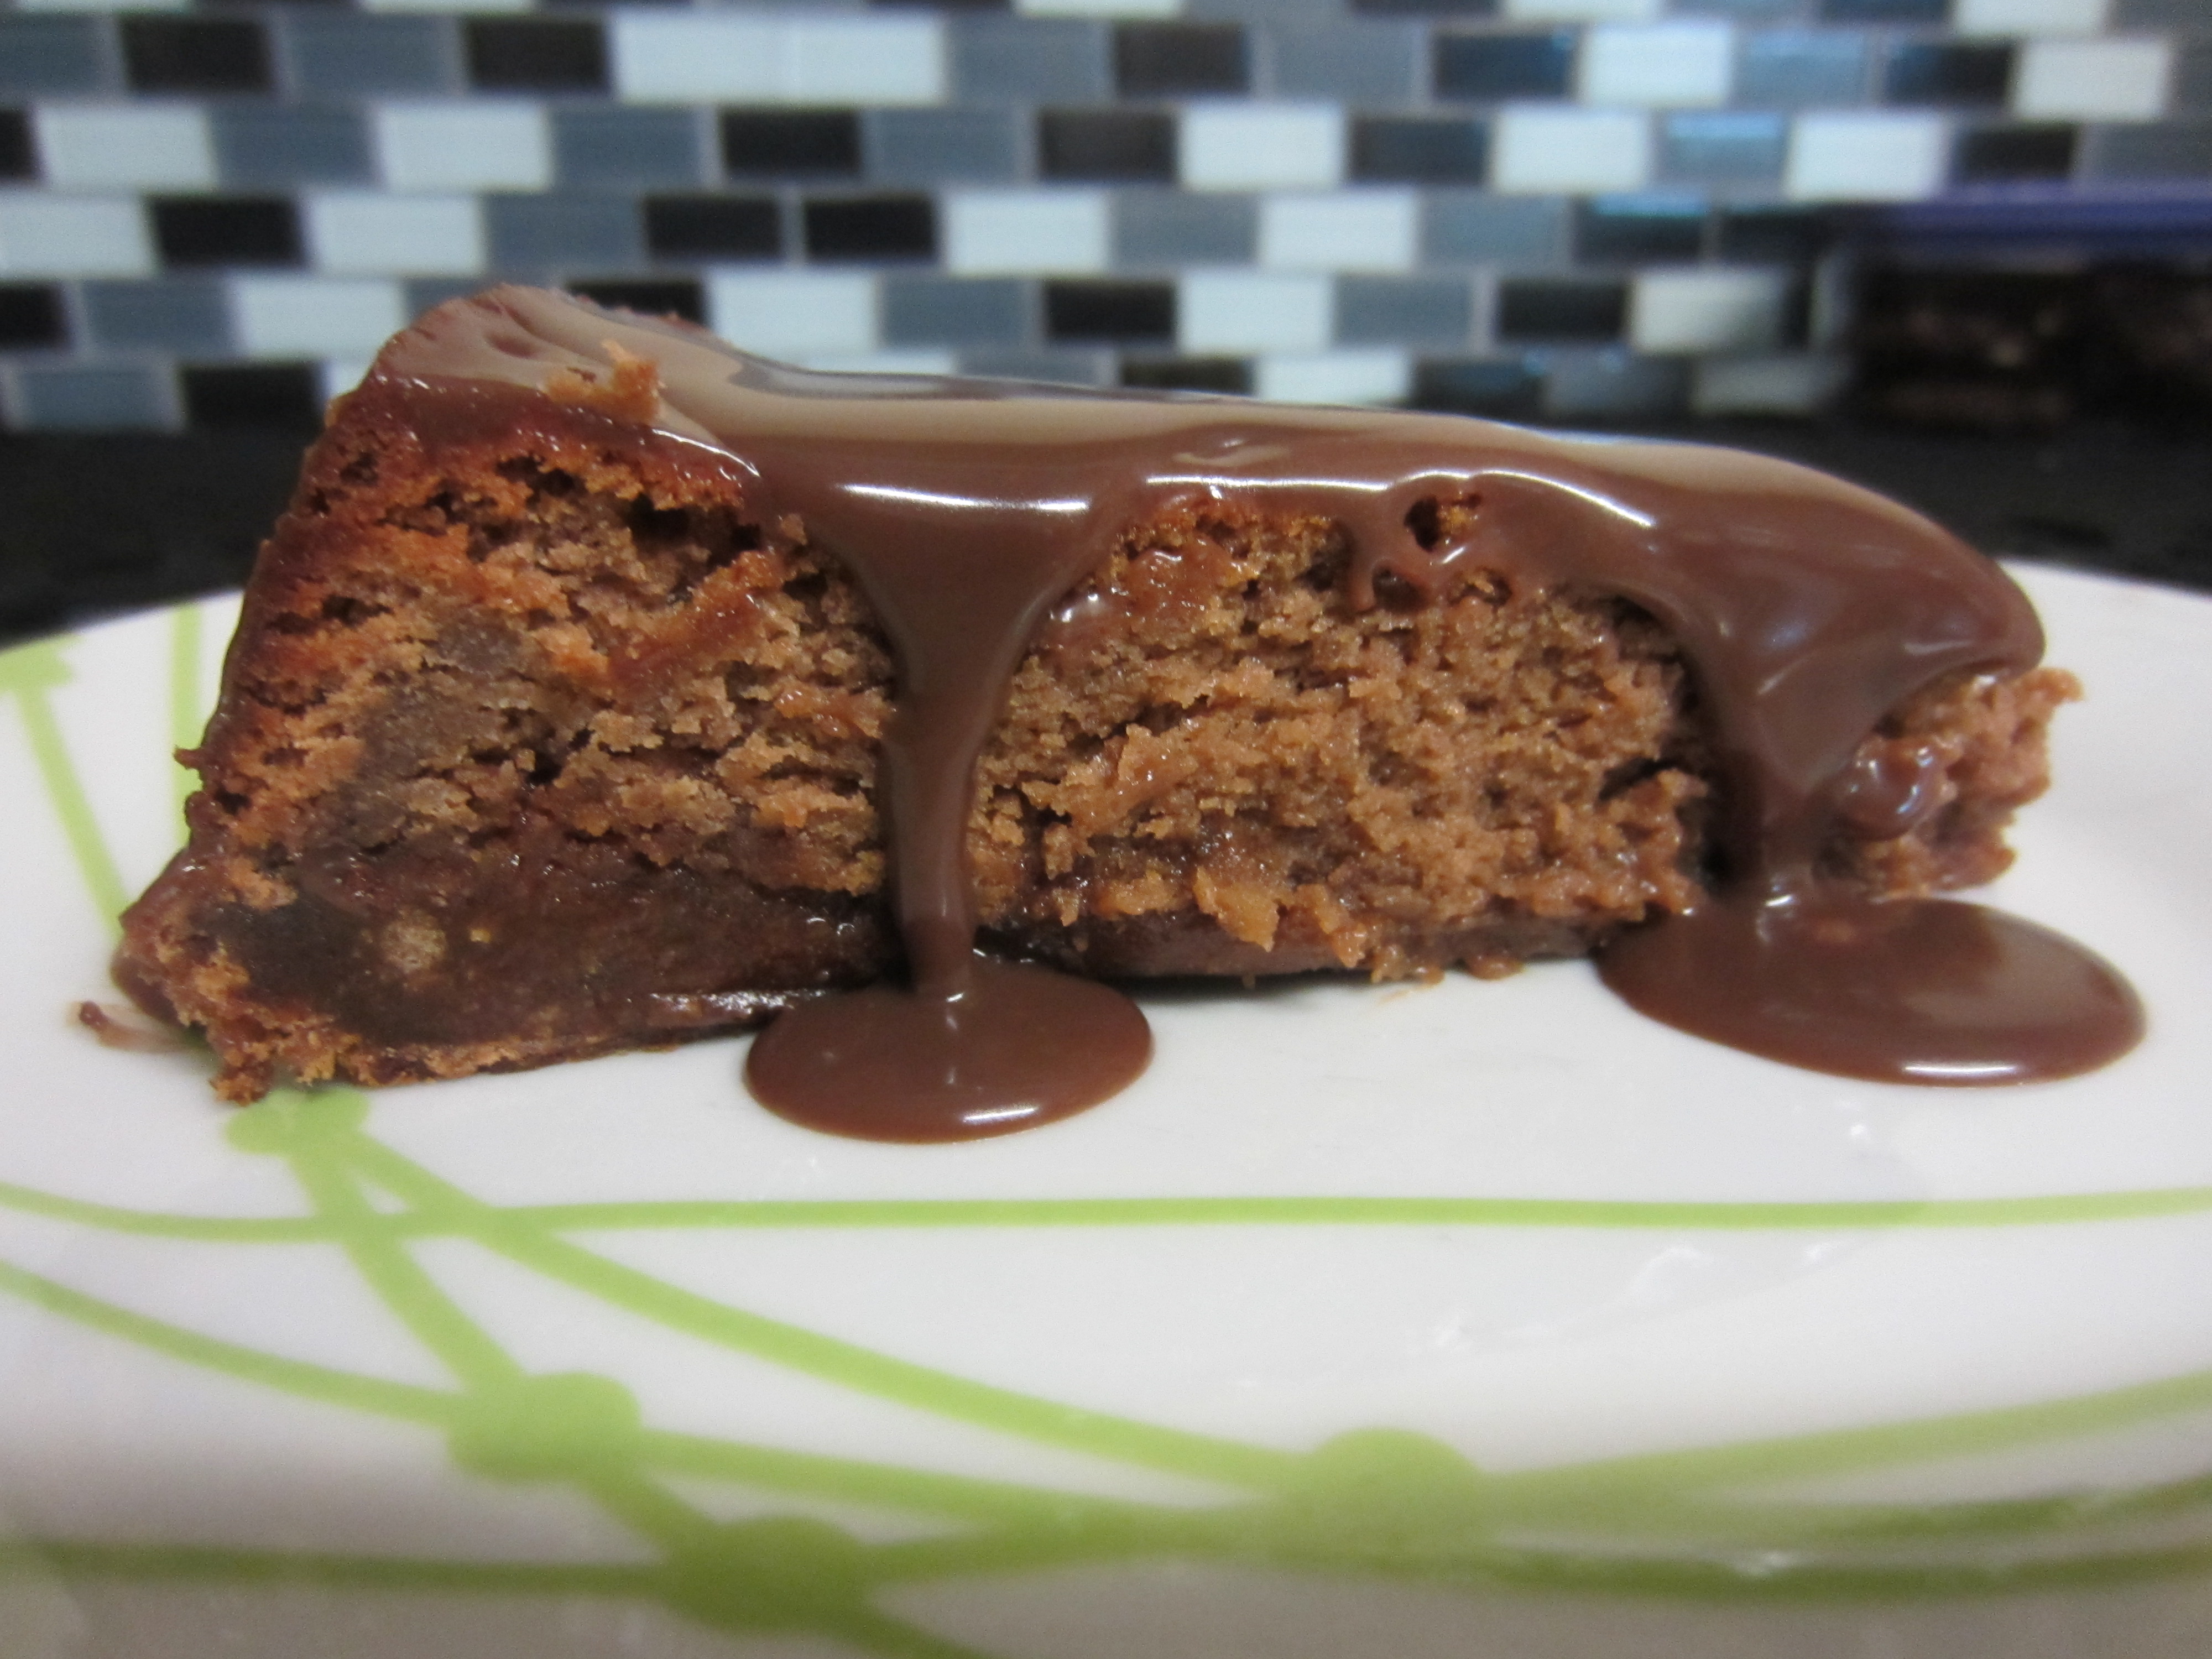
Fluffy goodness…yum!

IMG_0169


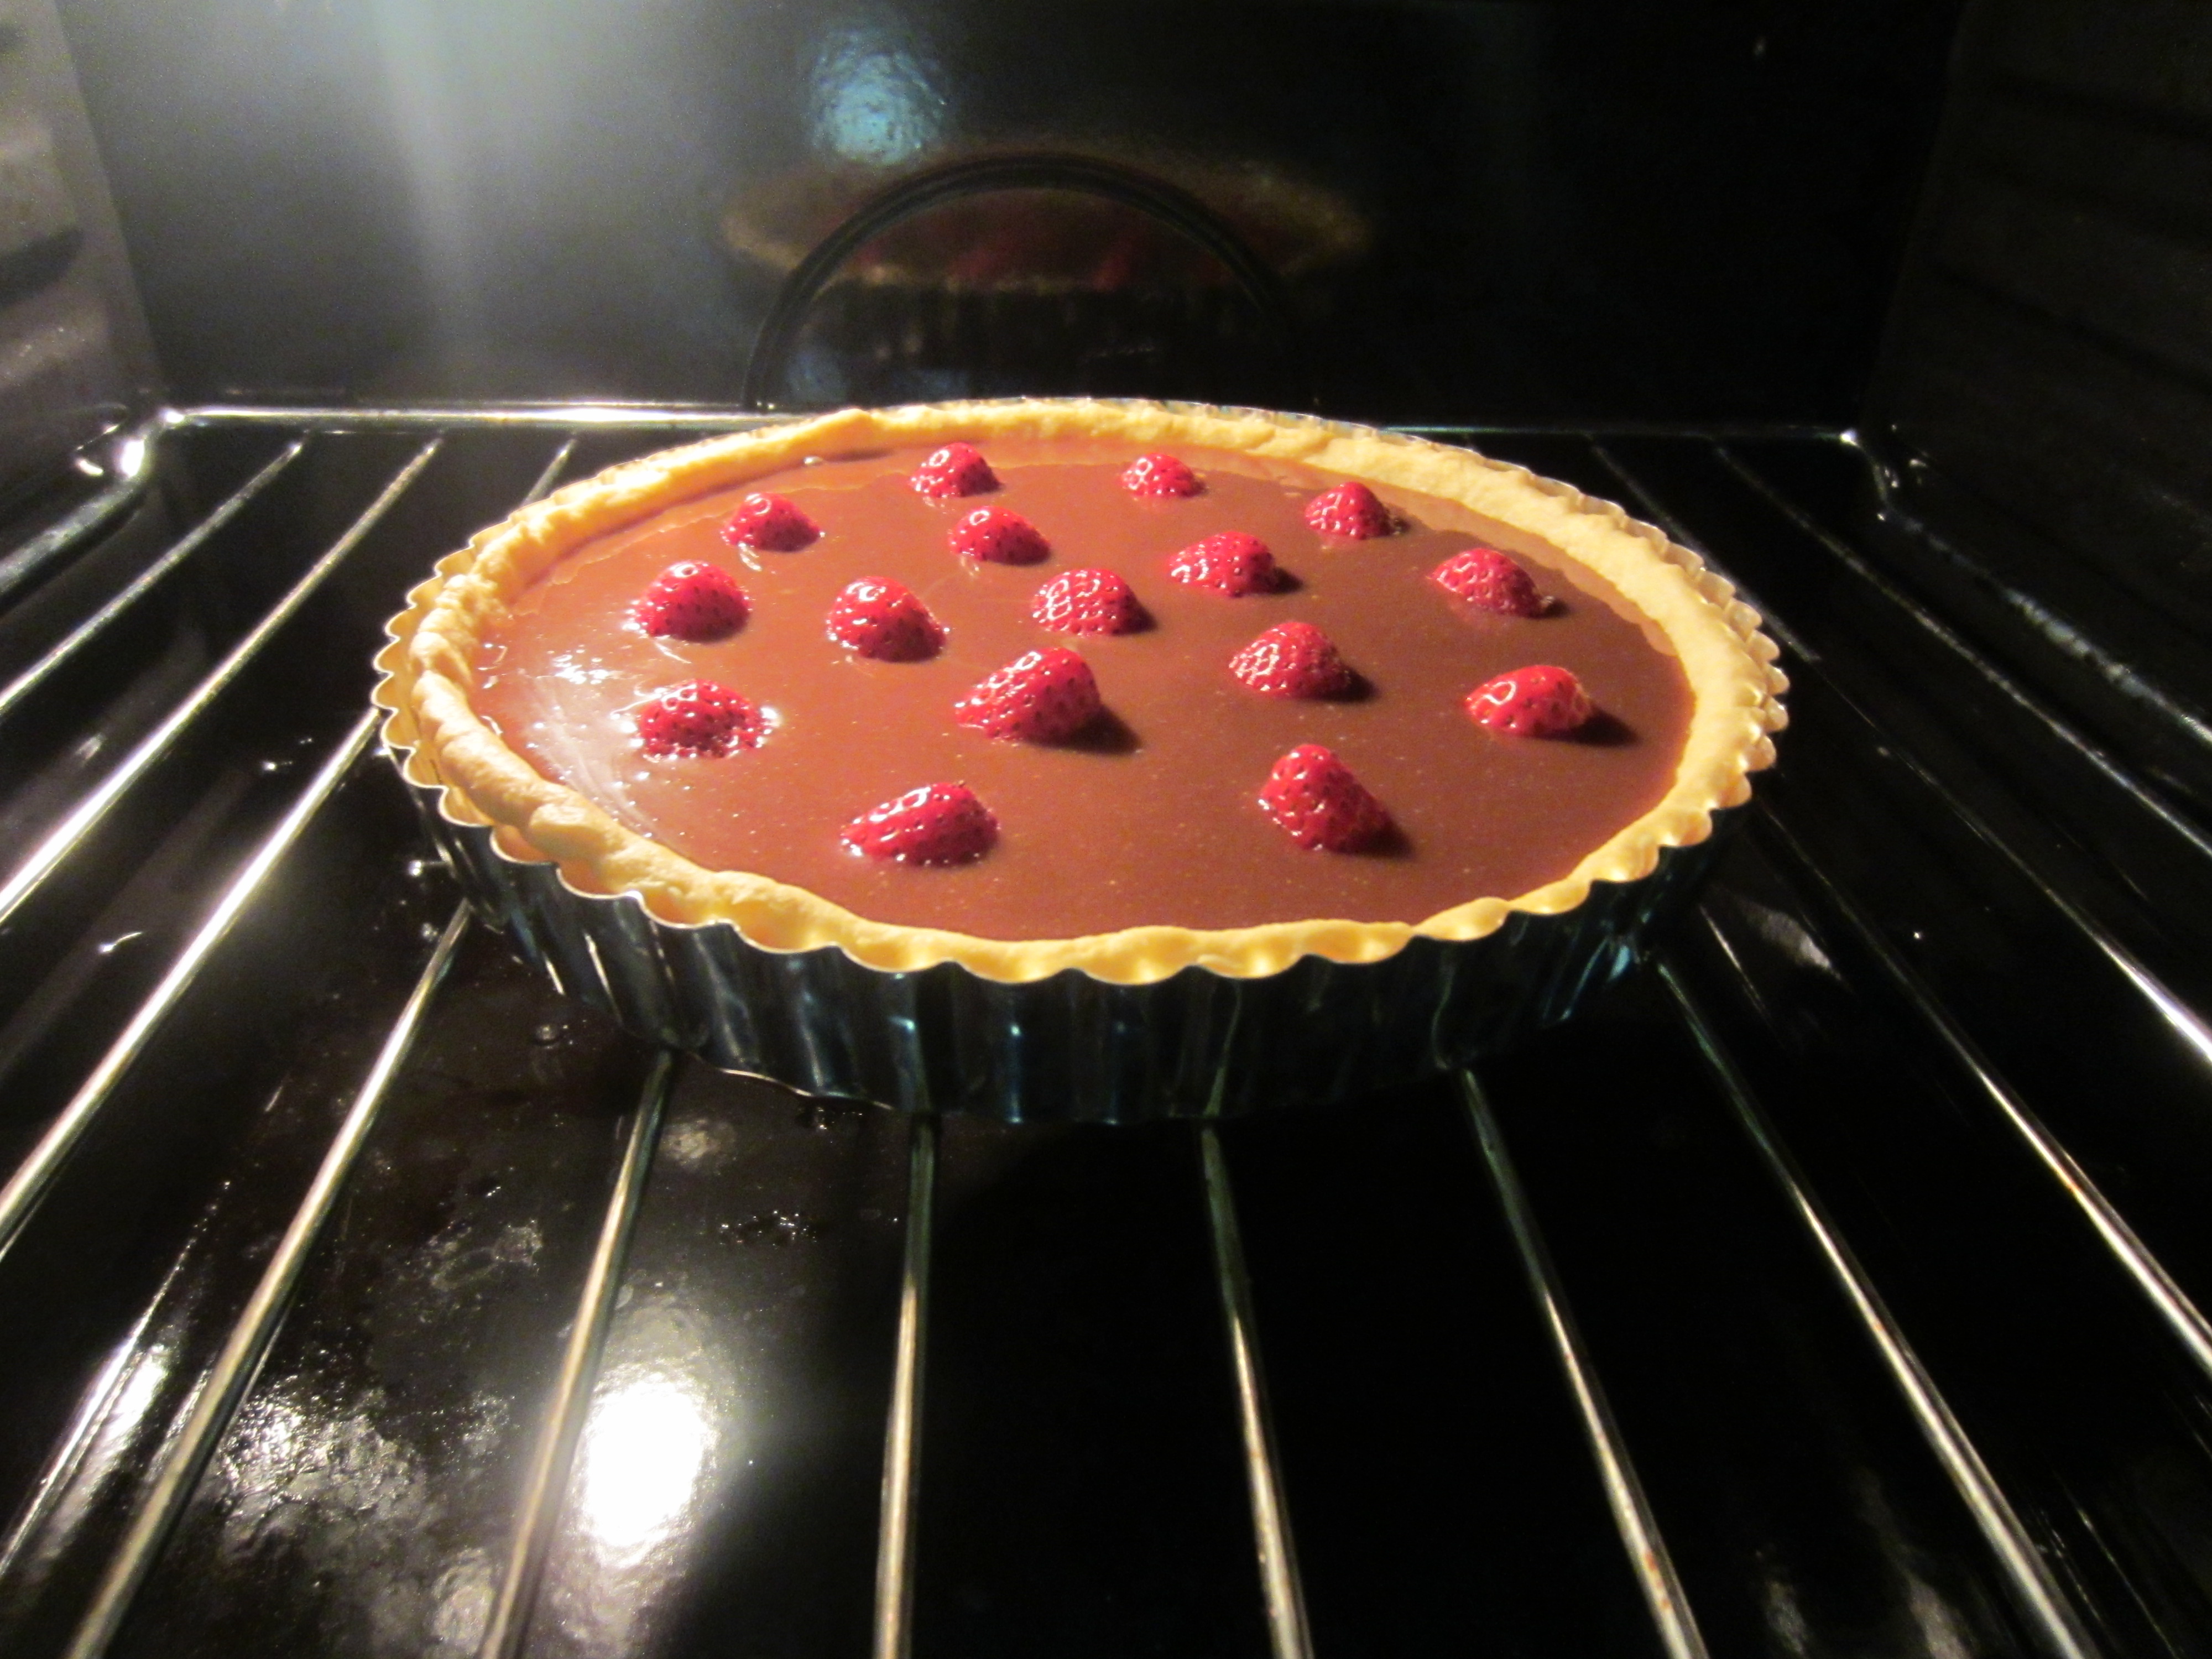
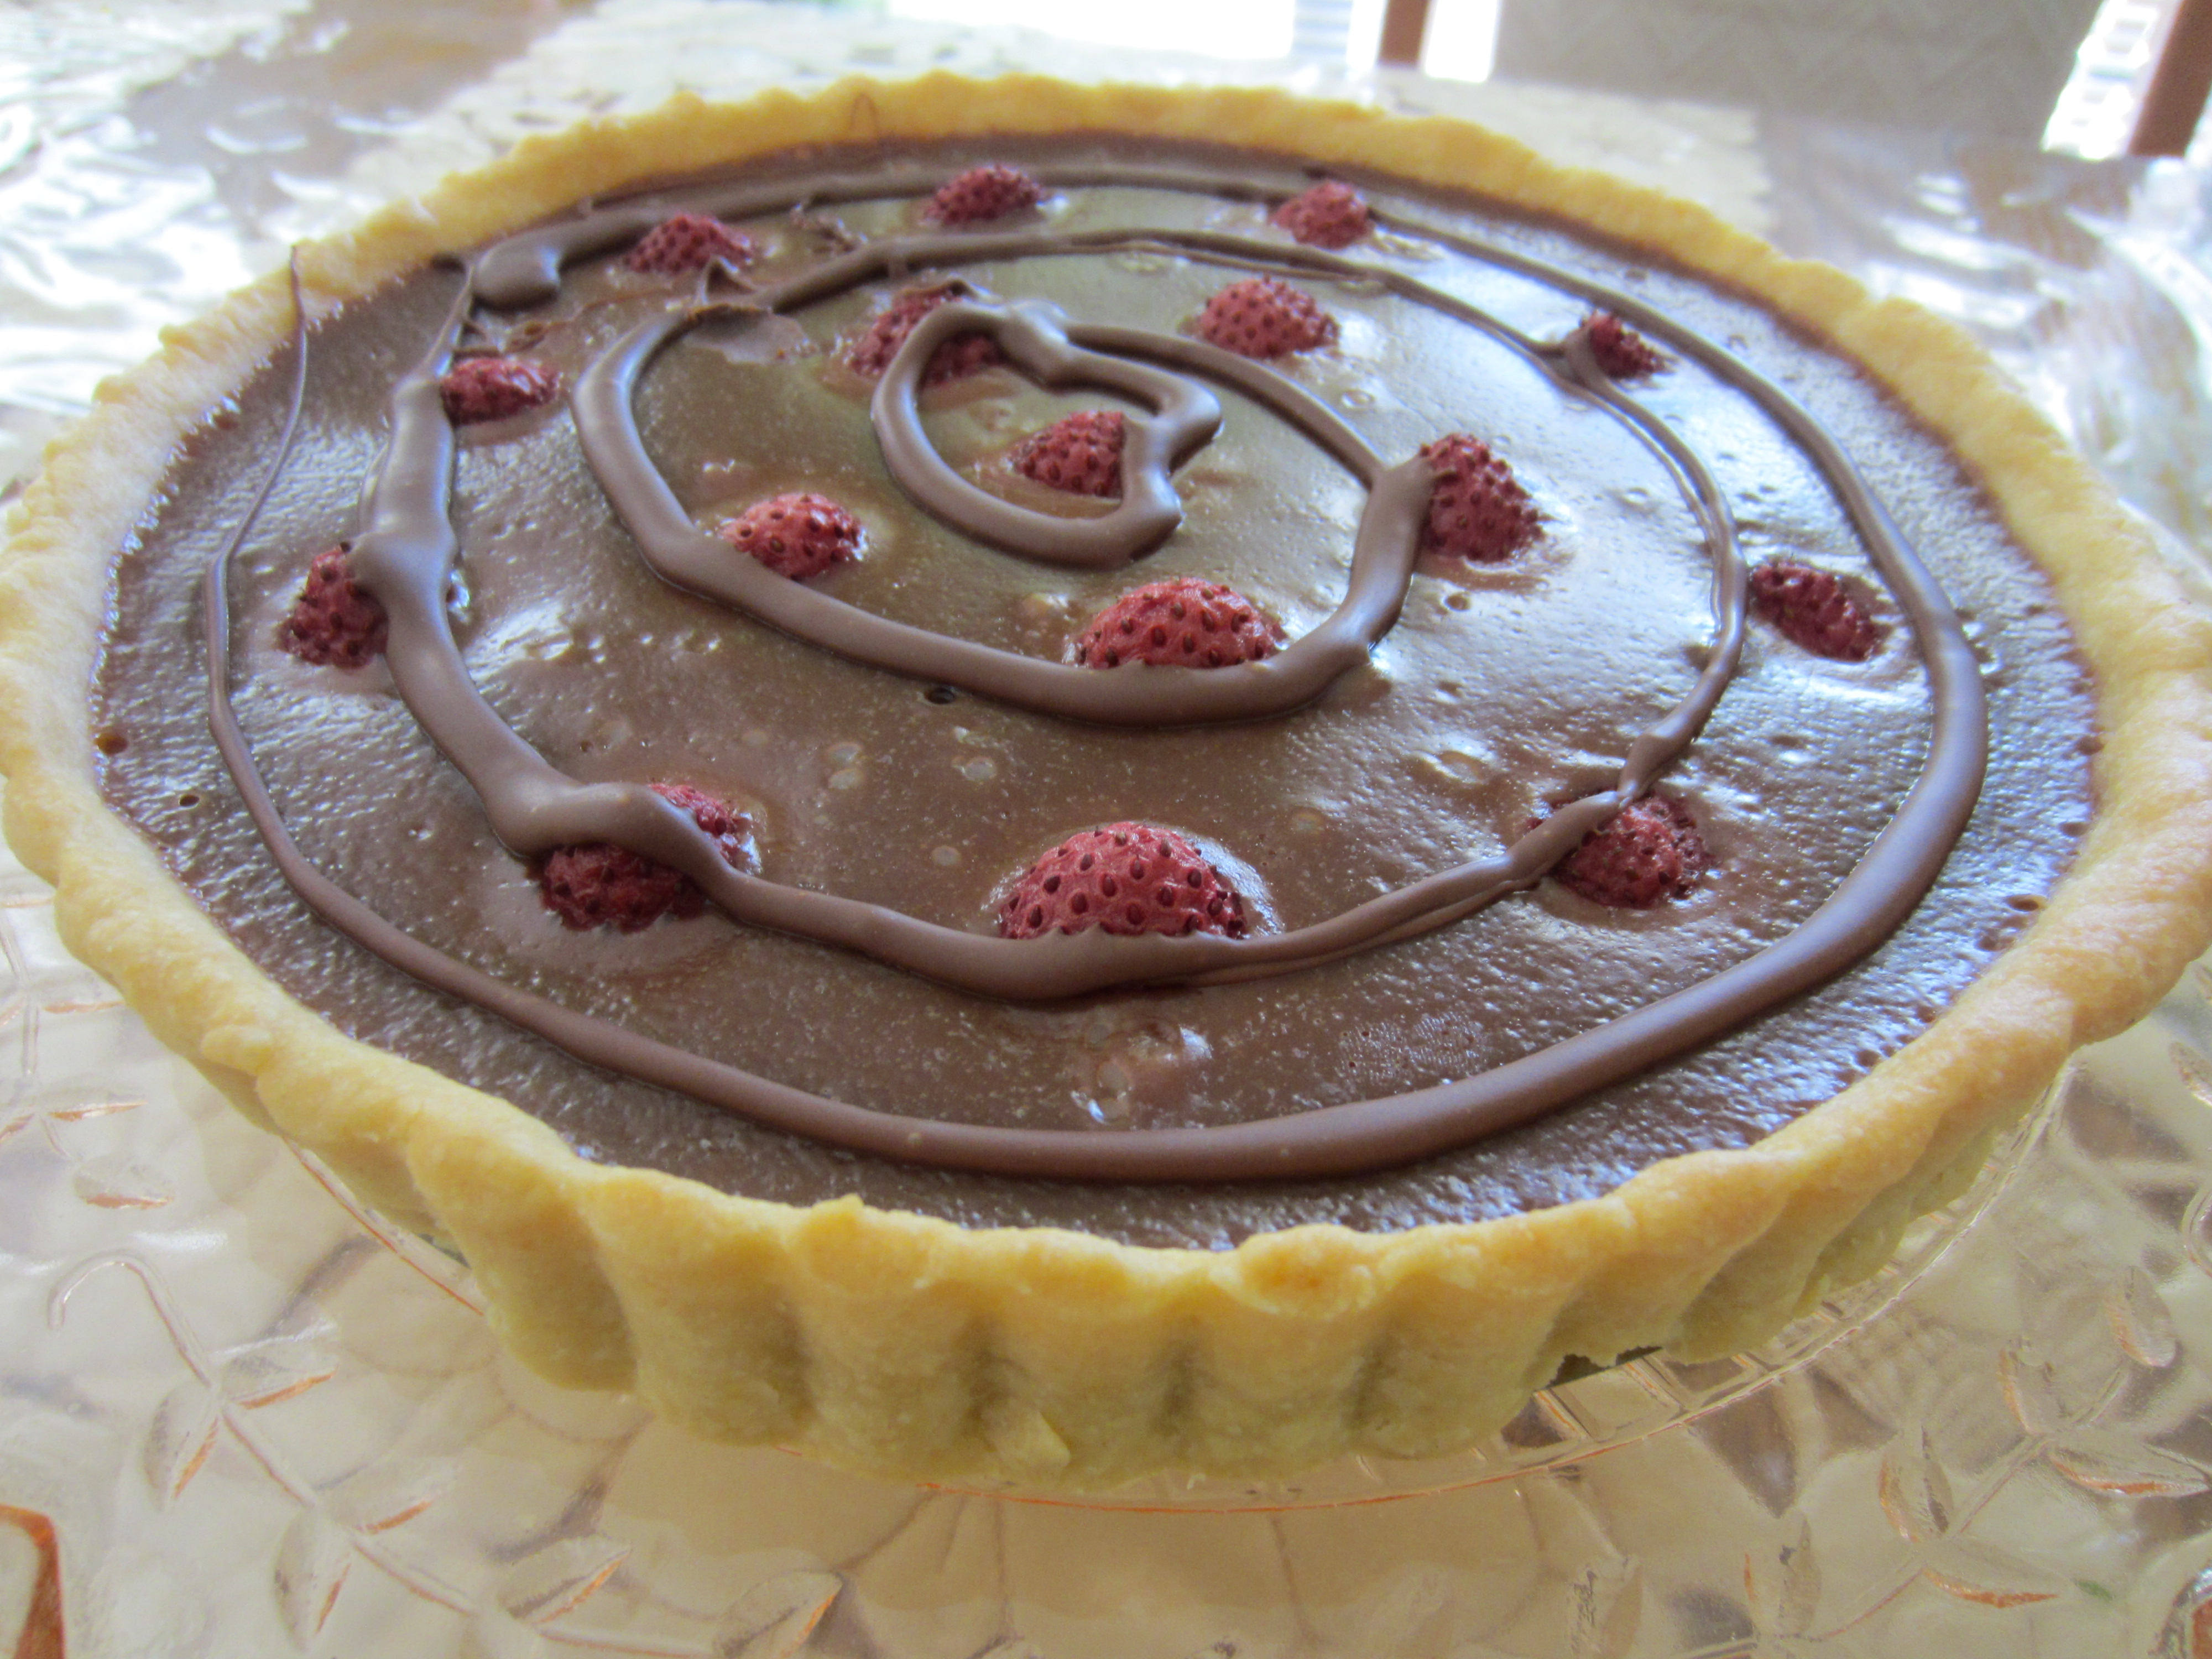
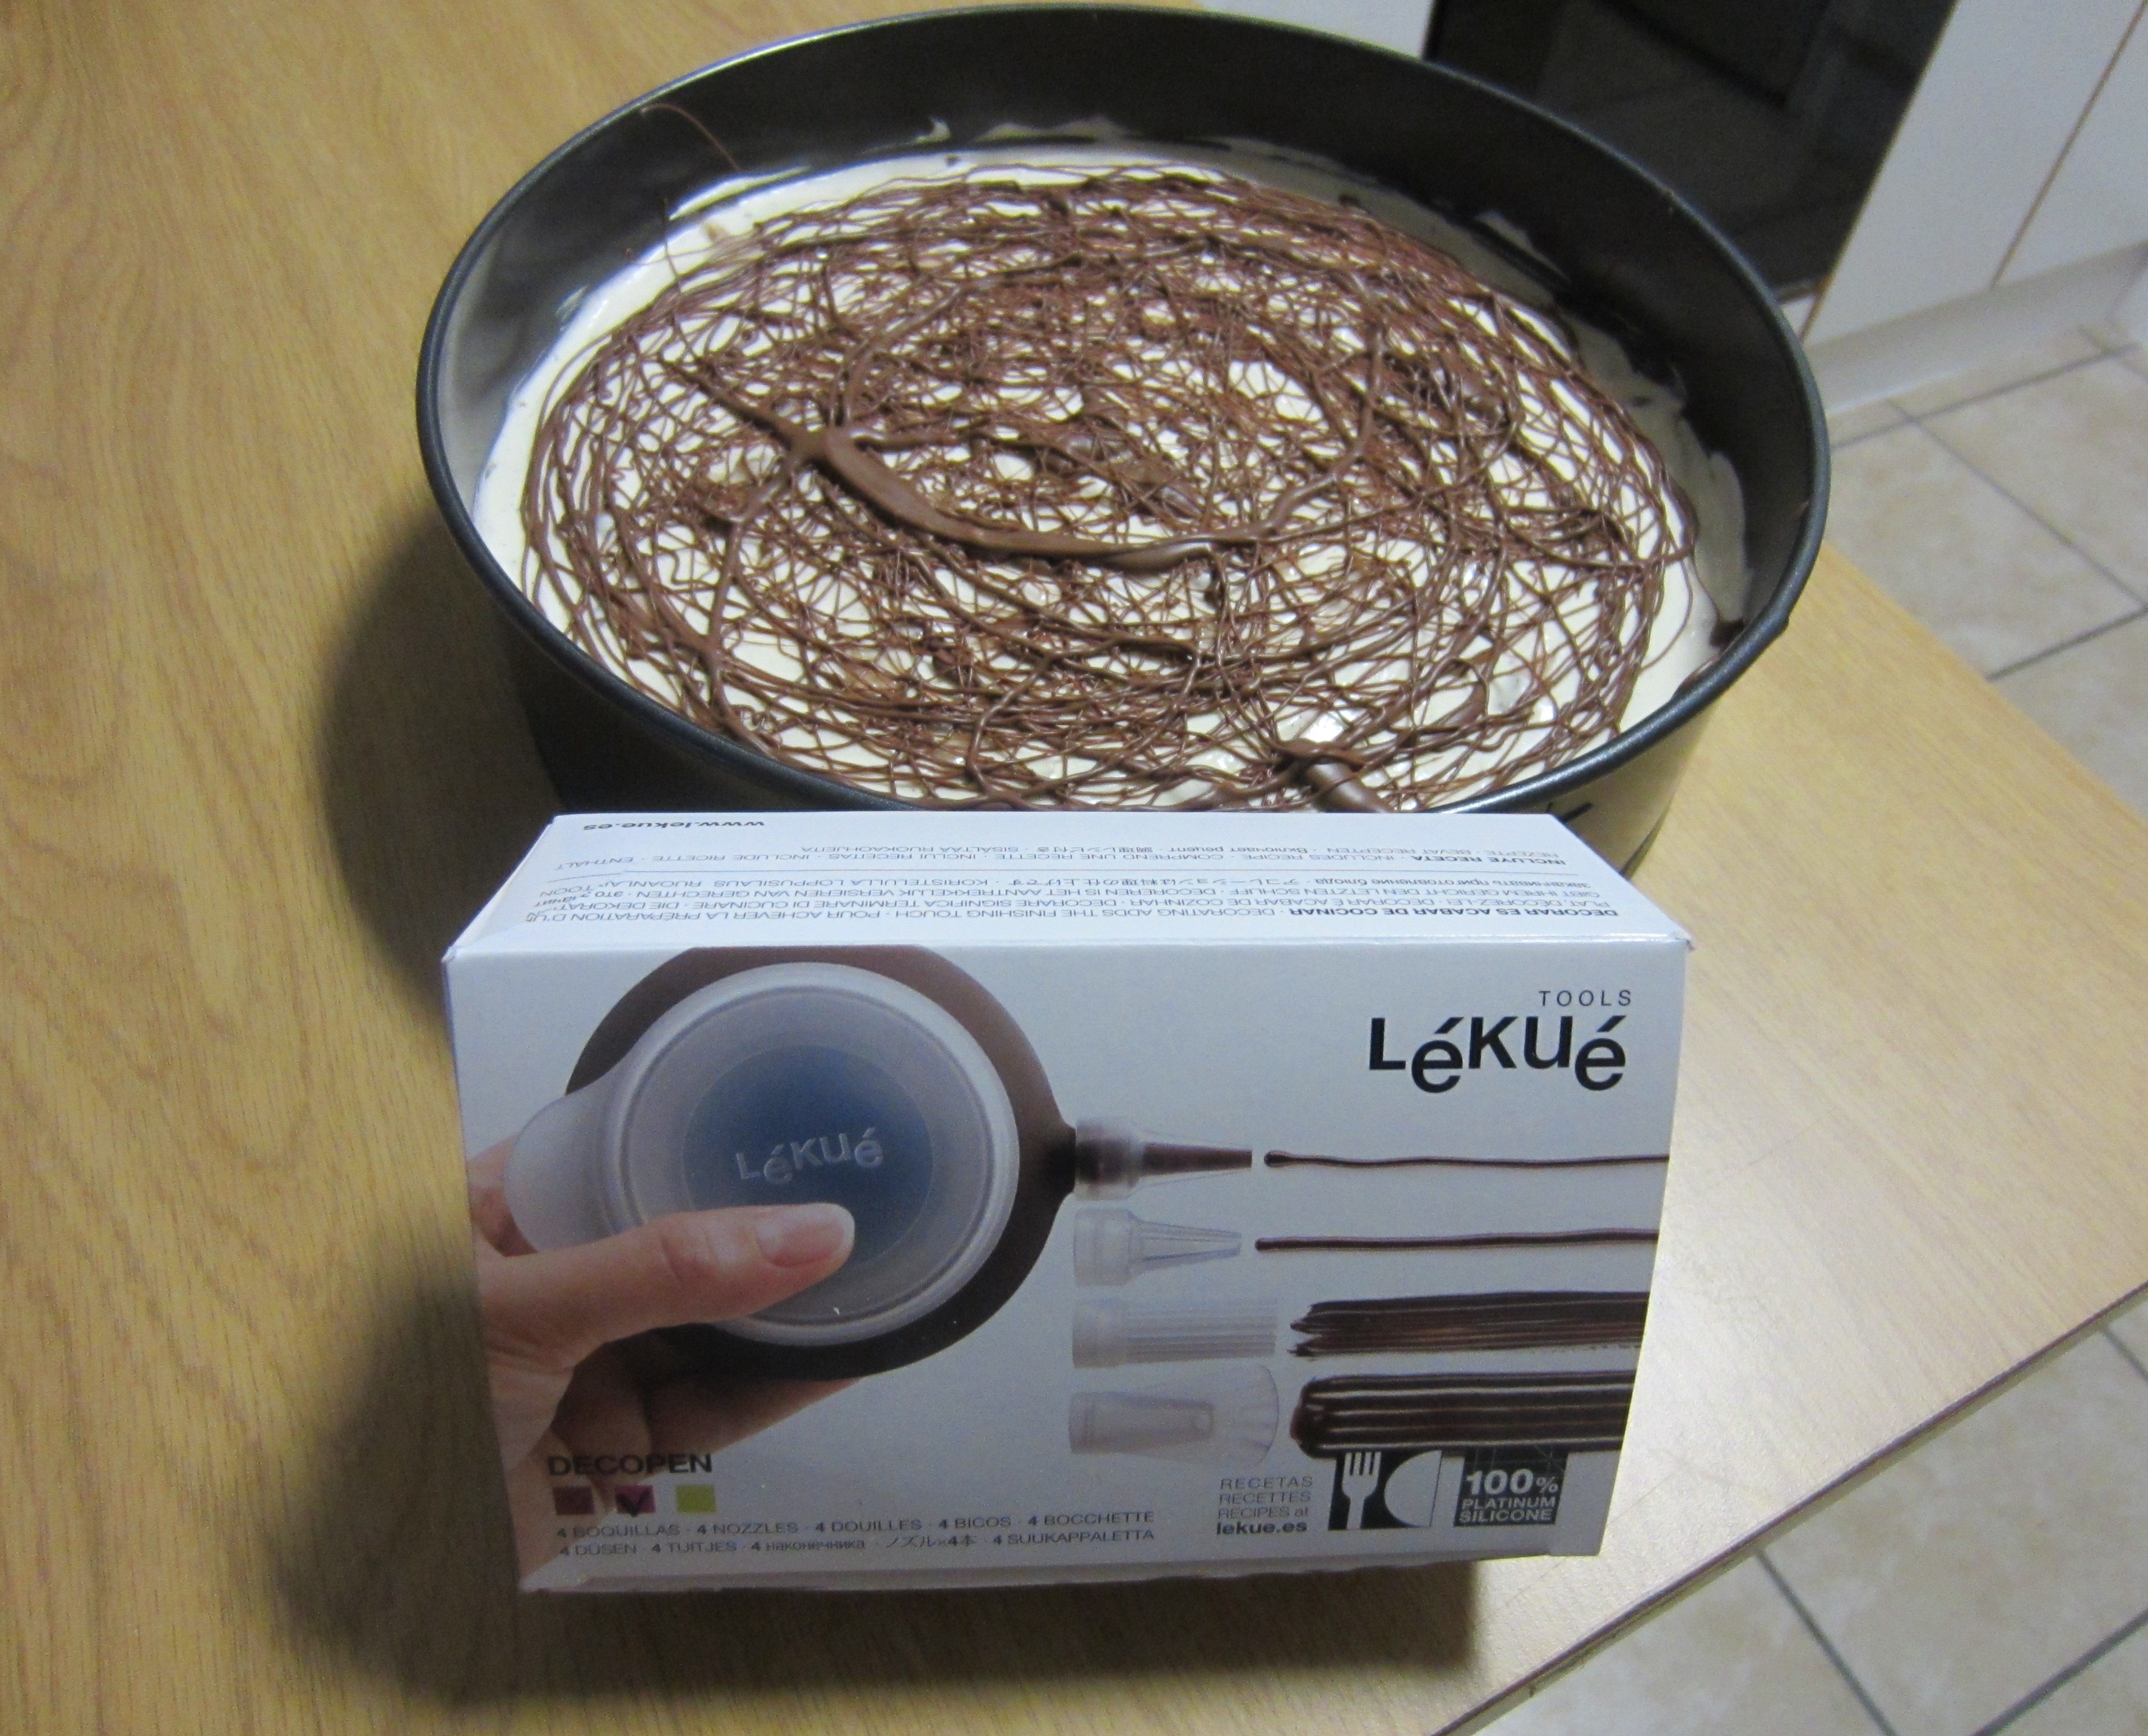
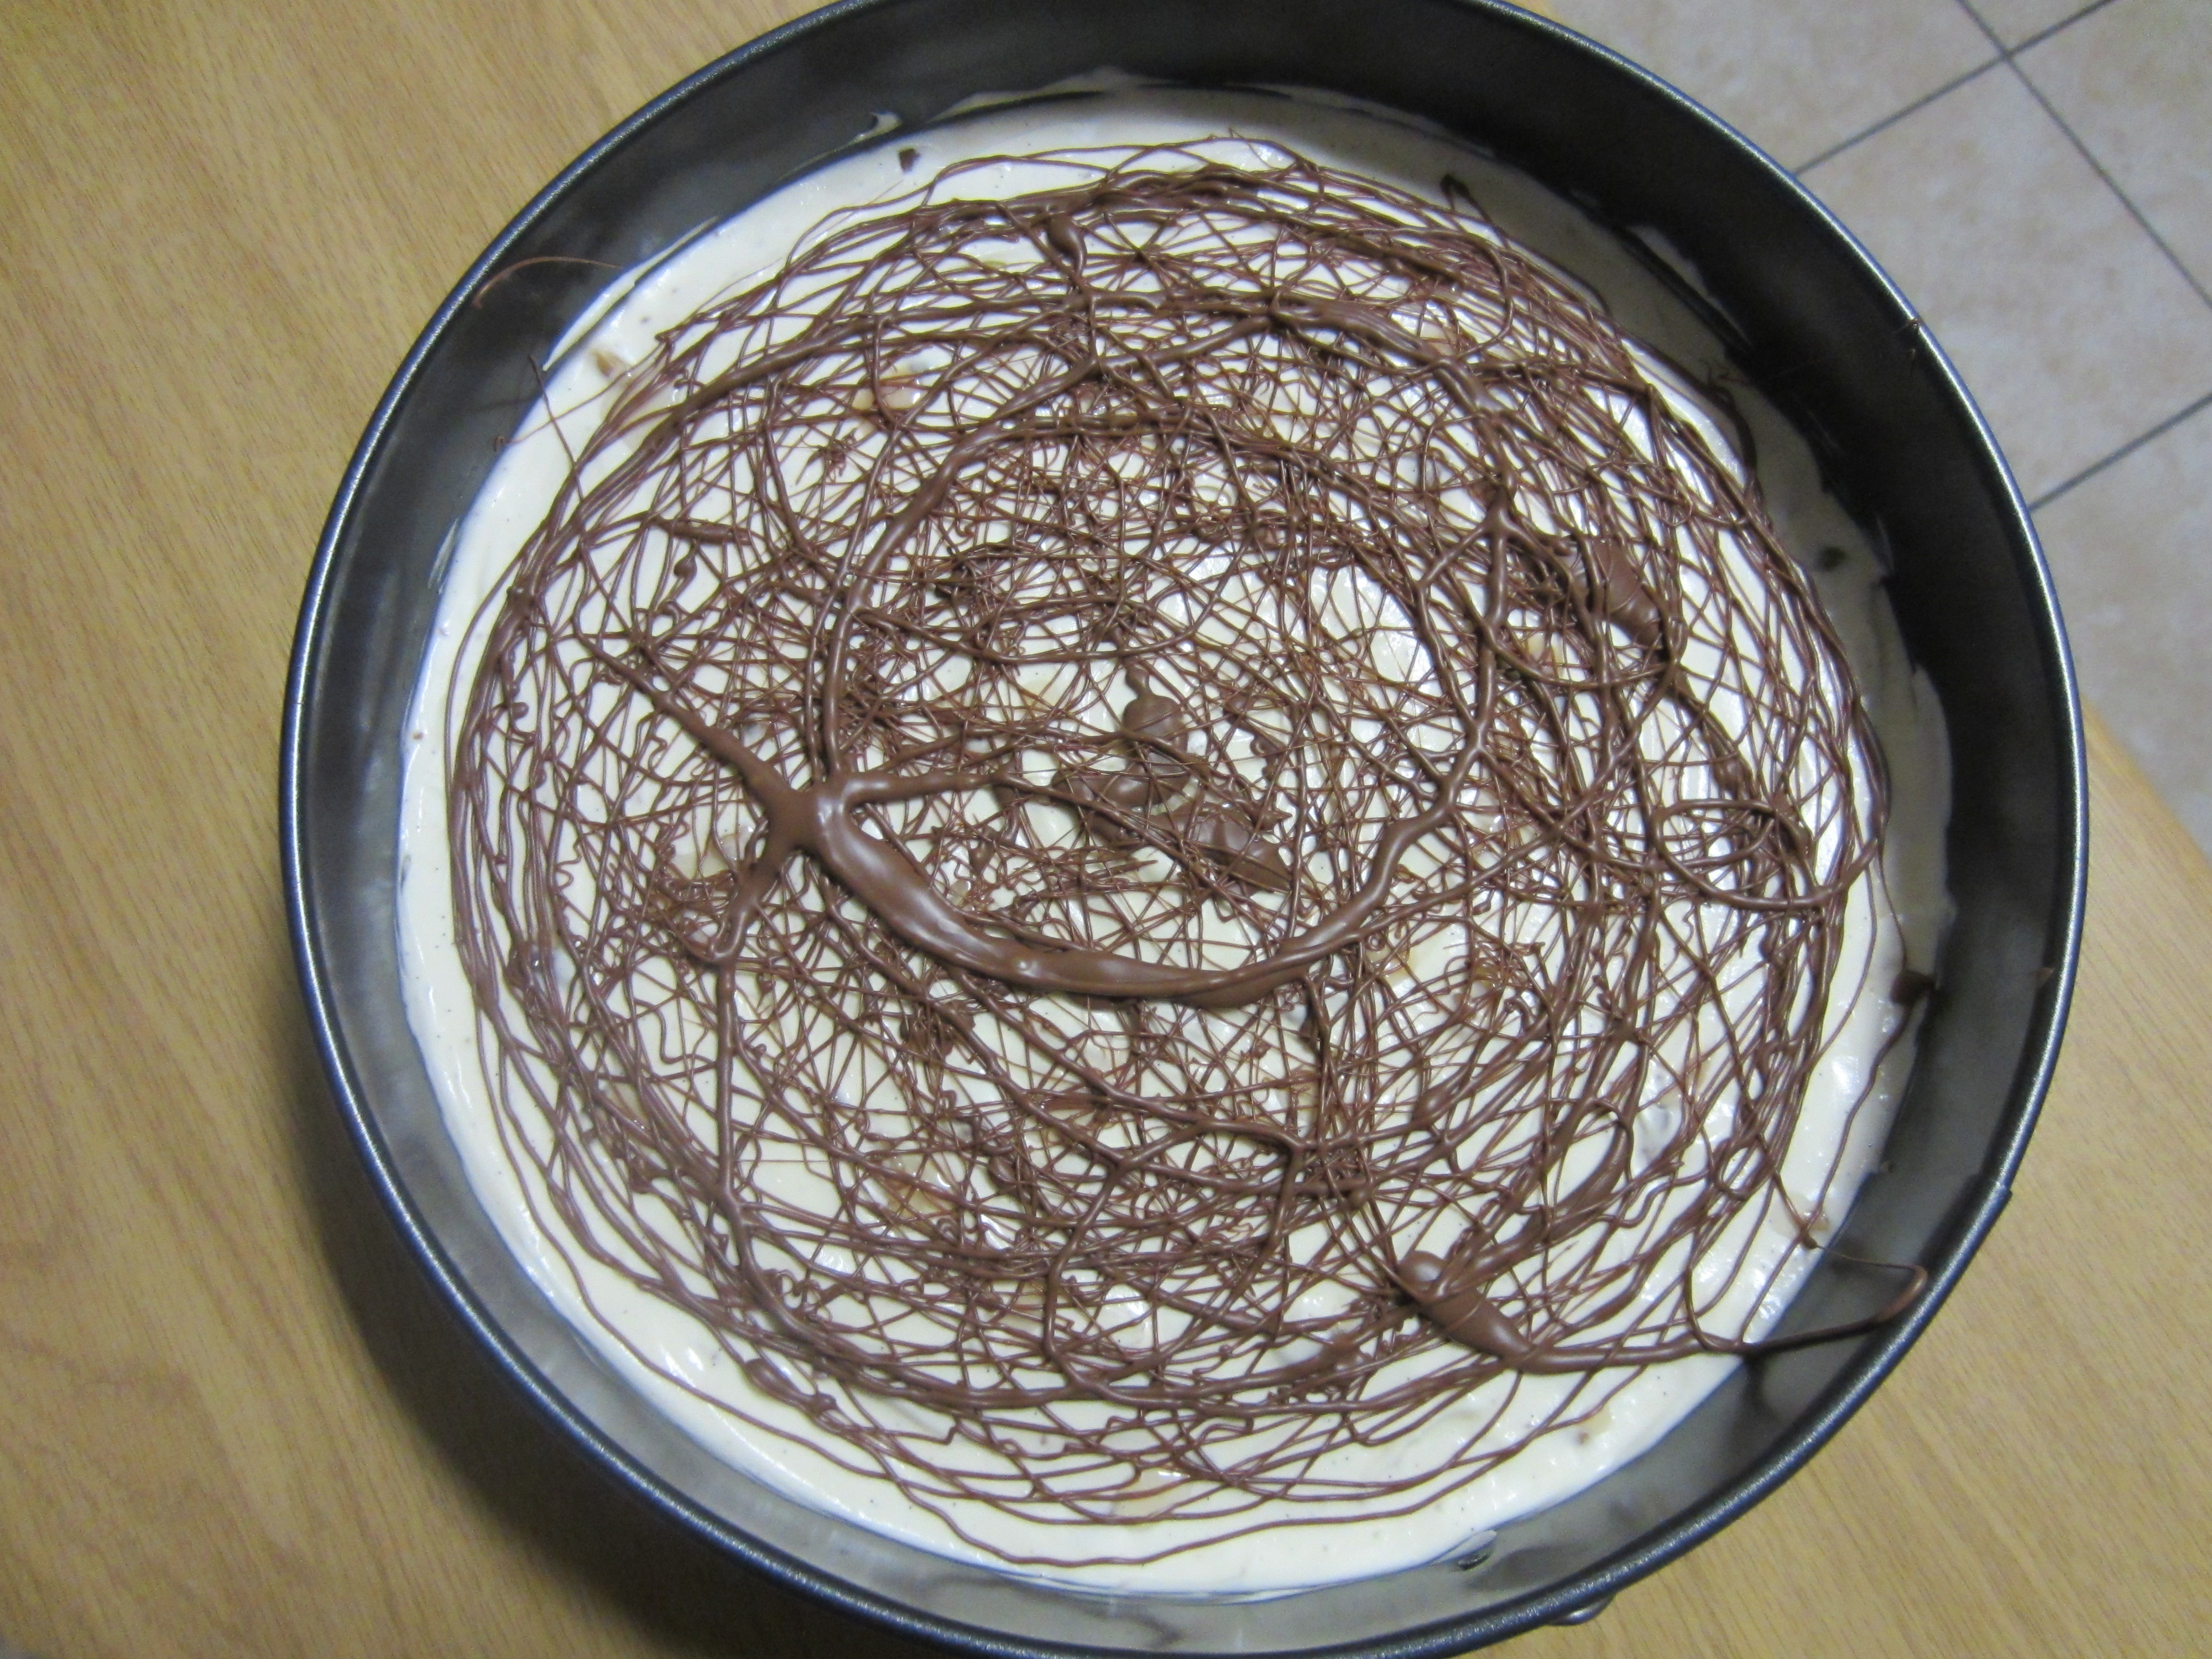
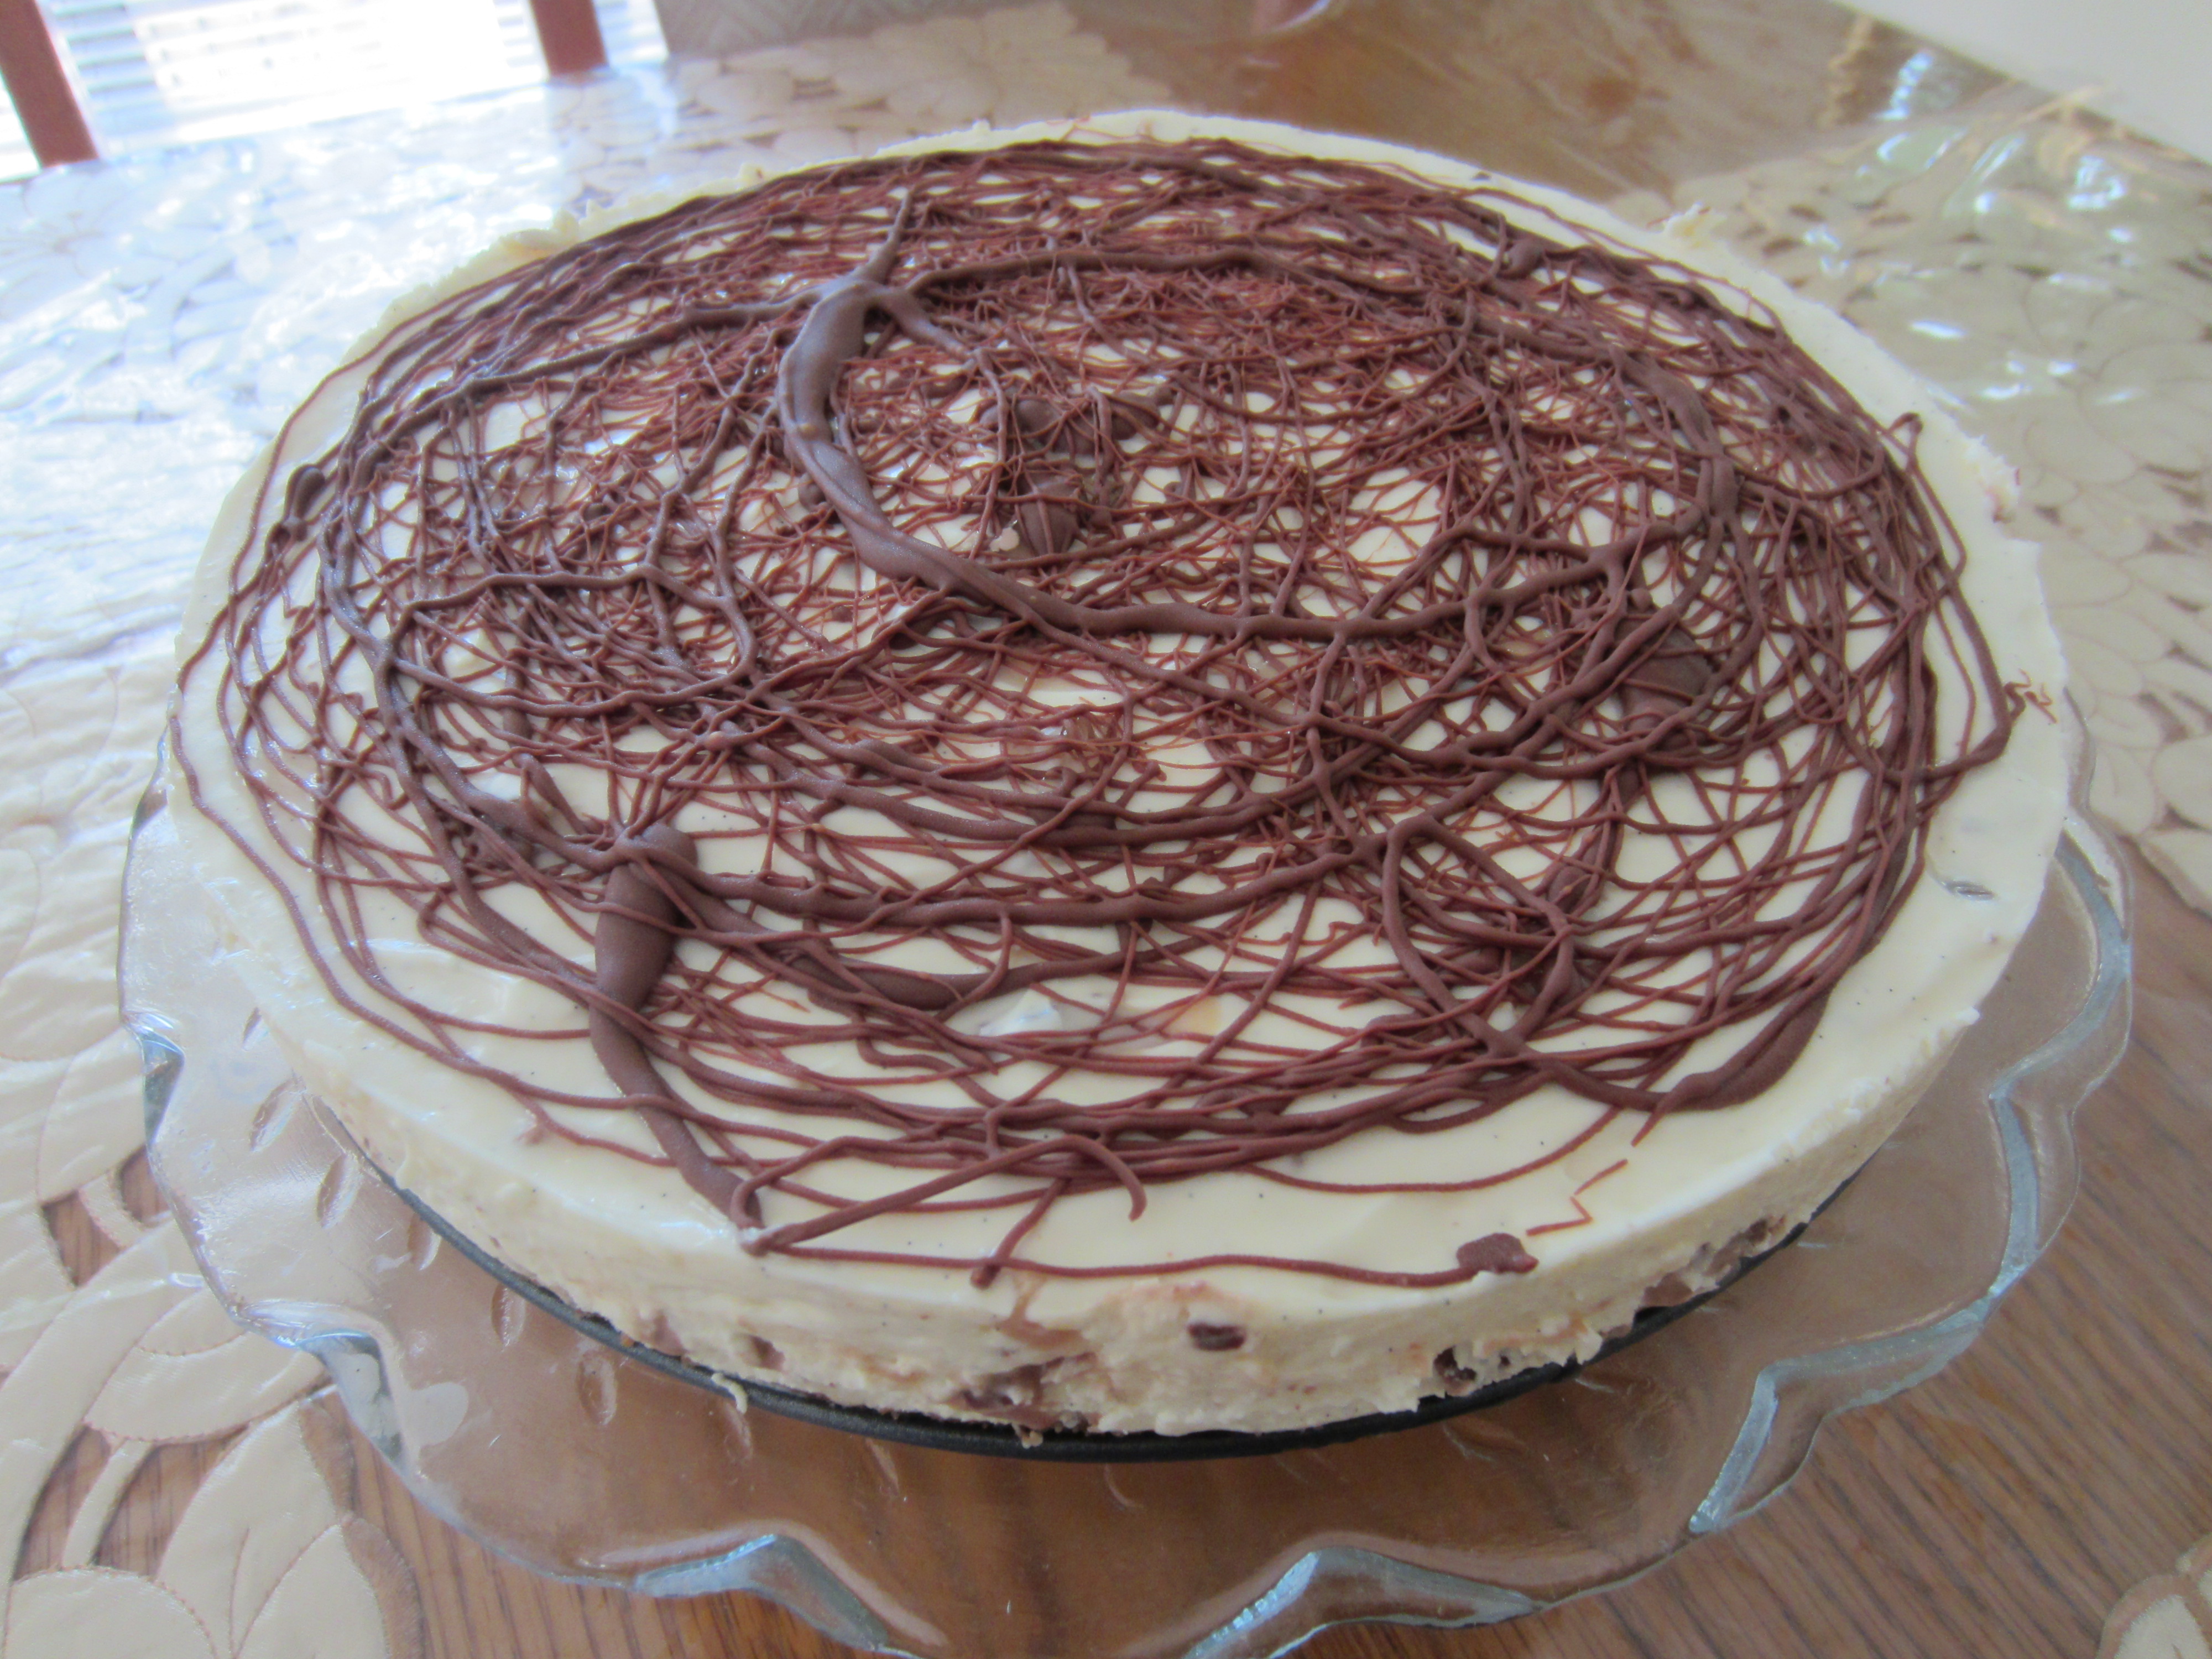
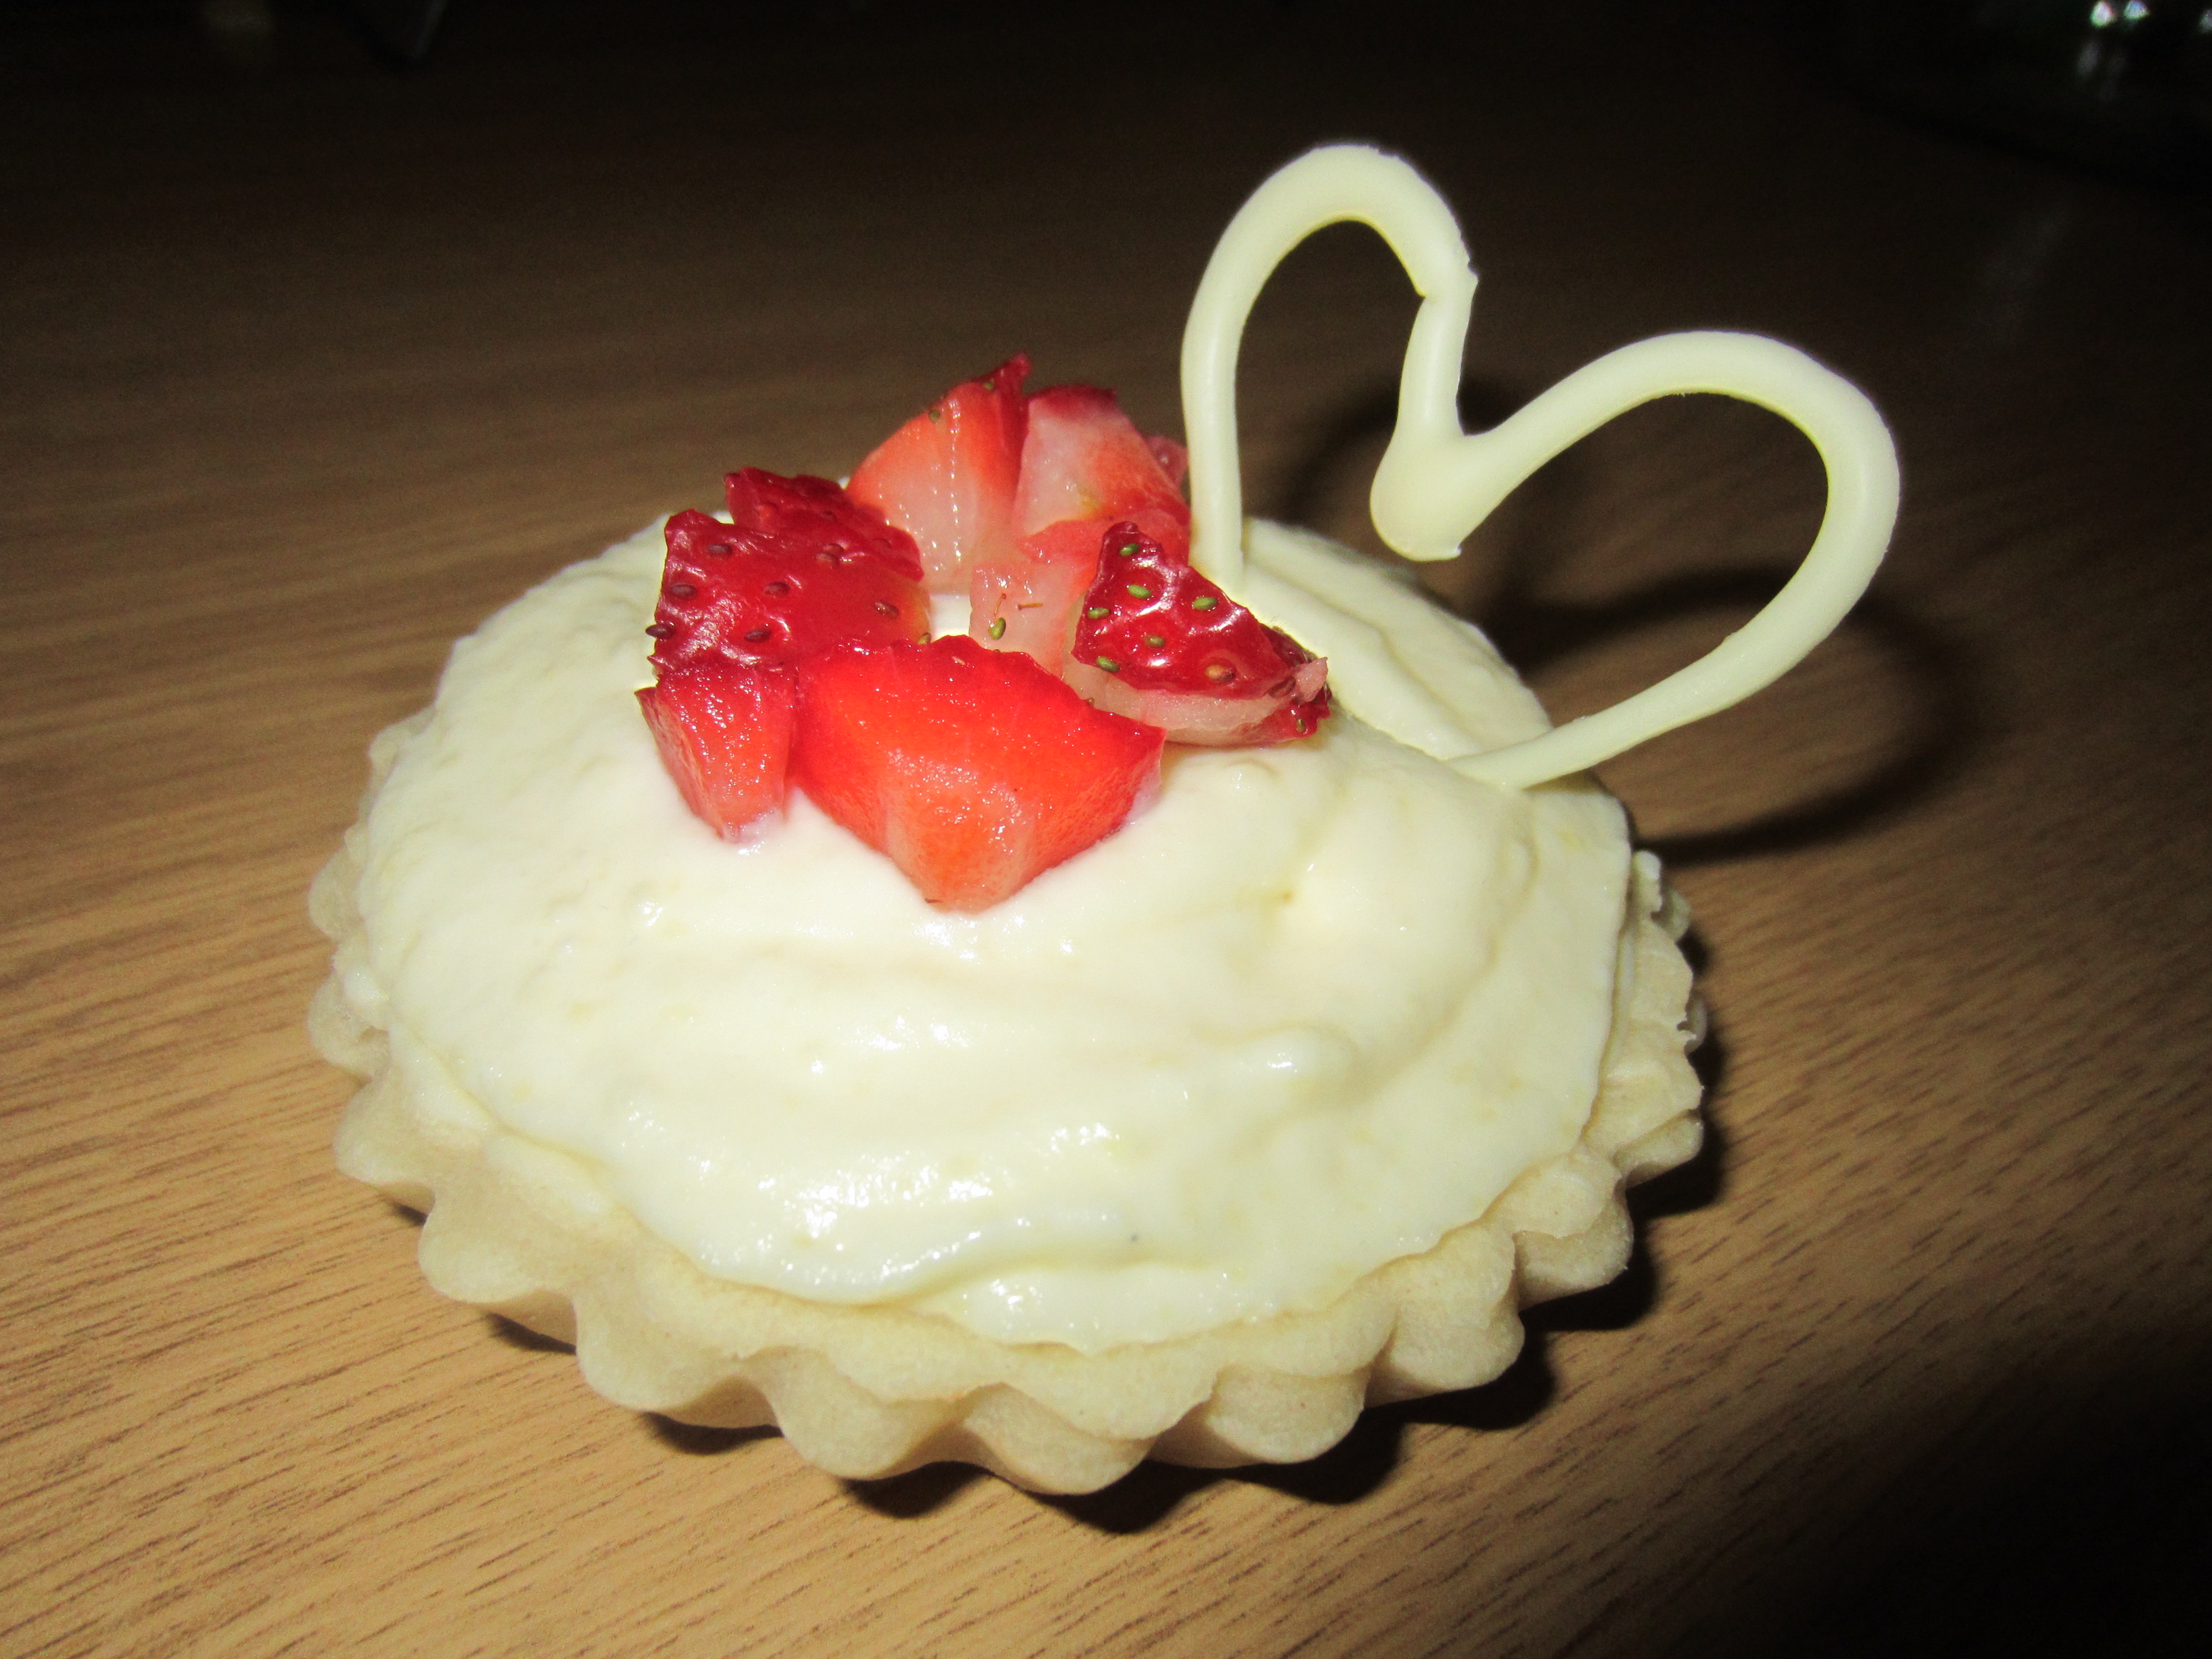
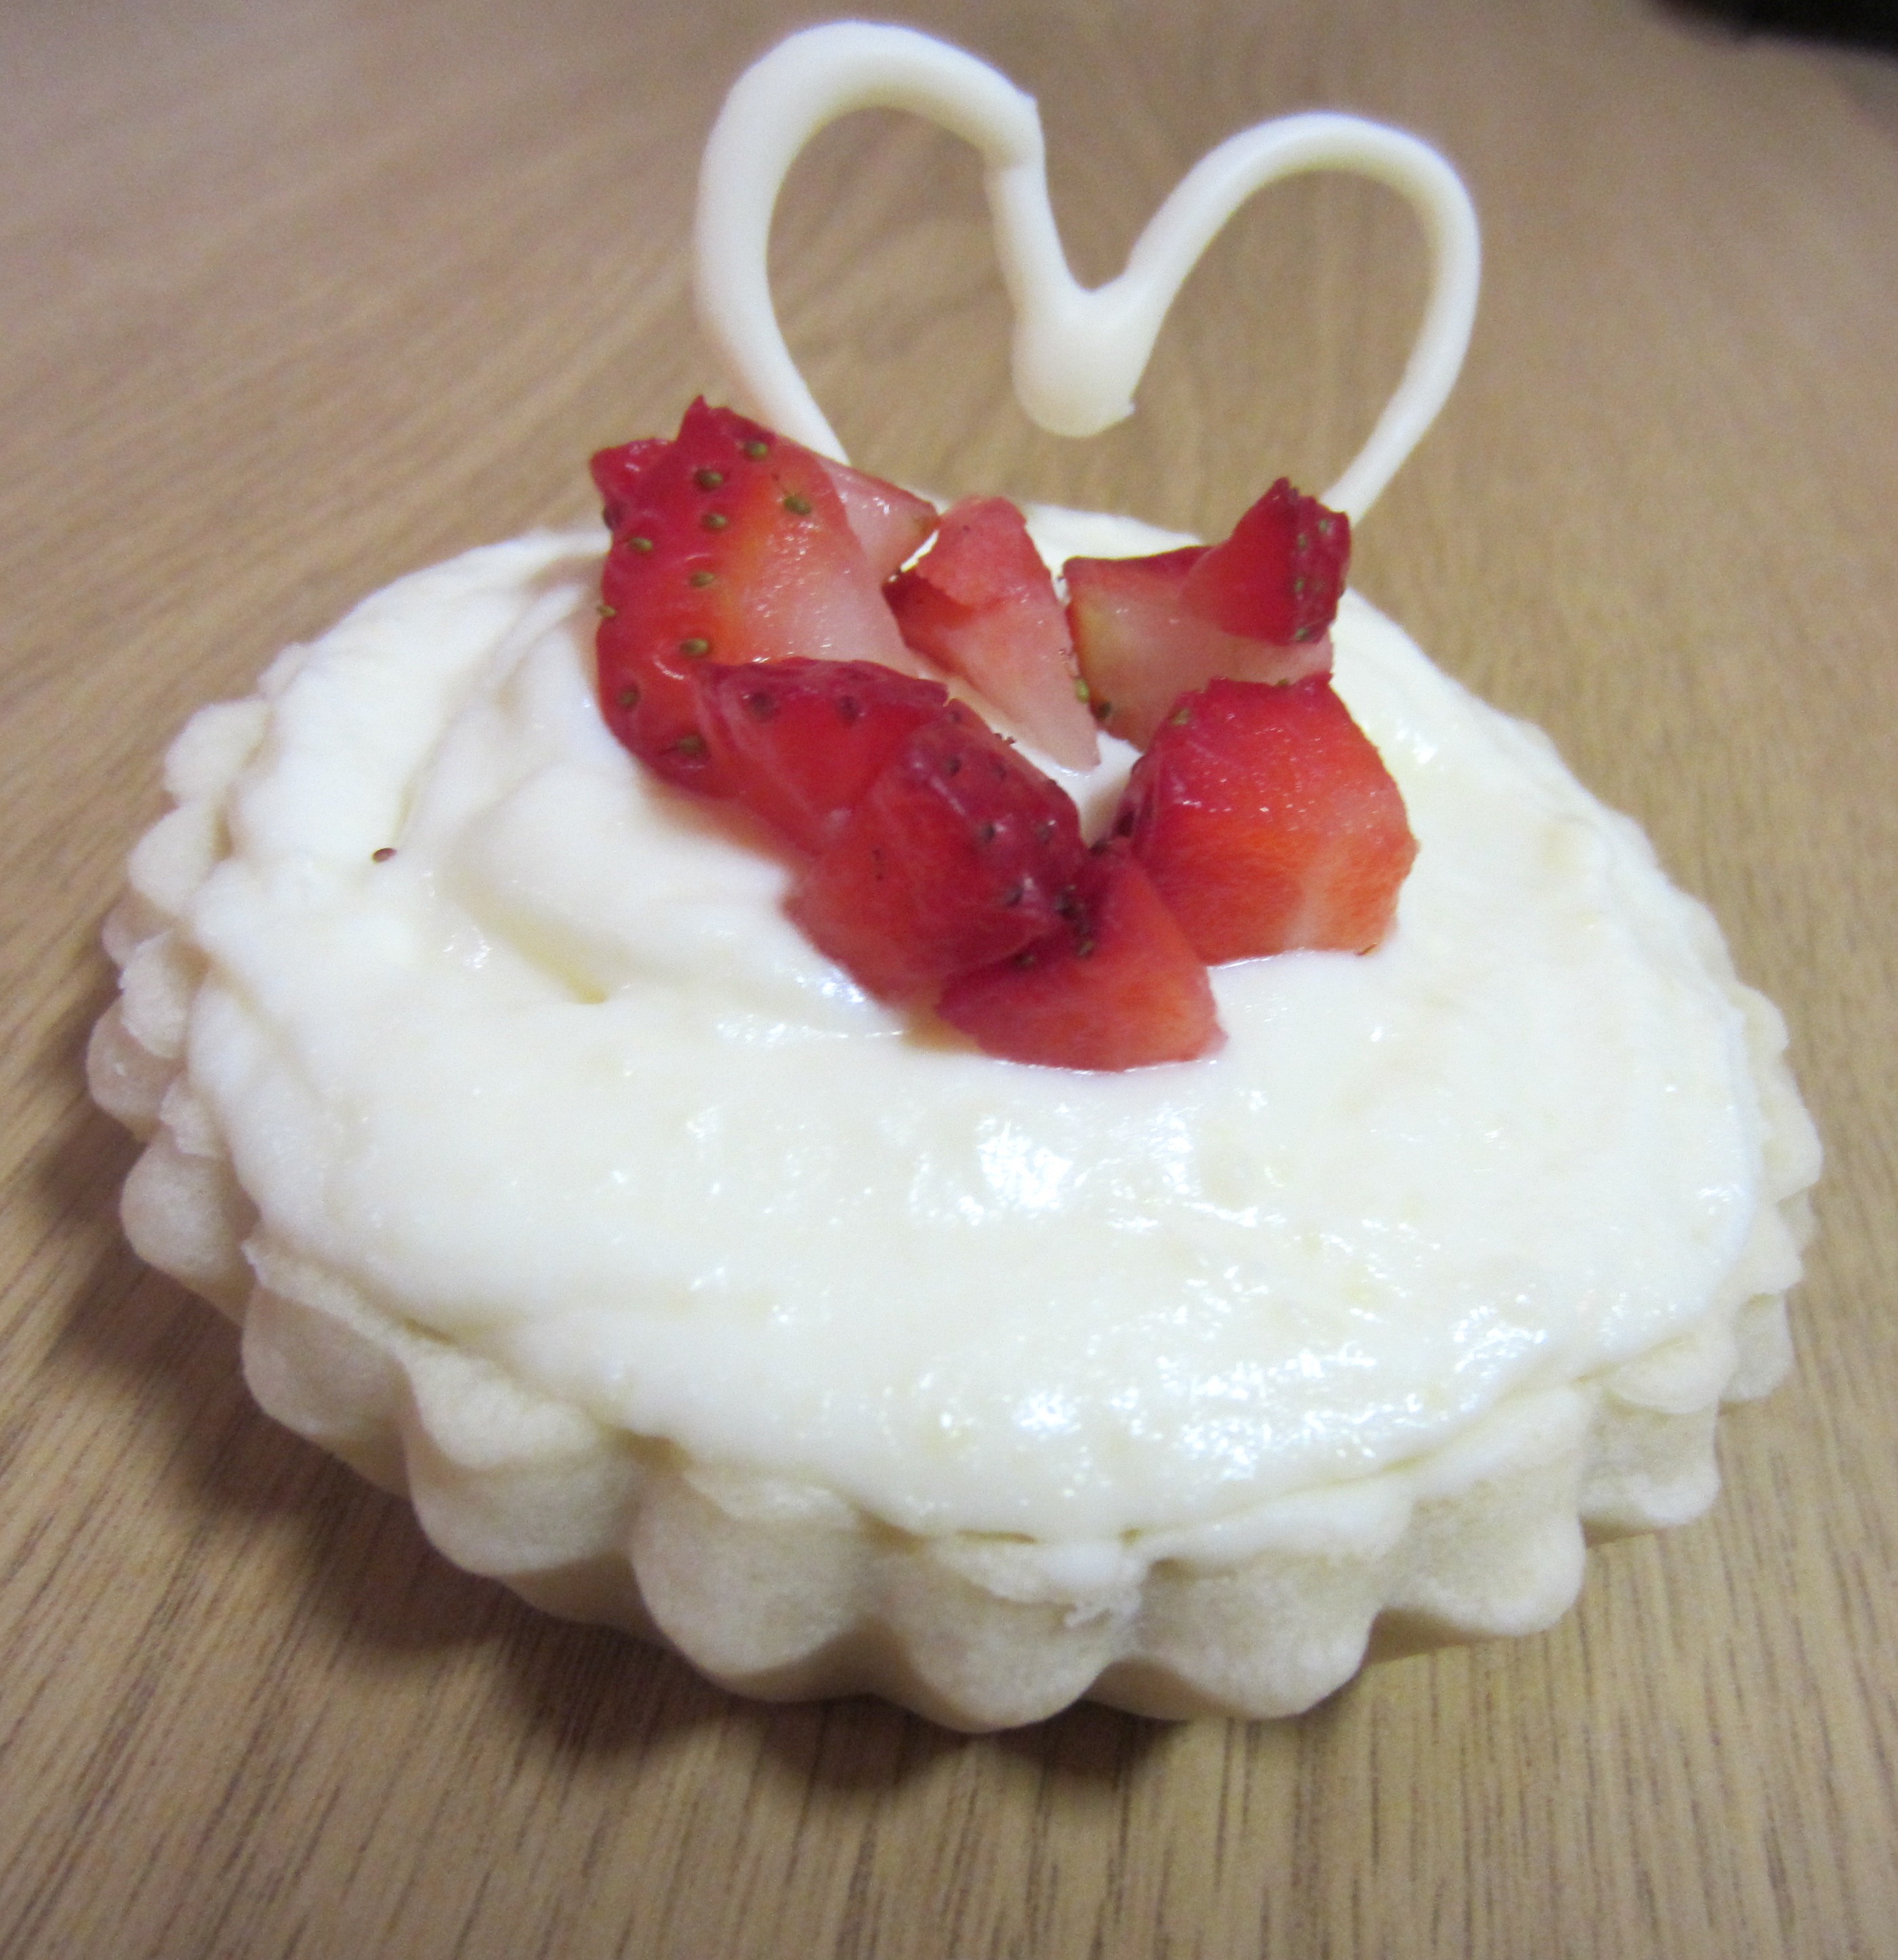
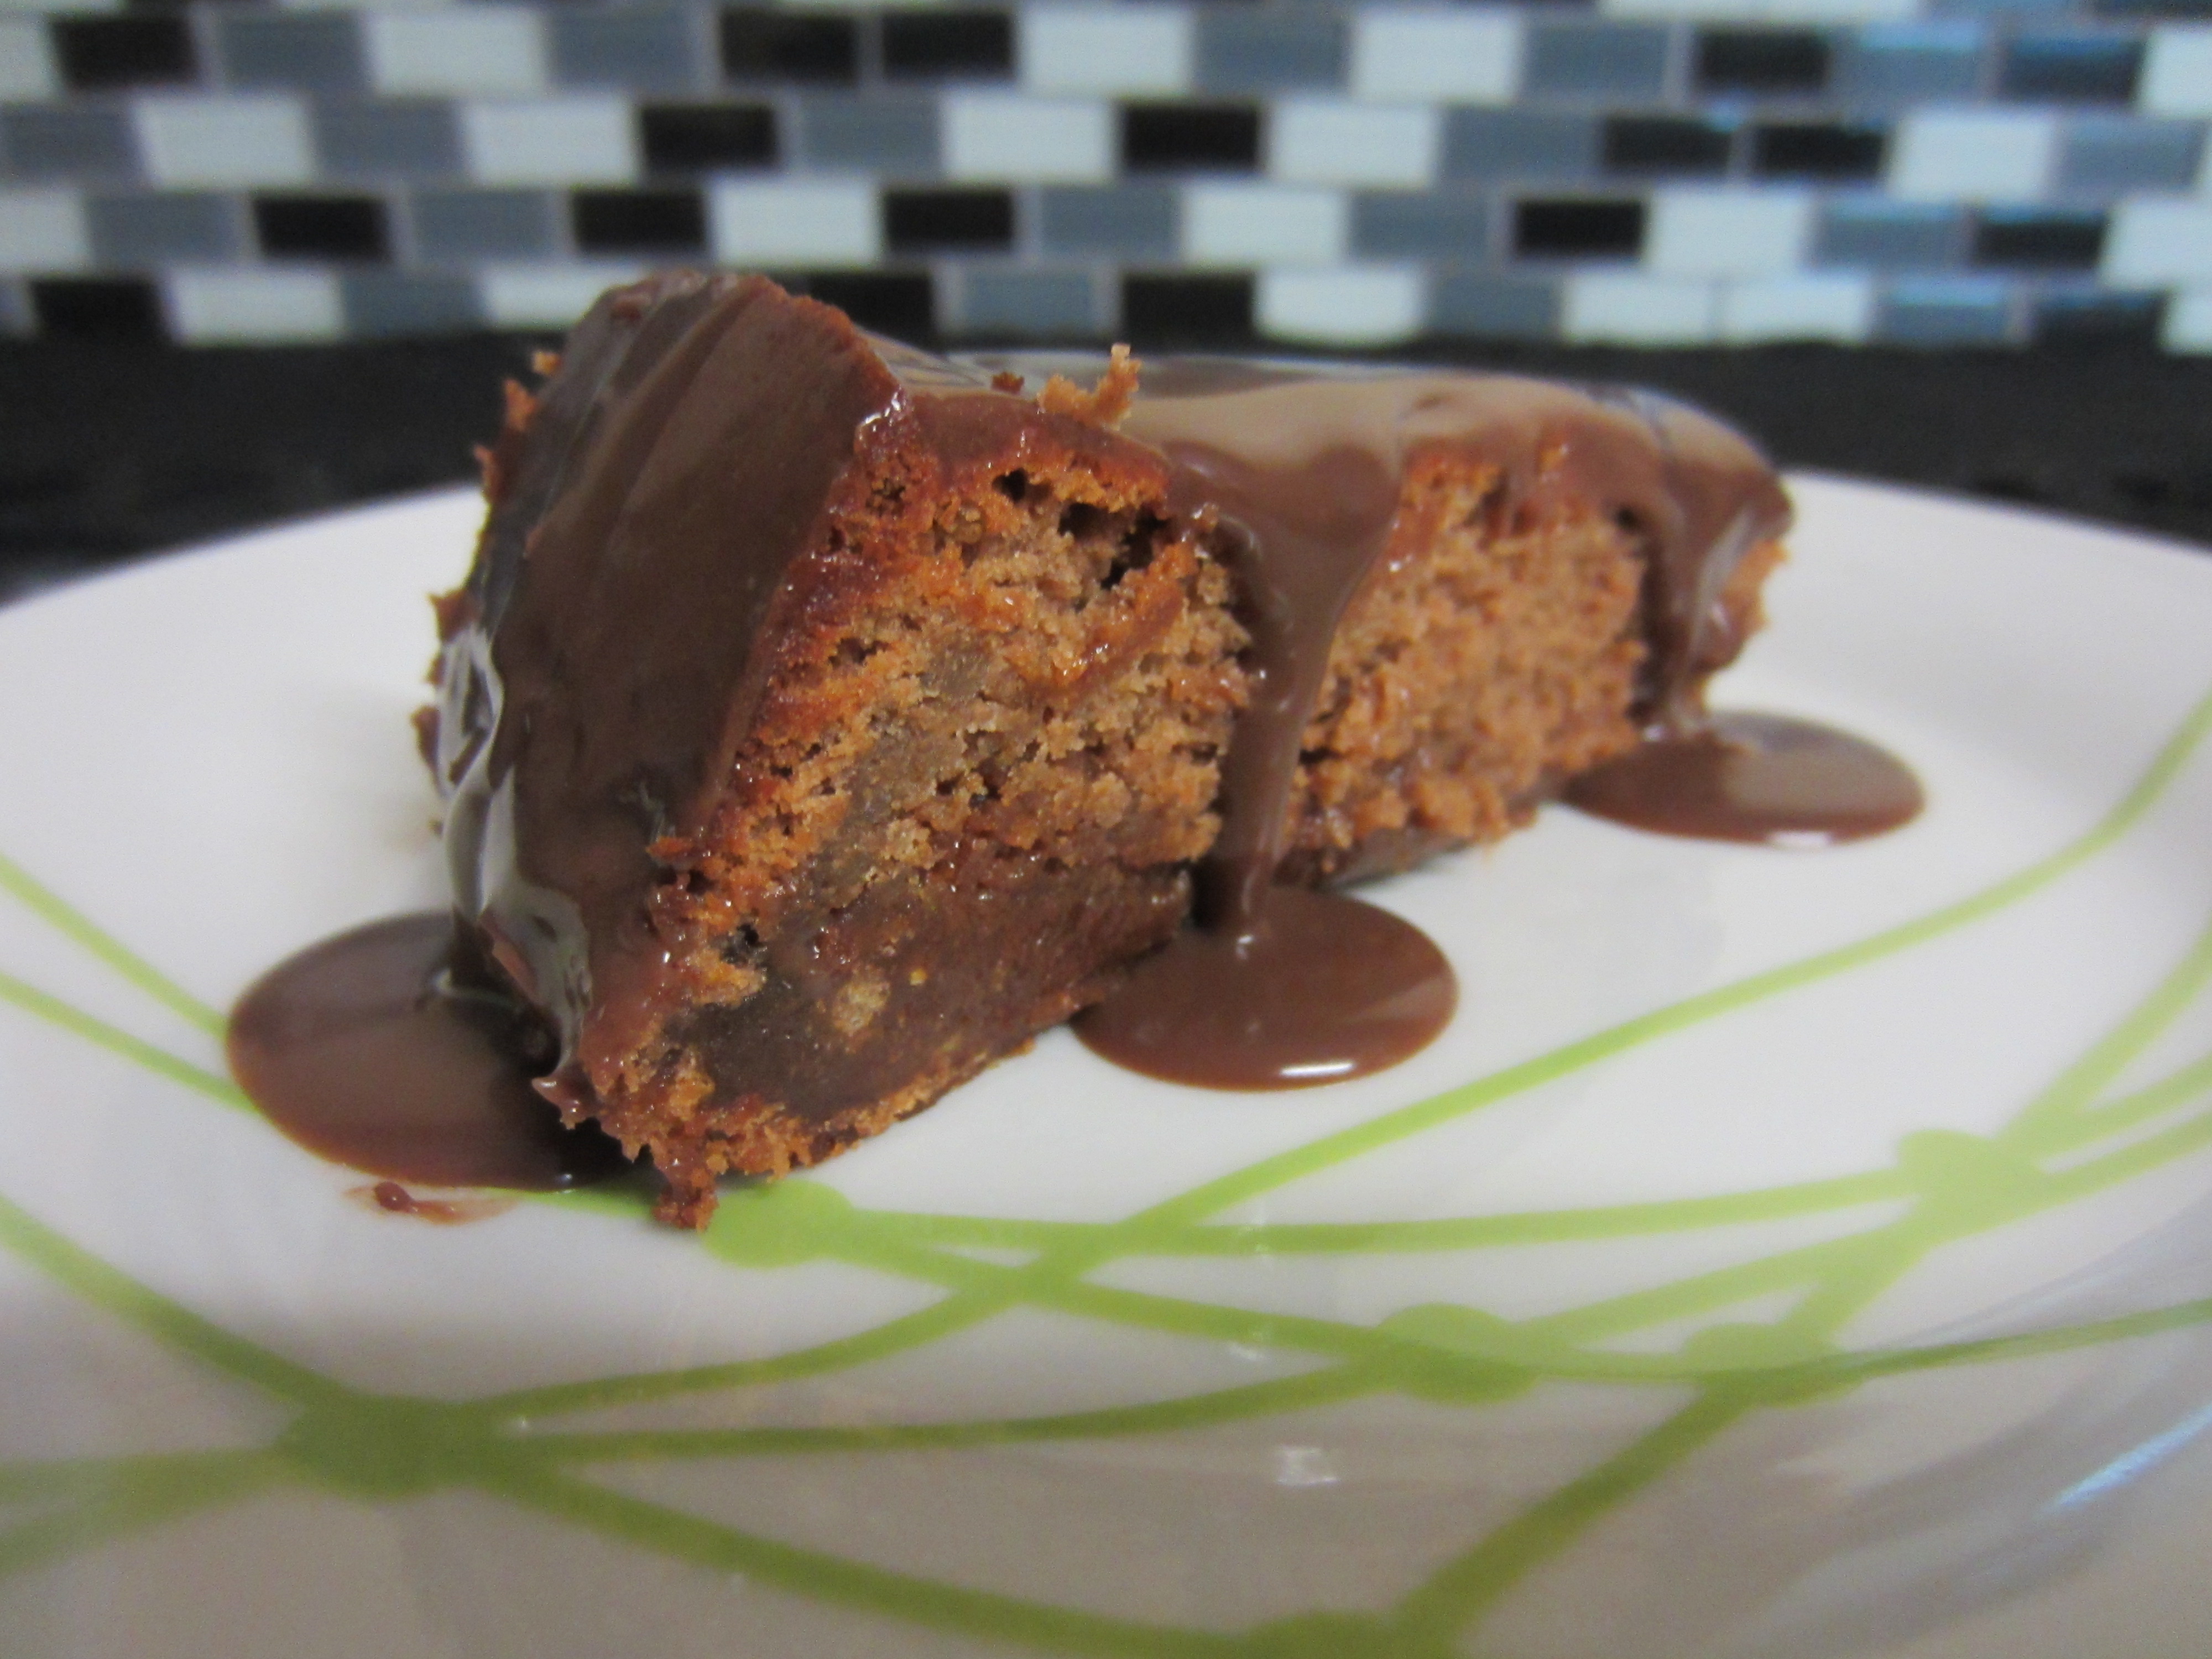
6. Melt the chocolate in a bowl set over a pan of simmering water. Place in a piping bag fitted with a fine nozzle. I used the Lekue Decorating Pen which you can purchase from Yuppiechef to scribble the chocolate all over the cake. Refrigerate for another 30 minutes, or until the chocolate is cold and set. Release the cake from its tin and voila!

This is the magical, easy to clean Lekue Decorating Pen

This is the magical, easy to clean Lekue Decorating Pen

IMG_0176

IMG_0184


White Chocolate and Strawberry Tartlets

This post was meant to uploaded during Ramadaan, as I attempted it then – sorry! 🙂

When I stumbled upon this recipe, I was totally sold – white chocolate and strawberries, who can resist??? I made this for dessert the weekend before Eid when I invited my family over for iftaar. My sister in-law Aquilah (AKA Keely) got a teeny weeny obsessed with the custard filling, scooping left overs and inserting it into cream filled eclairs  and anything else she could get her hands on, actually just eating the left overs with her hand 🙂 My nephew Zaydaan absolutely loves white chocolate and his favourite fruit is strawberries, the combination warranted a “I love you Aunty Saadiyah”. The heart shaped white chocolate inserted into the tartlets were just his  ever-end. Oh how I love that little boy 🙂

This was actually meant to be White Chocolate and Raspberry Tartlets, but with raspberries being out of season, strawberries had to just do the trick.

This is perfect for any special occasion and you can have fun and go wild decorating them.

Onto the recipe….

Ingredients:

– 25g cornflour

– 3 medium egg yolks

– 400ml milk

– 1 vanilla pos, slit lengthways

– 100g white chocolate, melted, plus 60g extra white hot chocolate, melted, for lining the pastry cases

– 100ml double cleam

– punnet of strawberries or 300g raspberries

For the pastry:

– 175g plain flour, plus extra for dusting

– 90g salted butter, cubed

– 20g caster sugar


Method:

1. Preheat the oven to 180 degrees celsius. To make the pastry – in a bowl, rub the flour and butter together with your fingertips until it resembles fine breadcrumbs. Stir in the sugar, add 2-3 tablespoons of cold water and bring together to form a soft dough. Wrap in cling film and chill for one hour.

2. Meanwhile, make the crème patissière. In a large bowl, whisk together the cornflour and egg yolks. The mixture will be stiff at first but it will become easier to mix. Place the milk and the vanilla pod in a pan over a medium heat. When it reaches a simmering point, strain over the egg mixture, whisking all the time (discard the vanilla pod). Stir in 100g of the melted chocolate and whisk well. Return the custard to the pan and heat gently until thickened, whisking all the time. Set aside to cool, covering the surface with cling film to prevent a skin forming.

3. On a lightly floured surface, roll out the pastry to a 5mm thickness and use to line 6 × 10cm round ×2cm deep fluted tart tins, trimming any excess pastry. Line each with baking paper and beans and blind bake for 15 minutes. Remove the paper and beans and bake for a further 5 minutes until cooked and golden. Carefully remove the patsry cases from the tins and cool on a wire rack.

4. Once cool, brush the remaining melted chocolate into the tart cases in 2 coats, chilling between each coat.

IMG_0129

5. Whisk the cream to just stiff peaks and fold into the white chocolate custard.

6. Fill each tart case with the custard and top with strawberries/raspberries or anything else you’re in the mood for really 🙂

IMG_0133


IMG_0138


This is a bad picture but I love the heart shadow :)

This is a bad picture but I love the heart shadow 🙂

???????????????????????????????


Salted Caramel Chocolate Cake

With Eid just a few days away I knew I had to share a few recipes to serve as ideas or inspiration for the infamous Eid desserts.

Before we get to the recipe of the oh-so-different Salted Caramel Chocolate Cake, I’d just like to take a moment to scream WOOP WOOOOP! It’s Sadie’s Bubble of Yum first birthday today! Yippidee doo daa! Can’t believe it’s been a year! My resolution for the next year is to post more frequently (I know I’ve been really bad…sorry!) hehehe Shukran and thank you to everyone who has read my posts, attempted the recipes, left a comment or simply gave me encouragement to keep blogging. High 5 to you!

With that said, I think it’s quite fitting that I share this recipe. If you’re looking for something different, divine and damn delicious then I’d recommend the Salted Caramel Chocolate Cake. With the chocolatey moist texture of the cake and the surprise of the caramel and the second surprise hint of salty deliciousness, this is a sure winner!

Just a heads up, I’ll be posting a white chocolate and strawberry tart recipe tomorrow in keeping with the Eid-spiration (taking a bow for that one) and my first year resolution 🙂

Happy baking!

xxx

Ingredients:

For the cake:

  • 200g chocolate (dark or milk – depending on your preference), roughly chopped
  • 100g unsalted butter, plus extra for greasing
  • 150ml milk
  • 4 eggs, separated
  • 125g golden castor sugar
  • 100g flour

For the caramel:

  • 225g digestive biscuits
  • 300g castor sugar
  • 2 tbsp water
  • 100ml cream
  • 100g salted butter, plus extra for greasing
  • 2 pinches of sea salt

For the chocolate glaze:

  • 200g chocolate (again, depending on your preference), chopped
  • 200ml cream

Method:

1. Start with the caramel biscuit. Grease 2 x 22cm diameter cake tins and line the bases with baking paper.

2. Whizz the biscuits in a food processor until fine crumbs. Put the sugar and water into a heavy-based saucepan and dissolve over a low heat. Increase the heat and cook until it forms a caramel.

IMG_9950

3. Remove from the heat and carefully stir in the cream, followed by the butter and salt. Stir the biscuit crumbs into the caramel.

IMG_9954

4. Divide equally between the tins and press down with the back of a spoon. Place in the freezer to set.

???????????????????????????????

4. To make the chocolate cake, preheat the oven to 180°C. Grease a deep 22cm diameter loose-bottomed cake tin and line with baking paper.Melt the chocolate, butter and milk together in a heatproof bowl set over a saucepan of barely simmering water, making sure the surface of the water does not touch the bowl.

My improvised version of a double boiler :)

My improvised version of a double boiler 🙂

5. In a large bowl, whisk the egg yolks and sugar together using an electric hand whisk until pale and fluffy. Stir in the chocolate mixture, then fold in the flour. In a clean, dry bowl, whisk the egg whites to soft peaks, then gently fold into the chocolate mixture.

6. Remove the caramel biscuit discs from the freezer and remove them from the tins, discarding the lining paper. Place one of the discs on the bottom of the prepared loose-bottomed cake tin and spread with half of the cake mixture.

helloooo chocolate and caramel goodness!

helloooo chocolate and caramel goodness!

7. Lay the other biscuit disc on top and cover with the remaining cake mixture. Bake in the oven for 25–30 minutes until the cake is just cooked – it should be almost undercooked for extra gooeyness. Leave to cool in the tin for 10 minutes, then turn out on to a cooling rack to cool completely.

8. To make the glaze, put the chocolate into a heatproof bowl. Put the cream into a saucepan and heat to simmering point, then pour one-quarter over the chocolate. Leave for 1 minute until the chocolate starts to melt, then gently stir in the rest of the cream until smooth and glossy.

9. Cover the cooled cake with the chocolate glaze and chill it in the refrigerator until set before serving.

IMG_9995

IMG_9996

1 4 5 6 8
%d bloggers like this: