Tag Archives: Halaal

Caramel and Cherry Babka Topped with Cherry-Vanilla Glaze and Roasted Pistachios

We are diving head first, mouth-wide open into cherry season in South Africa and like so many other cherry-fans, I am here for it!

Western Cape, we are in total luck of the draw here as farm to table fresh cherries can be ordered and delivered to your door from cherrytime.co.za – they also supply Pick n Pay stores with their juicy cherries, yum!

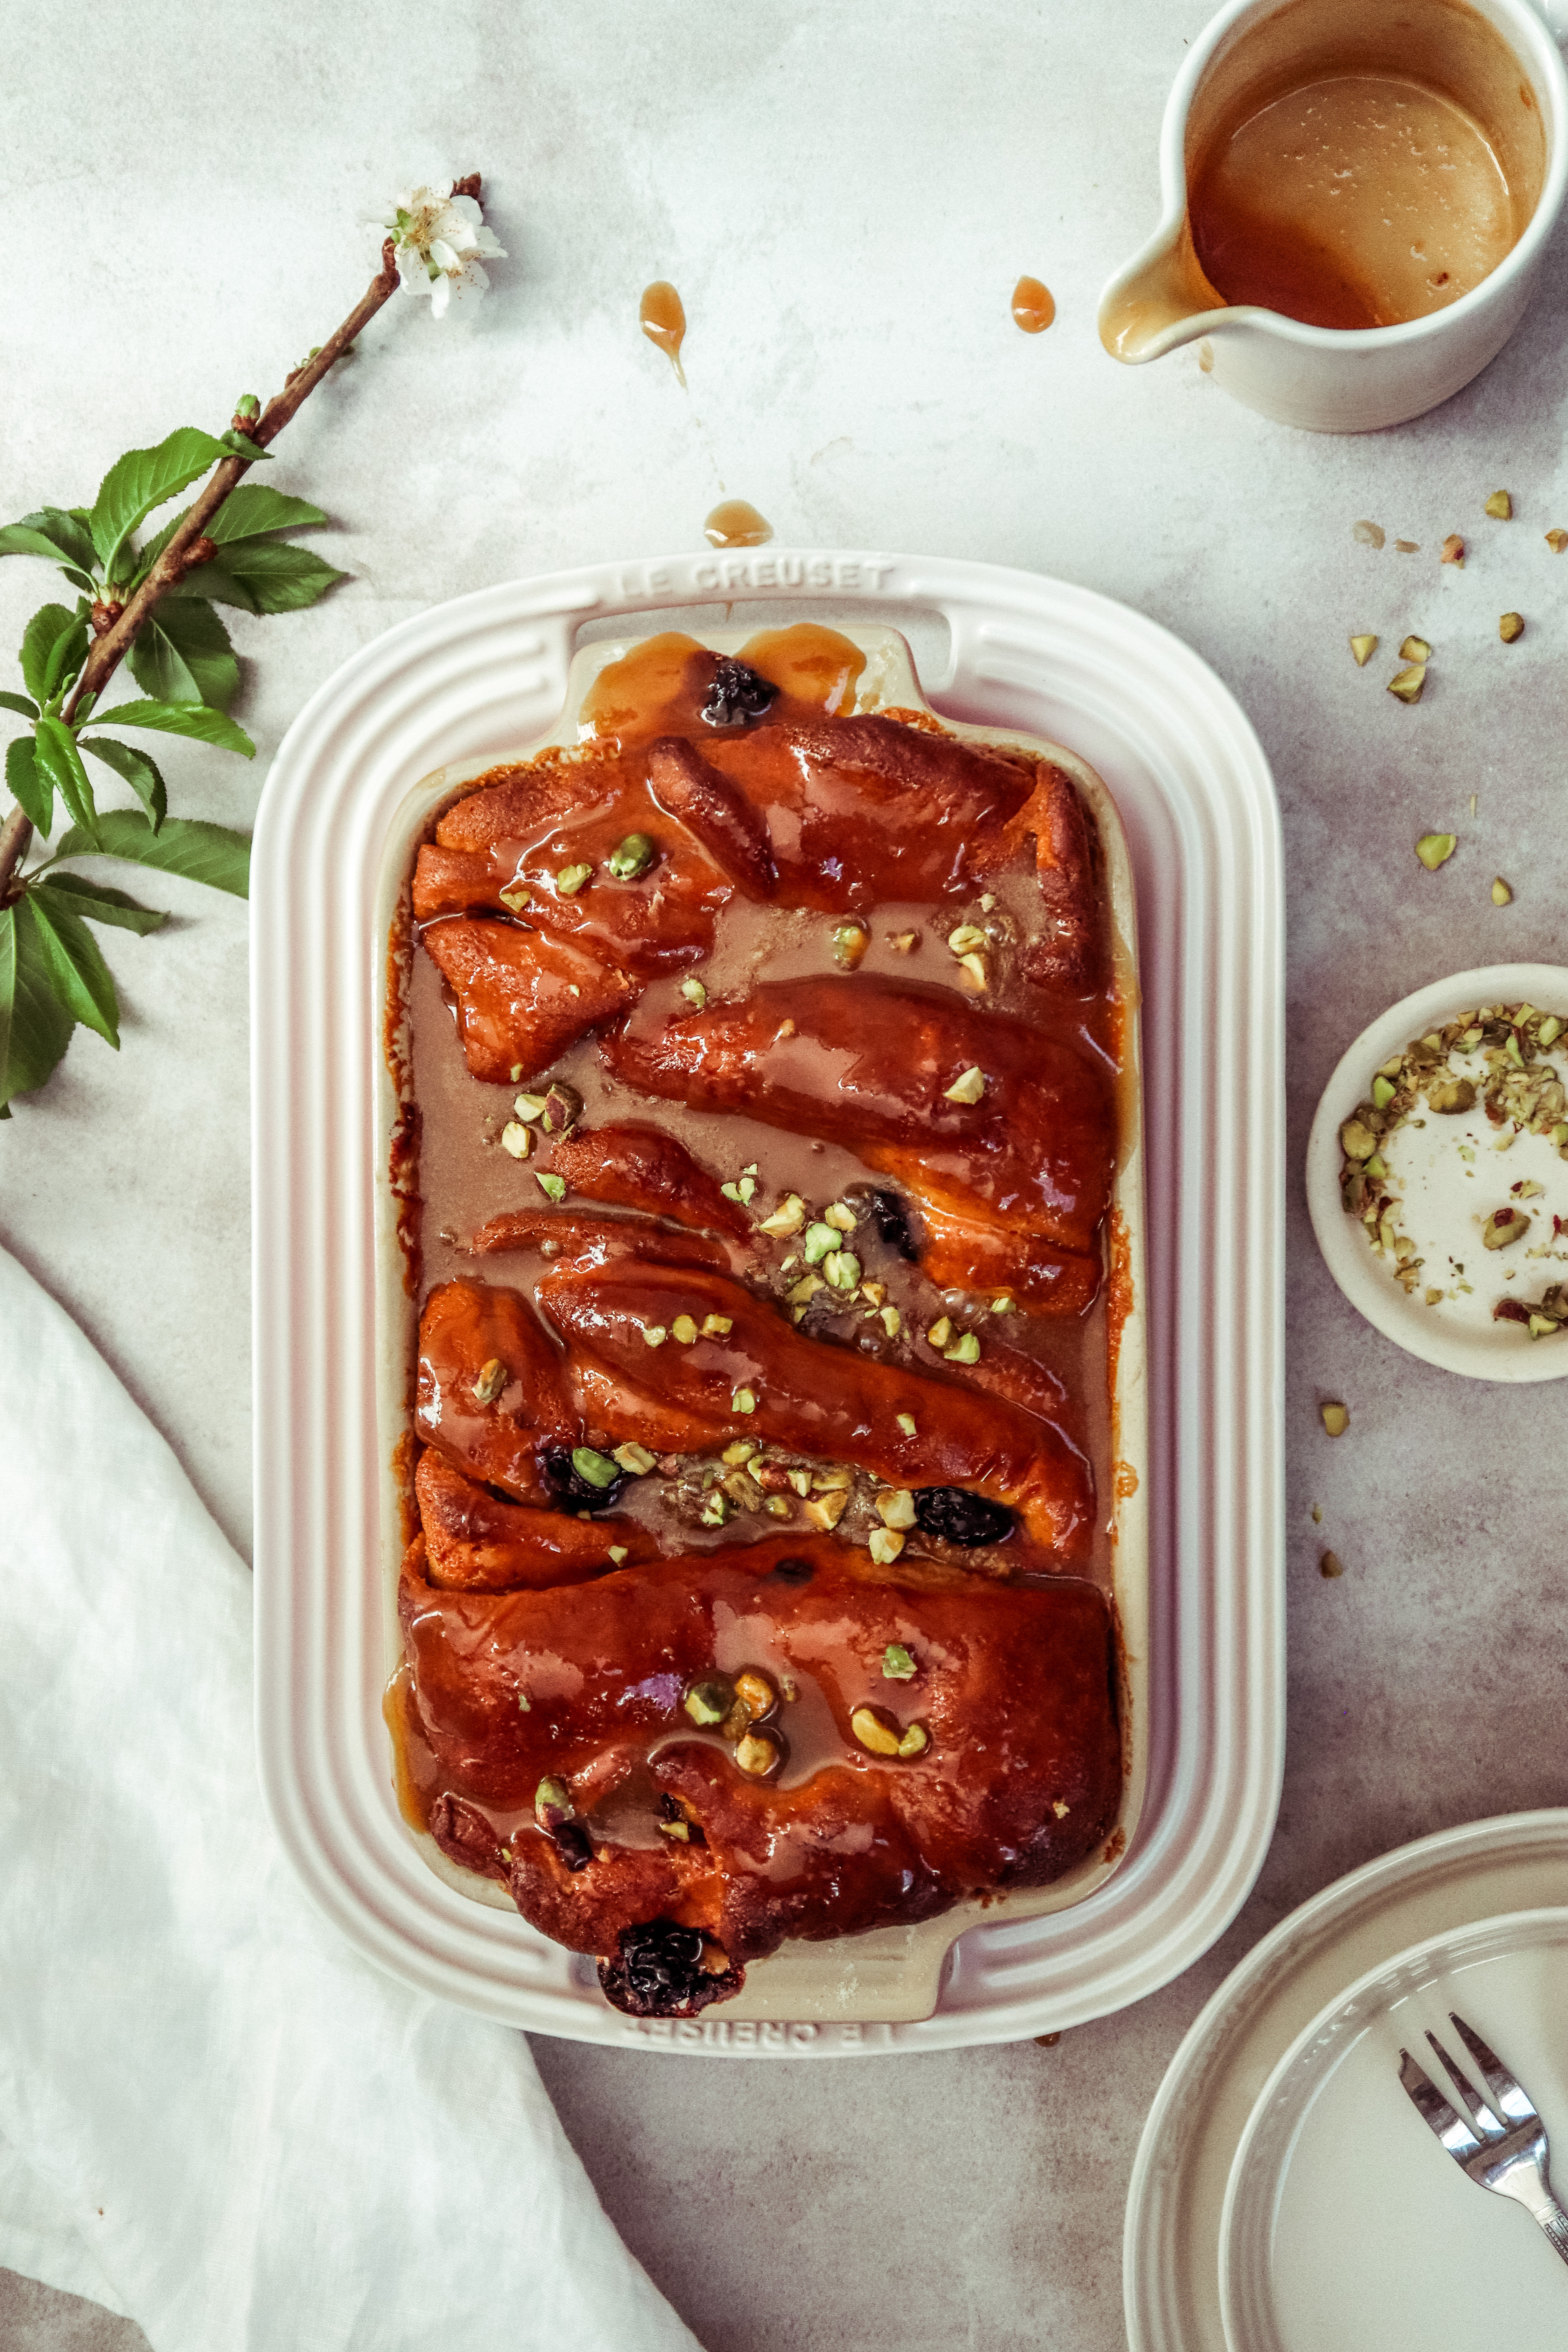
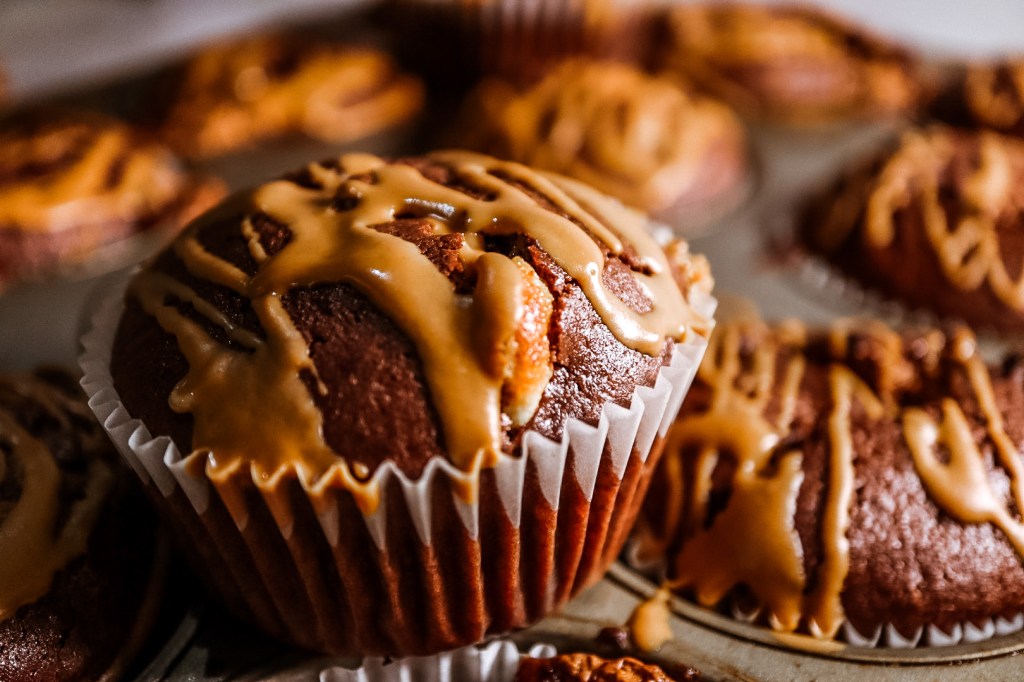
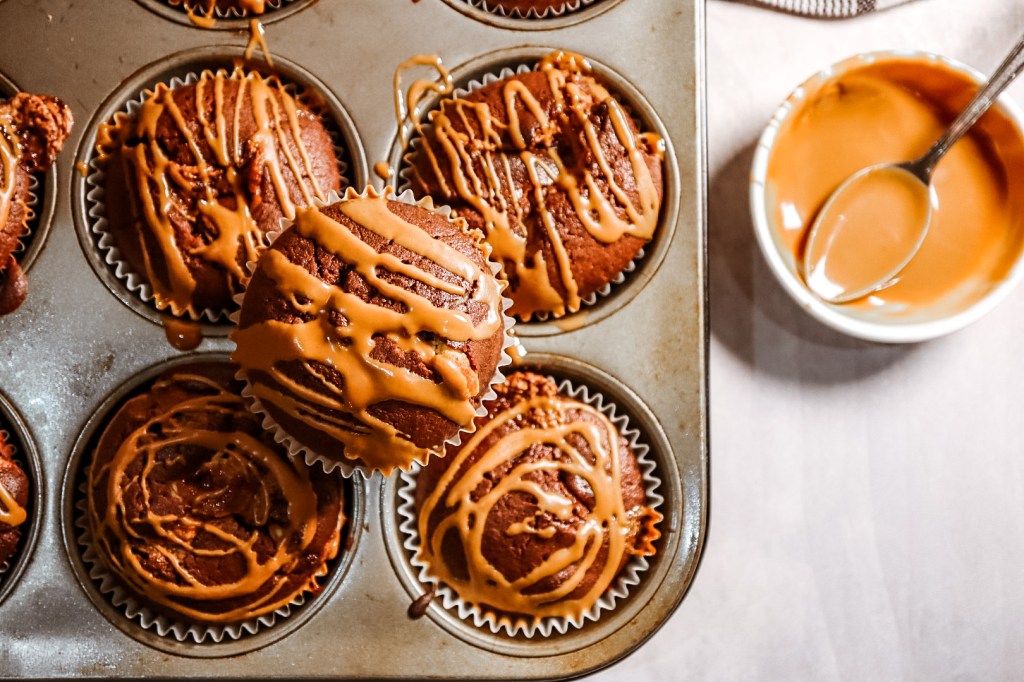
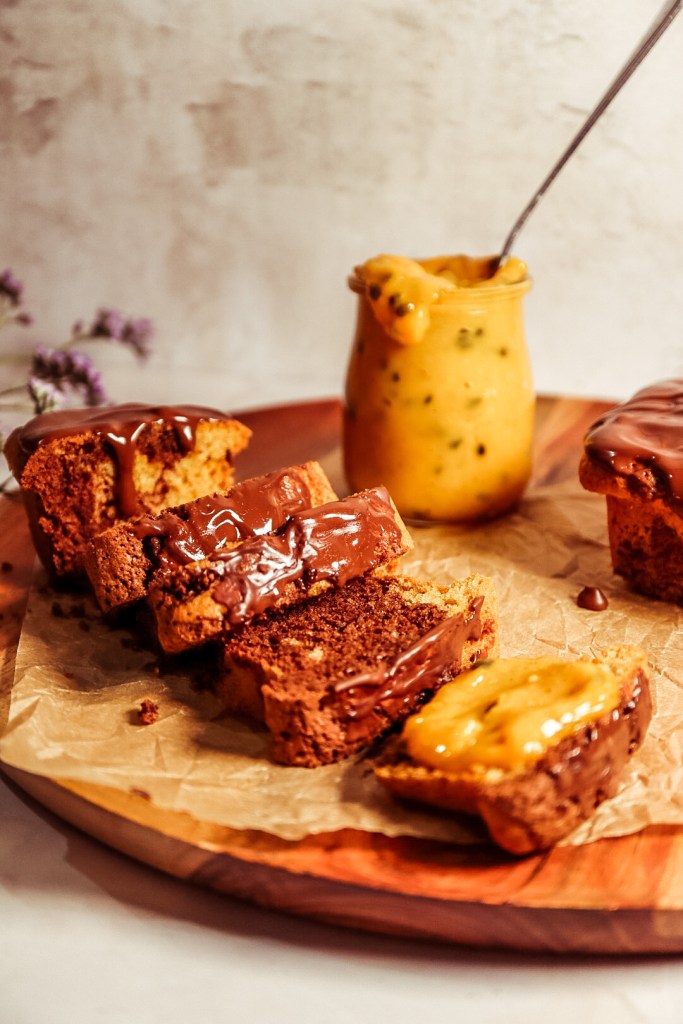
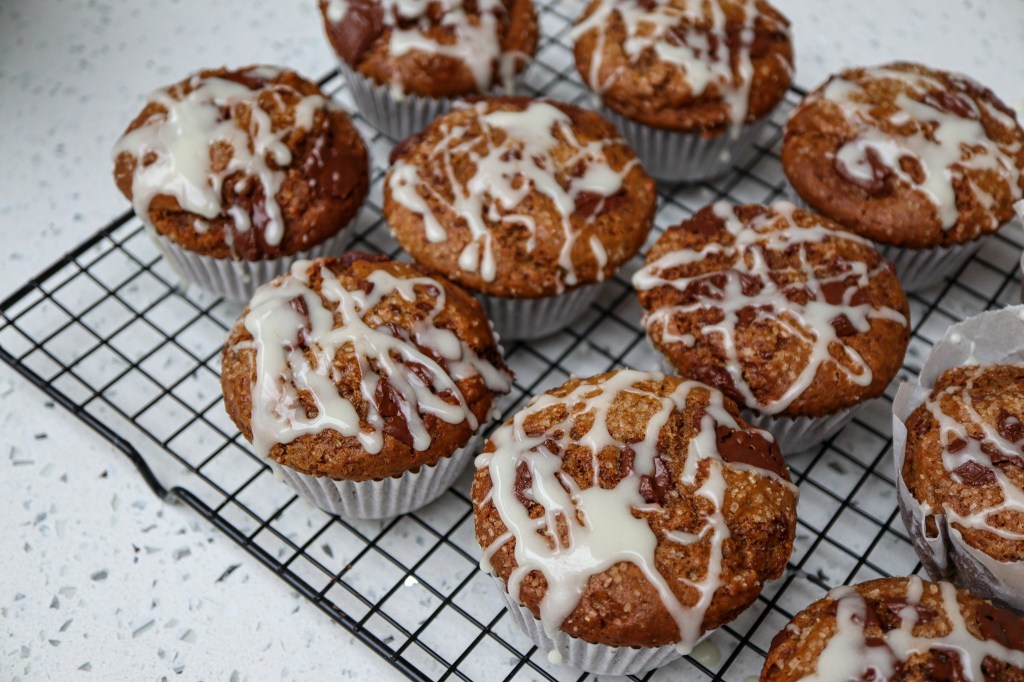
I’m serving you with another cherry inspired recipe, this time a rich, spicy and layered with flavours, this branded loaf is bound to be your new favourite bake. Its cherry-infused glaze, fruity filling and nutty crust means you can get away with serving up a slice any time of the day.

Caramel & Cherry Babka, Topped with Cherry-Vanilla Glaze and Roasted Pistachios
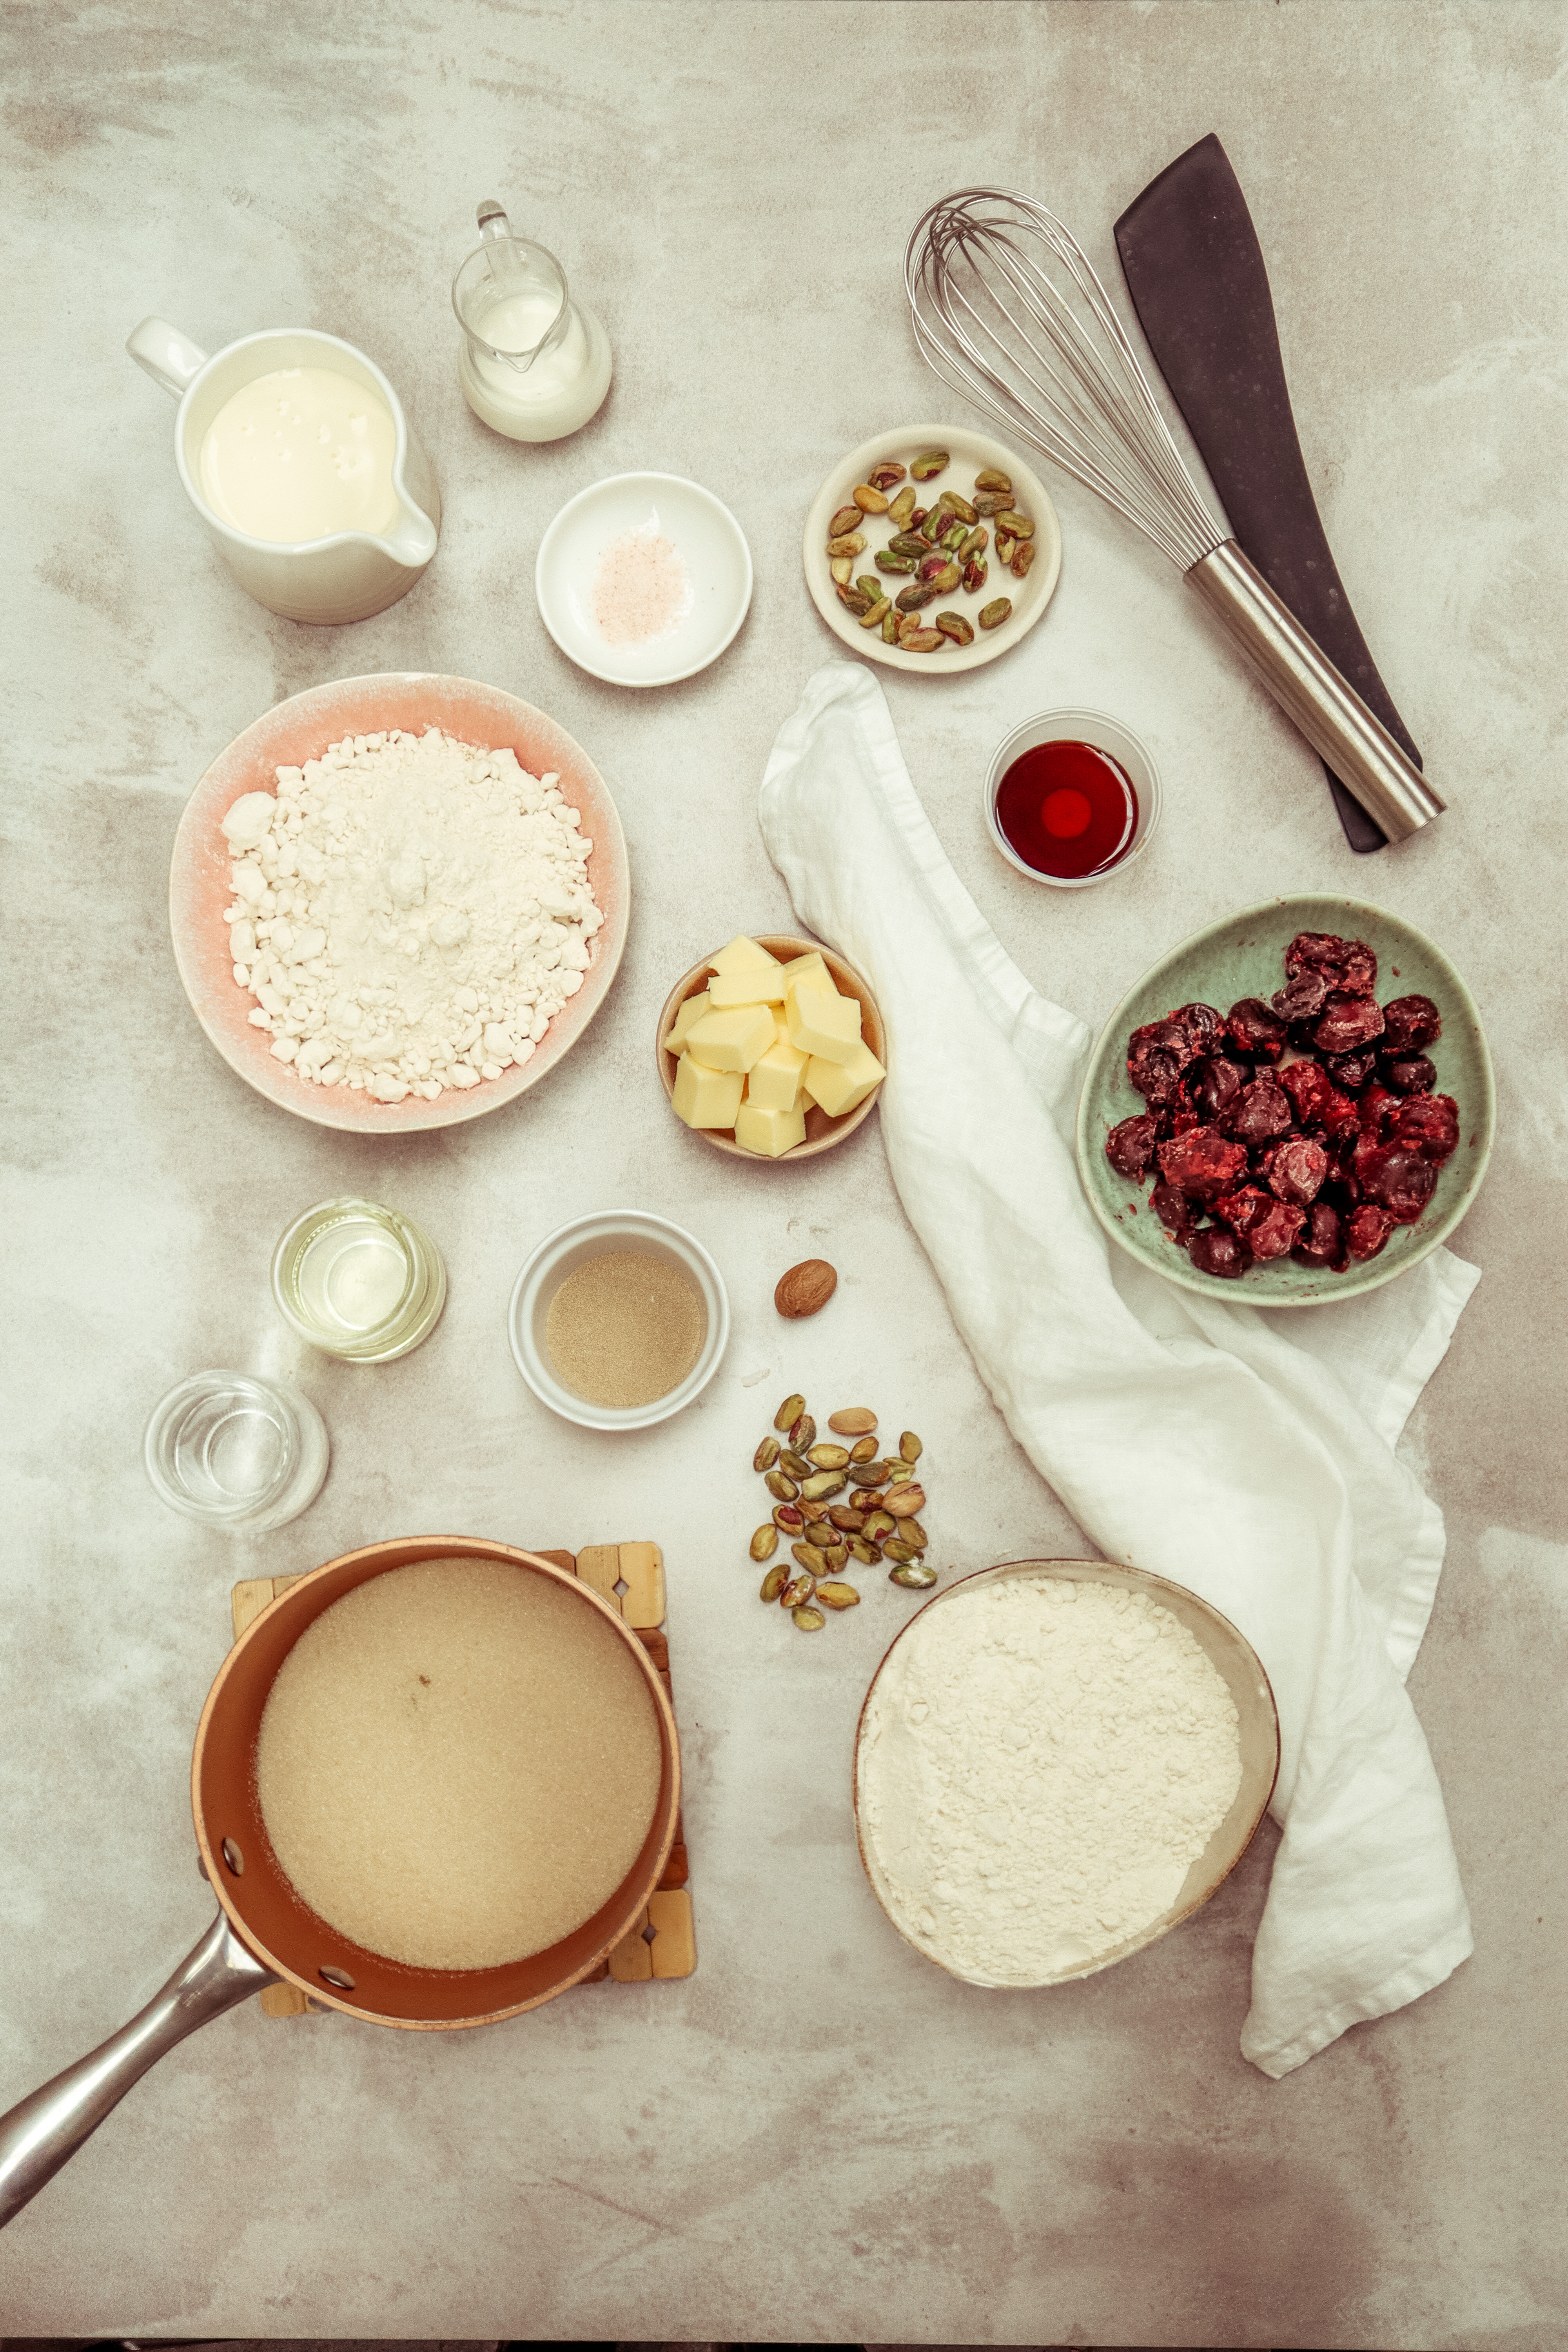
Ingredients:

For the caramel:

  • 200g caster sugar
  • 90g butter
  • 230ml cream, slightly warmed

For the Babka

  • 1 cup pitted and halved Cherry Time cherries
  • ½ cup warm water
  • 1 tsp golden caster sugar
  • 1 packet instant yeast
  • 1 egg, plus 1 extra yolk
  • ¼ cup oil
  • 2 tsp vanilla essence
  • 2 tbsp honey
  • 1 tsp salt
  • 260g bread flour
  • ½ tsp freshly ground nutmeg
  • egg wash (1 egg mixed with 1 tsp water)
  • ¼ cup pistachios, roasted

For the Cherry-Vanilla Glaze:

  • 75g butter, melted
  • 250g icing sugar
  • 5 tbsp milk
  • 1 tsp vanilla extract
  • ¼ cup pitted and halved Cherry Time cherries

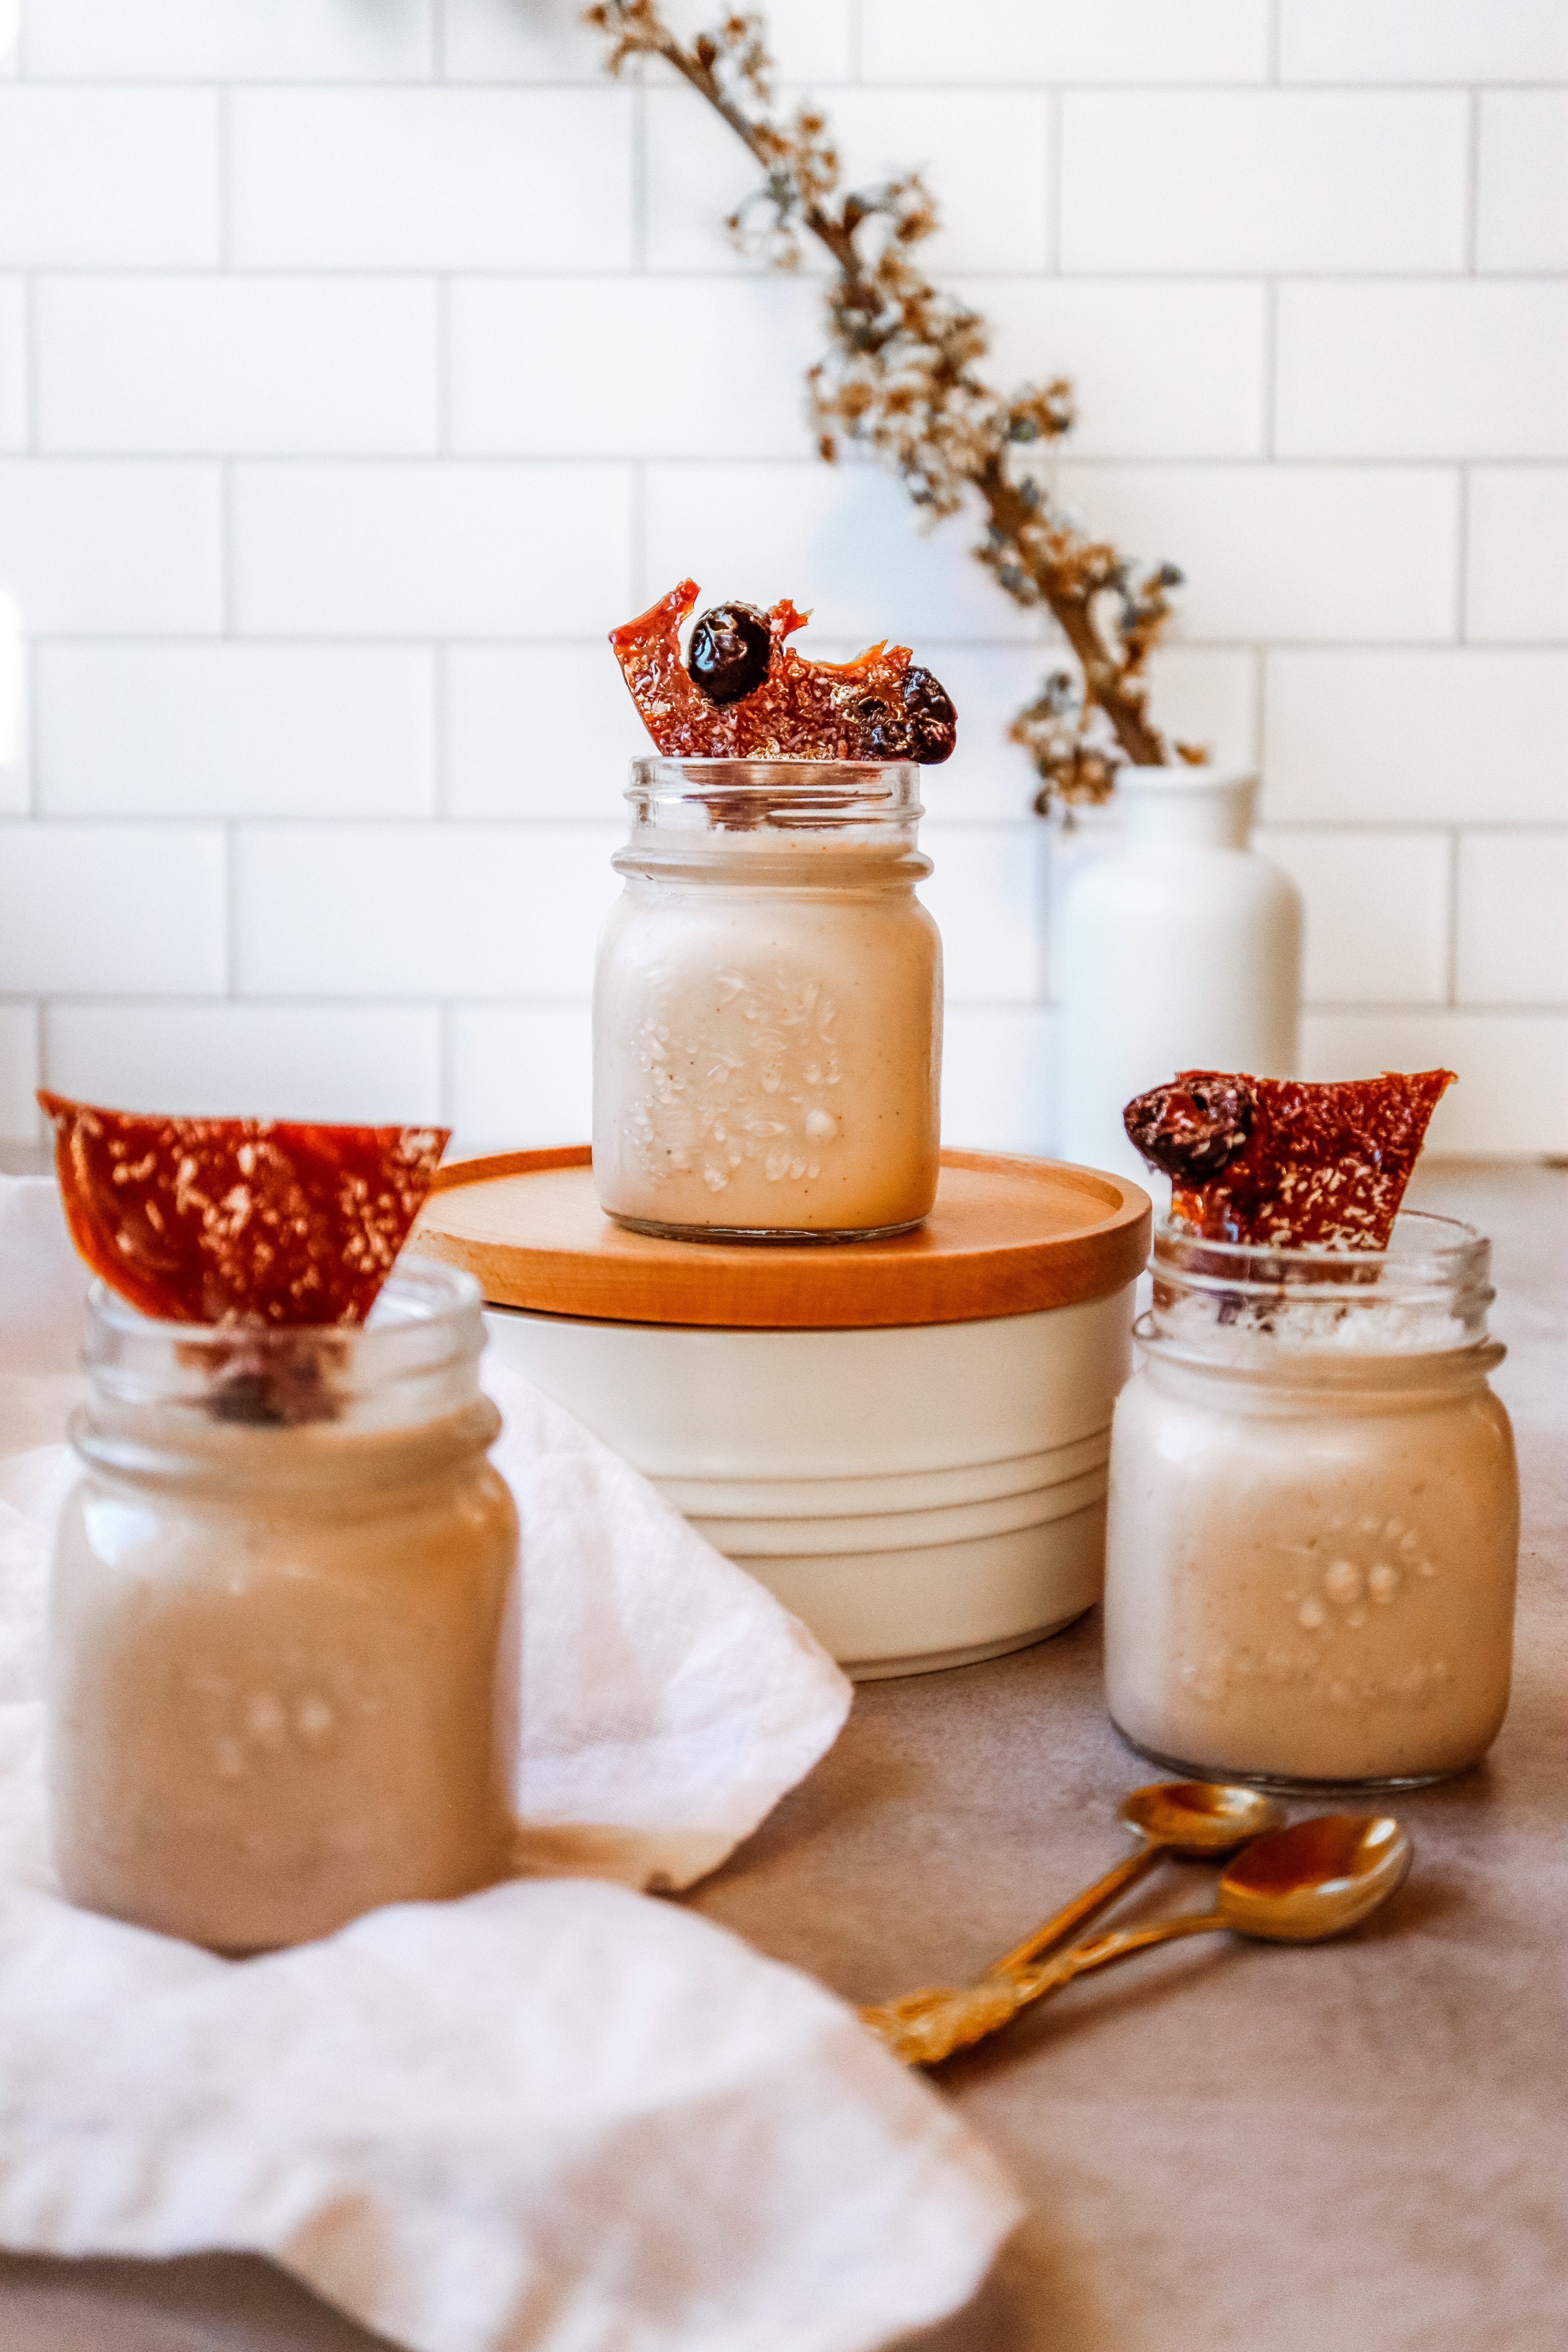
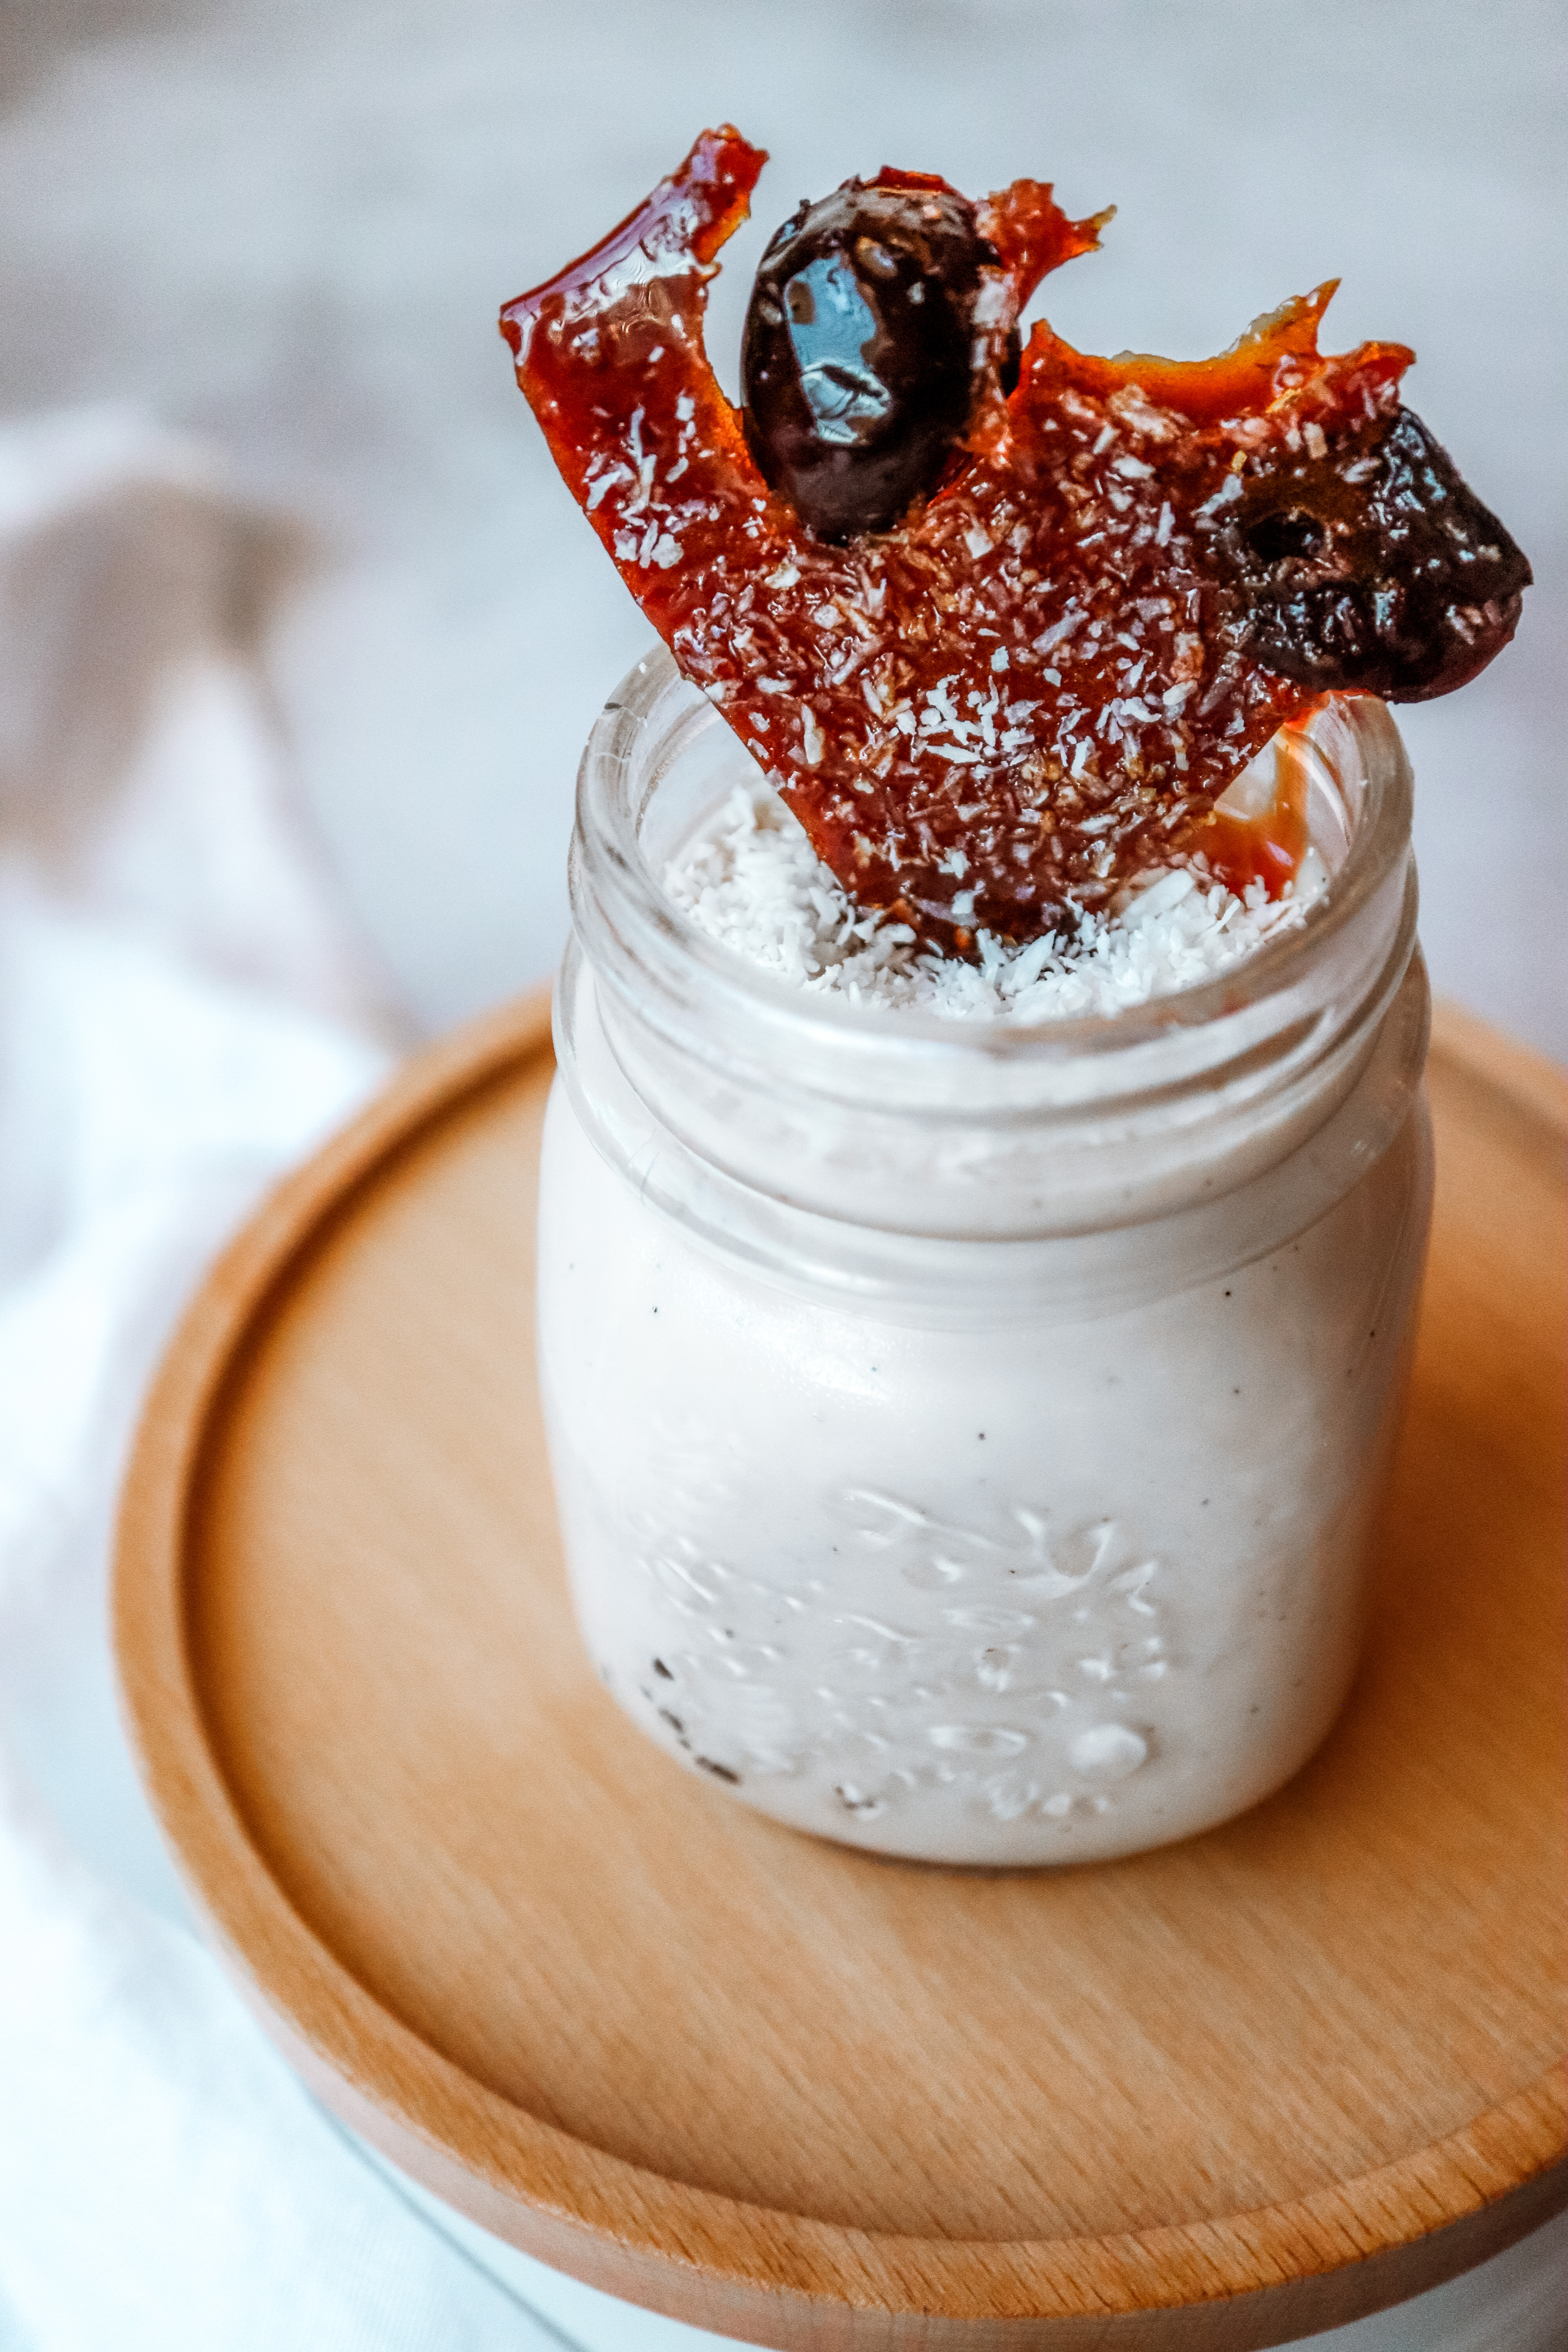
To serve: chantilly cream

Method:

For the caramel, place the sugar in a saucepan on medium heat and allow to melt, stirring occasionally to distribute the heat evenly.
Once the sugar is liquid and amber in colour, remove from the stove and add the butter, whisking to combine.
Add the slightly warmed cream and whisk until completely combined, then pour into a container and allow to cool completely.
For the babka, in the bowl of an electric mixer fitted with a dough hook, combine the water, sugar and yeast and set aside for 5–10 minutes until frothy.
To the mixture add the eggs, oil, vanilla and honey, and mix until combined.
Add the salt, flour and nutmeg and knead the dough on medium speed for approximately 10 minutes, until it is soft and smooth.
Transfer the dough to a bowl brushed with oil and cover with clingwrap, allowing to rise until doubled in size (approximately 2 hours).
For the glaze, melt the butter in a saucepan, add the remaining ingredients except the cherries, and whisk to combine. Adjust to your desired consistency with more or less milk and icing sugar.
Add ¼ cup cherries and allow to infuse for 10 minutes, before straining to remove the fruit.
Prepare a loaf pan by spraying with non-stick spray or lightly greasing with oil, then lining with baking paper.
On a floured surface, roll the babka dough out into a rectangle. Evenly spread the caramel and 1 cup cherries across the dough, leaving a 1.2cm border along all edges.
From the shorter side, carefully roll the dough into a log. Using a sharp knife, slit the dough in two by cutting it down the middle lengthwise. Taking the two pieces, twist them around each other to form the babka twist.
Place the babka into the prepared pan and place it in a warm spot, free from drafts, and allow to rise for another 45 minutes. In the meantime, preheat the oven to 190°C.
Brush with egg wash (avoiding the caramel and cherry swirls) and lightly cover with foil to prevent over-browning in the oven. Bake for 25 minutes, remove the foil, and bake for a further 5–15 minutes.
Once removed from the oven, allow the loaf to cool for 10 minutes before transferring to a wire rack to cool completely.
While on the rack, pour over the cherry-infused glaze and top with roasted pistachios.

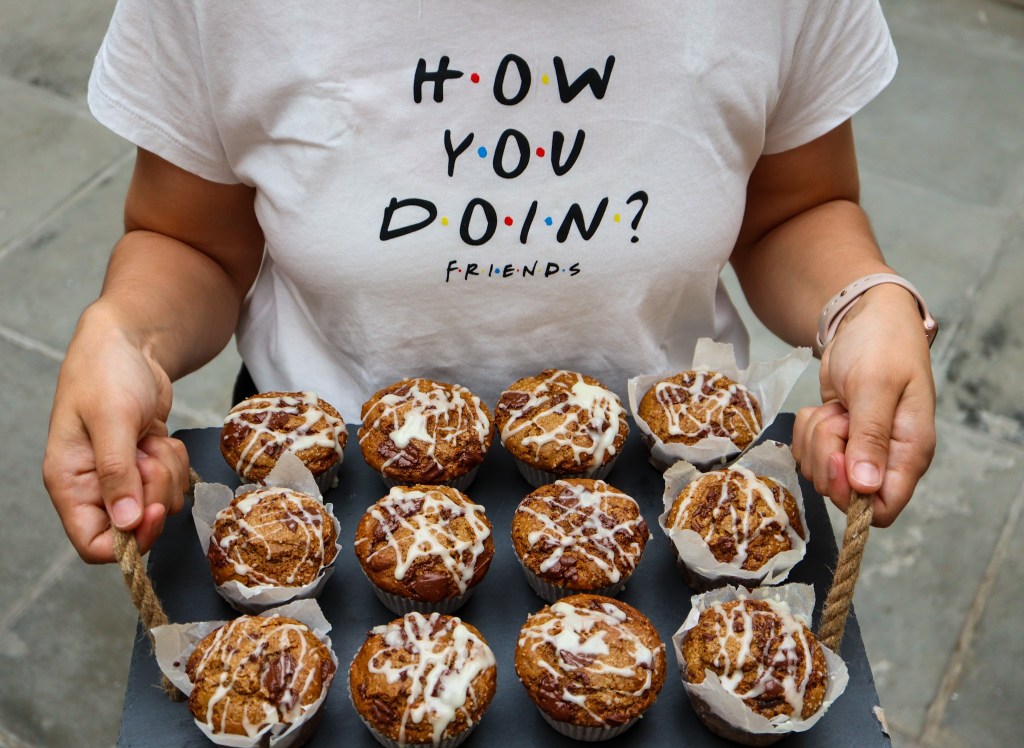
Slice and serve with chantilly cream. Yum!


Cherry-infused panna cotta with toasted coconut and cherry-toffee shards

Like most, I absolutely love summer! I love that it means holiday season is here and so is the most amazing fruit seasons. One in particular is cherries! My family and I, make a point of visiting the cherry farm every December to pick cherries and really just have a fun day out.

This year is a bit different of course, while visiting the farm won’t really be possible, Cherry Time has come to our cherry rescue and have opened up an online store – meaning fresh, juicy and affordable cherries delivered to your door!

To spark some inspiration of new dishes to create with your batch of cherries, I’ve teamed up with my friends at Cherry Time to bring your three divine cherry inspired recipes. The first is this Cherry-Infused Panna Cotta with Toastes Coconut and Cherry-Toffee Shards – I know right – yum!!

If you’re in Western Cape, be sure to order your stash of delicious cherries, by shopping at www.cherrytime.co.za


CHERRY-INFUSED PANNA COTTA WITH TOASTED COCONUT AND CHERRY-TOFFEE SHARDS

For the cherry-infused panna cotta:

  • 1 cup pitted and halved Cherry Time cherries
  • 3 cups cream
  • 1 cup full-cream milk
  • 3/4 cups caster sugar
  • 1 tsp vanilla essence or the seeds from 1 vanilla pod
  • 1 tbsp gelatine dissolved in 1/3 cup boiling water

For the topping:

  • ¼ cup pitted and halved Cherry Time cherries
  • cup desiccated coconut
  • 200g caster sugar

To garnish: fresh Cherry Time cherries

Method:

  1. For the panna cotta, place all the ingredients except the gelatine and cherries in a medium saucepan and bring to the boil on medium heat.
    Remove from heat, whisk in the dissolved gelatine and then 1 cup of cherries, gently pounding the cherries for 2-3 minutes, allowing the fruit to infuse into the milk.
  2. Strain to remove cherry pieces and pour into individual dishes or moulds and allow to cool completely before placing in the fridge overnight to set.
  3. To make the topping, preheat the oven to 180°C. Spread the coconut on a baking tray and place in the oven for 5 minutes or until lightly toasted. Remove and allow to cool while preparing the toffee.
  4. For the toffee, place the sugar in a saucepan on medium heat and allow to melt, stirring to distribute the heat evenly. Once the sugar has dissolved and turned amber, remove from the heat and stir in the ¼ cup cherries.
  5. Quickly pour the cherry toffee onto a silicone mat and spread it out using an offset spatula.
  6. Sprinkle the coconut over the spread toffee and allow to cool completely. Once cool, break the toffee into shards by tapping with a sharp knife.
  7. When ready to serve, decorate the panna cotta with the toffee shards and fresh cherries.

Chocolate on Chocolate on Chocolate muffins

I’ve had a few packets of various mini chocolates in my stash, from Crunchies to mini Mars bites, Milky Bar Buttons to Caramel Nibbles, etc. Naturally I’ve been itching to bake with them and last night this need to bake with them, sweetly coupled with an indulgent craving had me making the most chocolatey chocolate muffins just after 10pm.

Trying to think of what to name them and the only thing that could really describe it was:

Chocolate on Chocolate on Chocolate Muffins

Ingredients:

  • 2 eggs, room temperature
  • 200g caster sugar (Natura Sugars Golden Caster Sugar)
  • 125ml oil
  • 1 teaspoon vanilla essence / extract
  • 200g flour
  • 60g cocoa powder
  • 1 teaspoon baking powder
  • 1/2 teaspoon salt
  • 250ml buttermilk (can be substituted with sour cream or yoghurt)
  • 2 cups of your favourite chocolates, roughly chopped (I opted for Milky Bar Buttons, Caramel Nibbles, Mars Bites and mini Rolos)
  • 1 heaped tablespoon Biscoff, melted

Method:

  • Preheat the oven to 180C and prepare a muffin tray with muffin liners
  • Using an electric mixer, beat the eggs and sugar until pale a fluffy. While continuing to whisk, gradually add the oil and the vanilla essence until incorporated.
  • Sift the flour, cocoa, baking powder and salt and slowly add it to the mixture, alternating with the buttermilk and gently fold into the batter (do not over mix).
  • Add your selected chocolates and stir to distribute them in the batter.
  • Fill the muffins liners 3/4 way, ensuring there are chocolate chunks in each.
  • Bake in the preheated oven for 25 minutes, then remove and allow to cool for 5 minutes in the pans before transferring to a wire rack to completely cool. Drizzle with melted Biscoff or more more chocolate for an extra touch of decadence.
  • Store in an airtight container once completely cool.
  • Enjoy!

Mini Passion Fruit and Chocolate Marble Cakes

The increased time at home has created a deep need for daily tea time treats, am I right? Something quick and easy that when in the oven just fills your home with the best chocolatey aroma and hits the spot when you need to put your feet up after a manic day of juggling many hats.

Well, I’ve got the perfect tea-time treat which you could easily adapt the flavours to your preference or craving. These mini marble cakes have a delightful flavour combination of indulgent chocolate and tart passion fruit to cut through the sweetness. If passion fruit is not your vibe, you could easily omit it for a vanilla and chocolate marble cake, etc.

Ingredients:

  • 125g butter, melted and cooled
  • 125g good quality chocolate
  • 5 eggs
  • 125g caster sugar
  • 125g flour
  • 2 teaspoons baking powder
  • 1/2 teaspoon bicarbonate of soda
  • 1 teaspoon vanilla extract
  • 1 teaspoon passion fruit extract
  • juice of a half passion fruit

Method:

  1. Preheat the oven to 180C and grease a mini loaf pan.
  2. In a double boiler, melt the chocolate and then set aside to cool slightly
  3. Separate the eggs then using an electric mixer, whisk the egg yolks and sugar until pale. Pour in the cooled, melted butter and continue mixing until combined.
  4. In the egg butter mixture, sift the flour and baking powder, folding to combine, then split the mixture in two bowls.
  5. In the one bowl, add the melted chocolate to the mixture and fold to combine. In the second bowl, fold in the bicarbonate of soda, the vanilla and passion fruit extracts as well as the passion fruit juice.
  6. In a separate bowl, whisk the egg whites until stiff peaks.
  7. Split the fluffy egg whites between the two bowls (chocolate mixture and the passion fruit mixture) then gently fold to combine.
  8. Alternating between the two mixtures, spoon them into the greased mini loafs pans and once they’ve filled the tins, take a skewer and swirl them from one end to the other to create the marble effect.
  9. Bake in the preheated oven for 25-30 minutes or until a skewer come s out clean.
  10. Allow the cakes to cool in the pan for a few minutes before transferring to a wire rack to cool completely.
  11. To garnish, top with more melted chocolate and serve with passion fruit curd.

Smore’s Streusel Chocolate Muffins

After making a few variations of muffins over the years, I’ve learnt that a winning secret ingredient for a moist crumb (which is what we live for in muffins!) is yoghurt. When I got my hands on the new Nutriday Double Cream Plain Yoghurt, I just HAD to concoct an absolutely decadent muffin and on that note, I introduce you to the Smore’s Streusel Chocolate Muffin!

It’s  eye-rolling divine moist chocolate muffin, filled with pools of chocolate and to complement it with the Smore’s elements is a crunchy streusel topping made up of crushed biscuit, cinnamon,  brown sugar and chocolate chips, finally topped with toasted marshmallow. To even out the sweetness, it’s best served with dollops of Nutriday Double Cream Plain Yoghurt  which is a total game changer!

Smore’s Streusel Chocolate Muffins

Ingredients:

Chocolate Muffins:

  • 130g roughly chopped, good quality chocolate
  • 115g butter
  • 150g caster sugar
  • 90g Nutriday Double Cream Plain Yoghurt, room temperature
  • 1 teaspoon vanilla extract
  • 2 eggs, room temperature
  • 40g cocoa powder
  • 60g flour
  • 1 teaspoon bicarbonate of soda
  • 1 big pinch of salt
  • An extra cup of roughly chopped, good quality chocolate

Streusel:

  • 1/3 cup brown sugar
  • 1 teaspoon ground cinnamon
  • 50g crushed biscuit (I used Lotus biscuits)
  • 1/4 cup roughly chopped chocolate/chocolate chips

Topping:

  • Marshmallows (mini marshmallows or cut the bigger marshmallows in quarters like I did)

Method:

  • Preheat the oven to 220C and prepare a muffin pan with muffin wrappers.
  • To make the muffins: In a bain marie or in a heatproof bowl over simmering water, melt the butter and chocolate and allow to cool slightly
  • In a separate bowl mix the sugar, yoghurt, eggs and vanilla then pour in the slightly cooled chocolate butter mixture and combine.
  • In a larger bowl, sift the flour, cocoa powder, bicarb and salt. Gently fold in the wet ingredients, careful to not over mix.
  • To make the streusel: Combine all the streusel ingredients in a small bowl
  • Fill the muffin 3/4 way with the batter and top each with the prepared streusel.
  • Bake for 5min in the 220C preheated oven (this will allow them to rise nicely) then reduce the temperature to 175C and bake for another 17 minutes.
  • Remove from the oven and allow them to cool in the pan for a few minutes before popping them on to a wire rack to cool completely.
  • Finally, top with some marshmallows and either blow torch them or pop them for a few minutes in the oven on a preheated oven on grill until they’re golden.
  • Serve with a dollop of Nutriday Double Cream Plain Yoghurt or as is 🙂

Millionaire Shortbread Cookies

Growing up, one of my absolute favourite bakes to tuck into was Millionaire Shortbread, or Scotblock Candy Bars as we used to call them. I mean biting into it is just such a party from cracking the layer of chocolate to the smooth layer of fudge to finally that buttery melt-in-your-mouth shortbread – it’s a killer combination!

As years went by and my palate started to evolve, they now seem a bit overwhelming sweet, but I still absolutely love the combination. I therefore had to put a bit of a twist on it and create mini cookie versions, where you can easily control and vary the ratio of these amazing layers. I toned down each layer quite a bit so it’s not overwhelming, but rather just bite-fulls of sweet bliss!

It’s a bit time consuming to assemble, but this is where you can involve the kids and really have fun.

Millionaire Shortbread Cookies

Ingredients:

Caramel:

  • 200g caster sugar
  • 90g butter
  • 230ml cream, warmed slightly

Shortbread:

  • 230g softened butter
  • 50g brown sugar
  • 100g caster sugar
  • 1 tsp vanilla essence/extract
  • 1 tsp salt
  • 280g flour

Chocolate:

  • 60g good quality chocolate, melted (adjust according to your preference)

Method:

Start off by making your caramel (I would suggest making it a day before and refrigerating once cooled to give you a nice spreadable texture when assembling the cookie).

  1. Place the sugar in a saucepan on medium heat and allow to melt, stirring occasionally to distribute the heat evenly. Once the sugar has completed melted and the liquid turns an amber colour, remove from the stove and add the butter, whisking to combine.
  2. Add the slightly warmed cream and whisk until completely combined, then pour into a container and allow to cool before refrigerating for at least 8 hours, preferably overnight.
  3. Once the caramel has thickened in the fridge, it is time to make the shortbread.
  4. Preheat your oven to 165C and prepare your baking trays with baking paper.
  5. In a stand mixer, start by beating the butter for about 1 minute, until smooth. Add the sugars (caster and brown) and beat for approximately 1-2 minutes until light and creamy.
  6. On low speed, add the vanilla and once combined, add the salt and flour and mix until combined (careful not to over-mix at this point).
  7. Transfer the dough to a surface sprinkled with cornflour (to avoid it sticking to the work surface). Either place a sheet of baking paper or sprinkle cornflour on top of the dough to make it easier to roll out. Roll out the dough to your desired thickness then cut out into your desired shapes either with a cookie cutter or a knife.
  8. Place on a baking tray and bake the shortbread cookies until lightly golden on the top and around the edges, the duration will vary depending on the thickness of your cookie.
  9. Once baked, remove the cookies from the oven and allow to cool in the trays for 5 minutes before transferring to a cooling rack to cool completely.
  10. Once the cookies have cooled off, it’s time to assemble. Simply spoon the desired amount of caramel (it should be a spreadable consistency) onto the shortbread and neatly spread to create the layer of caramel on the cookie. Finally, drizzle the desired amount of melted chocolate on top of the caramel layer and store in the fridge, in an airtight container.
  11. Enjoy!!

Carrot Cake

This week, we had a ray of light, among all the alarming news, celebrating a special colleague and friend’s baby-shower. She requested a carrot cake and this finally forced me to attempt making one! I’m not a fan of nuts, especially pecan nuts, so this was really made with so much selfless love 🙂

Happy to report that this is lovely moist cake, easy enough to whip up, no fancy equipment needed and you can make it in advance, can I get a whoop-whoop!

Ingredients:

  • 260g chopped toasted pecans (keep half for decorating)
  • 300g brown sugar (I used the Natura Sugars Light Demerera sugar)
  • 100g caster sugar
  • 240ml oil
  • 4 eggs
  • 3/4 cup crushed pineapple (drain most of the sauce)
  • 1 tsp vanilla extract or essence
  • 312g flour
  • 2 tsp baking powder
  • 1 tsp bicarbonate of soda
  • 1/2 tsp salt
  • 1.5 tsp’s ground cinnamon
  • 1 tsp ground ginger
  • 1/4 tsp ground nutmeg
  • 2 cups carrots, grated

Method:

  1. Preheat the oven to 177°C. Prepare either two or three round cake pans, by greasing them then lining with baking paper, finally greasing the baking paper too.
  2. In a large bowl, whisk the sugars, oil, eggs, crushed pineapple and vanilla together in a large bowl until combined. In a separate bowl, whisk the flour, baking powder, bicarb, salt, cinnamon, ginger, nutmeg together. Pour the wet ingredients into the dry ingredients and fold together until just combined. Finally fold in the carrots and half of the pecans.
  3. Pour the batter into the cake pans evenly and if utilising three cake pans then bake for 20-24 minutes and if using two pans, bake for 30-35 minutes. Test the cake by inserting a skewer, if it does not come out clean, continue to bake until it does and be sure not to over bake the cake. Do not over-bake. Allow cakes to cool completely in the pans before transferring to a cooling rack.
  4. Assemble the cake by layering with cream cheese frosting. You can find my legit, no short cut cream cheese frosting recipe here 🙂 Top the cake with the leftover toasted pecans. To keep the cake nice and firm, pop it into the fridge for about 30mins before cutting and serving. Enjoy 🙂

Flourless Chocolate Cake

I seriously need to get over my obsession with chocolate and raspberries…

For now however, here’s another perfect opportunity to combine this epic flavour combination! This fudgey decadent flourless chocolate cake is super simple to make and most of all just needs one bowl! Yay!

Important tip when making this, is to follow the recipe exactly – the digital scale is your bestie!

Ingredients:

  • 115g butter
  • 170g great quality chocolate (I used 55% Lindt choc), roughly chopped
  • 135g caster sugar
  • 2 tsp instant coffee
  • 1.5 tsp’s vanilla extract or essence (depending on your preference)
  • 4 eggs
  • 28g cocoa powder
  • pinch of salt
  • 1/2 tsp baking powder

Method:

  • Preheat oven to 177°C. Prepare your cake pan by greasing it fully, inserting a round disc of baking paper then greasing above the baking paper to ensure it will not stick.
  • Using a bain marie or double boiler, melt the chocolate and butter and allow to cool for 2-3 minutes.
  • Add the sugar, coffee and vanilla and whisk into the chocolate mixture. Whisk in the eggs until incorporated then whisk in the cocoa powder, salt, and baking powder.
  • Pour the batter into the prepared cake pan.
  • Place a large roasting pan, filled 2/3rds with boiling water on the bottom rack of the oven. Then place the cake pan on the middle rack of the oven and shut the door. Trust me this will make it so moist and delish!
  • Bake for 30 minutes and test with a toothpick (should come out clean with just a few most crumbs).
  • Once it comes out of the oven, allow it to cool for 10 minutes then remove and allow to cool completely. Thereafter you can pop it into the fridge or store in a airtight container.
  • Top with a sprinkling of cocoa powder and anything else you wish really. I just added some whipped cream and raspberries. Yum!

Chocolate Fondant

Just in time for the weekend, ready to impress your guests or just your tummy! Because you deserve it, you made it through January and February! 🙂 How manic have these first two months been? With all that’s happening in the world and the jam-packed kick start to the year, we need a moment. This Chocolate Fondant recipe is quick and easy and oh-so-lusciously-delicious!

If you do whip them up, please do send or tag me in the pics and let me know what you think?

Ingredients:

  • 125g butter (have some extra for greasing)
  • 1 Tblsp cocoa powder (have some extra for dusting)
  • 125g good quality chocolate, roughly chopped
  • 60g caster sugar (Natura Sugars golden caster sugar is great!)
  • 3 eggs
  • 3 egg yolks
  • 100g flour, sifted

Method:

  • Preheat the oven to 180C. Prepare your ramekins (or ovenprood moulds if you want to pop them out when plating) by greasing them with the extra butter and lightly dust them with the additional cocoa powder.
  • Melt the butter and chocolate in a bain marie or create your own bain marie by placing them in a heatproof bowl over a pan of gently simmering water (make sure the base does not touch the simmering water).
  • Using an electric whisk, beat the sugar, eggs and egg yolks until they’re pale and fluffy.
  • Pour the melted butter/chocolate mixture over the egg mix and gently fold in the sifted flour and cocoa, using a metal spoon.
  • Place the ramekins/moulds on a baking tray. Fill the prepared ramekins with the batter and bake in the preheated oven for roughly 8 minutes.
  • Once removed from the oven, they are ready to devour! The centre should be soft with a silky chocolate sauce. Serve with a scoop of your favourite ice cream, whipped cream or creme fraiche and a dusting of cocoa powder. Yum!

Gingerbread Muffins

Oh my goodness it’s festive season! Aside from Ramadaan, this is my absolute favourite time of year, of course because you get to switch off and have pure, quality time with the loved ones, chucking routine aside. Yaaaassss!

This is totally the time of year where indulgence is on the incline and quick and easy ticks absolutely every box. On that note, I introduce to you, the Gingerbread Muffins. So easy to make and such a delicious snack, perfect for breakfast, brunch or just a tea-time treat. Don’t worry, it’s a subtle and warm ginger flavour, much like gingerbread cookies and totally controllable to your preference.

Aaaand here they are…

Ingredients:

Gingerbread Muffins

  • 115g unsalted butter
  • 234g dark muscovado (Natura Sugar)
  • 375g flour
  • 1 and 1/2 tsp bicarb
  • 1/4 tsp salt
  • 1 and 1/2 tsp cinnamon (ground)
  • 1 and 1/4 tsp ginger (ground)
  • 100g brown sugar (Natura Sugar)
  • 1 egg, room temperature
  • 120g plain yoghurt
  • 120ml milk

Vanilla Glaze

  • 120g icing sugar (Natura Sugar)
  • 1 Tblspn fresh lemon juice
  • 1 tsp vanilla extract or essence
  • 1 Tblspn (15ml) milk

Method:

  1. Preheat oven to 218°C and line a muffin tray with muffin liners.
  2. Either in a saucepan or in a large microwave-safe bowl, heat the butter and muscovado sugar together for about 1 minute. Stir until thoroughly mixed together. Set aside to slightly cool as you prepare the dry ingredients.
  3. In a separate bowl, whisk the flour, bicarb, salt, cinnamon and ginger together.
  4. Into the muscovado/butter mixture, whisk the brown sugar, egg, yoghurt and milk until all wet ingredients are combined. Pour the wet ingredients into dry ingredients and mix until just combined, be careful not to over-mix.
  5. Spoon the batter into the prepared muffin pan, filling all the way to the top of the muffin liners. Optional: Sprinkle some extra sugar on the tops for a delicious crunch
  6. Bake at 218°C for 5 minutes, then immediately reduce the oven temperature to 177°C and continue to bake for 15-16 minutes until the tops are cracked and centers are set. Allow to cool for 5-10 minutes in pan before glazing and devouring.
  7. Prepare the vanilla glaze by mixing all of the ingredients together in a small bowl. Depending on your preference, add more icing sugar to thicken or more milk to thin out. Drizzle on top of warm muffins and the glaze will set as the muffins cool.
  8. ENJOY!!
1 2 6